SHOCKY SAYS HELLO TO HIS 1.8T AND 02J

What 1.8T and 02J?

Before the engine swap even got started, the battery was moved to the back to open up the front for engine stuffs.  Actually, the battery was moved to the back before Shocky ever arrived in Maryland....but hey, it is part of the engine swap.  Check out the 1/0 gauge wire!!


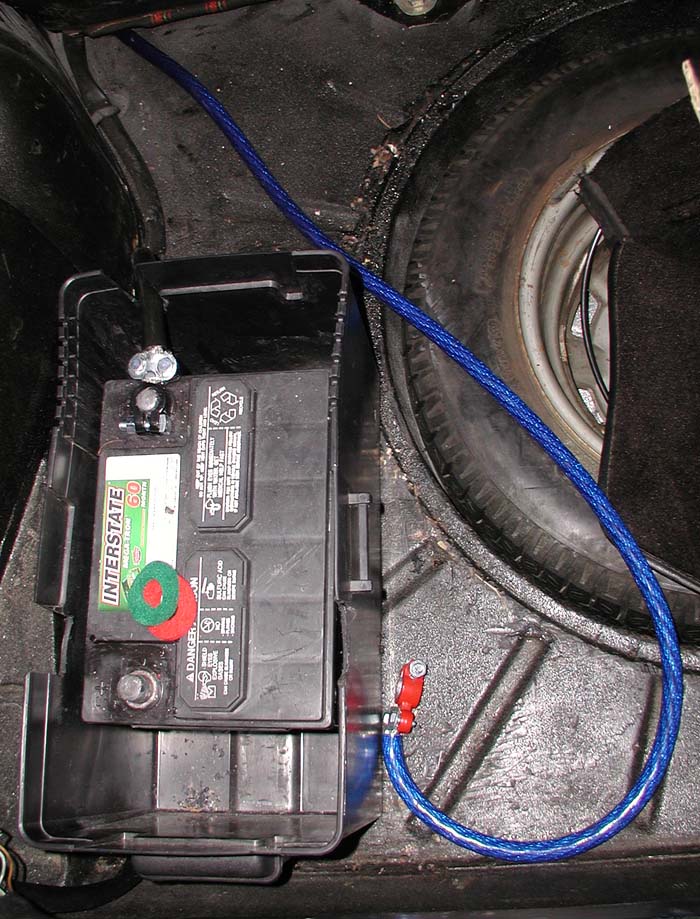
Battery moved to back with big 'ol 1/0 gauge wire!


The first thing that had to be done for the engine swap was to modify the stock A1 passenger side motor mount bracket to fit the AWP.  All VW 4 cylinders up until the Mk4 will bolt directly to the stock mount bracket, but just so we could have the joy of fabricating a new mount bracket, VW chose to move the mounting holes around to accommodate the big 'ol bulky aluminum hunk they call a mount in the Mk4s.


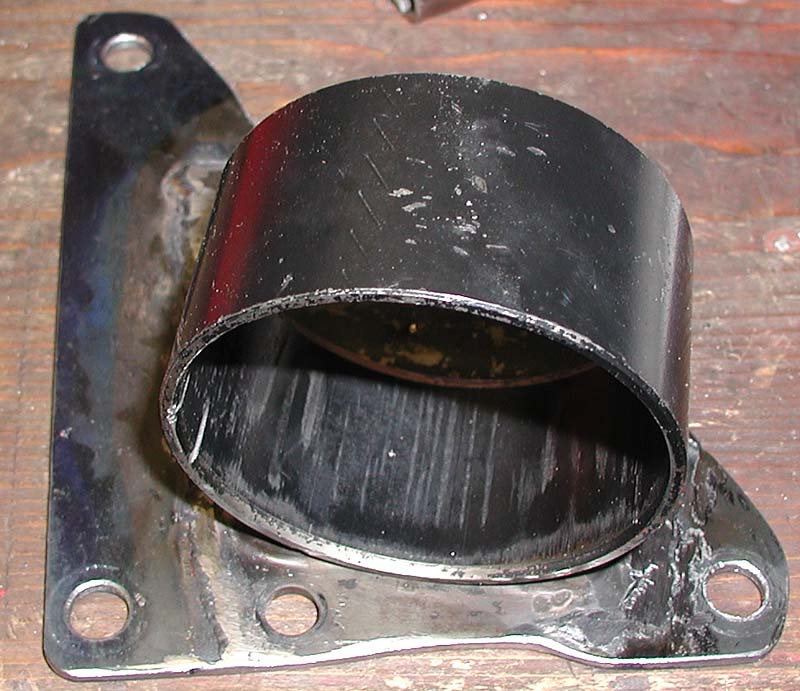
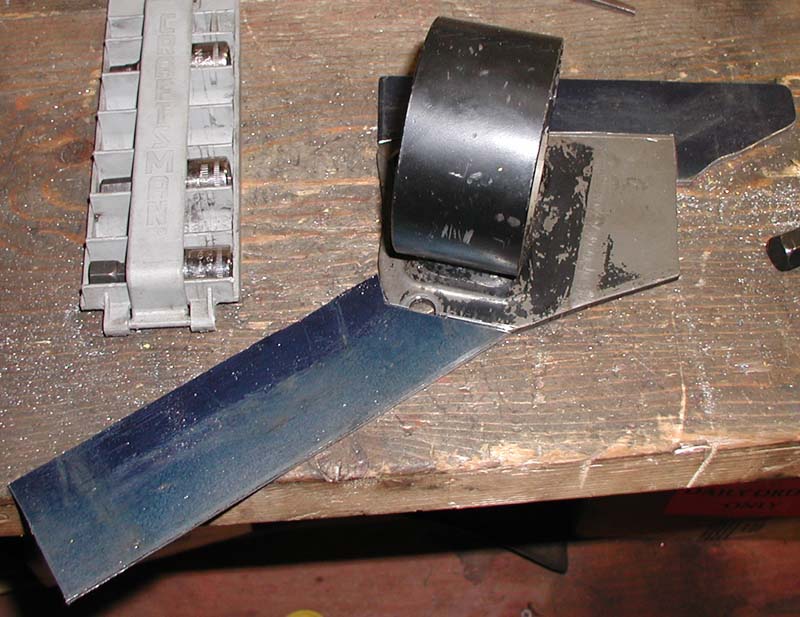
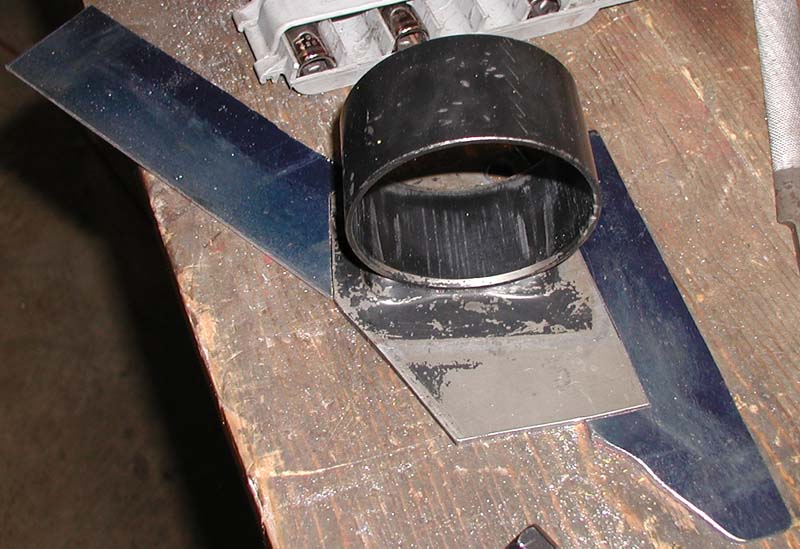
Modified passenger side mount bracket

....and here is the final cleaned up version of the bracket with 16V mount bolted to the AWP where the belt tensioning damper used to live.


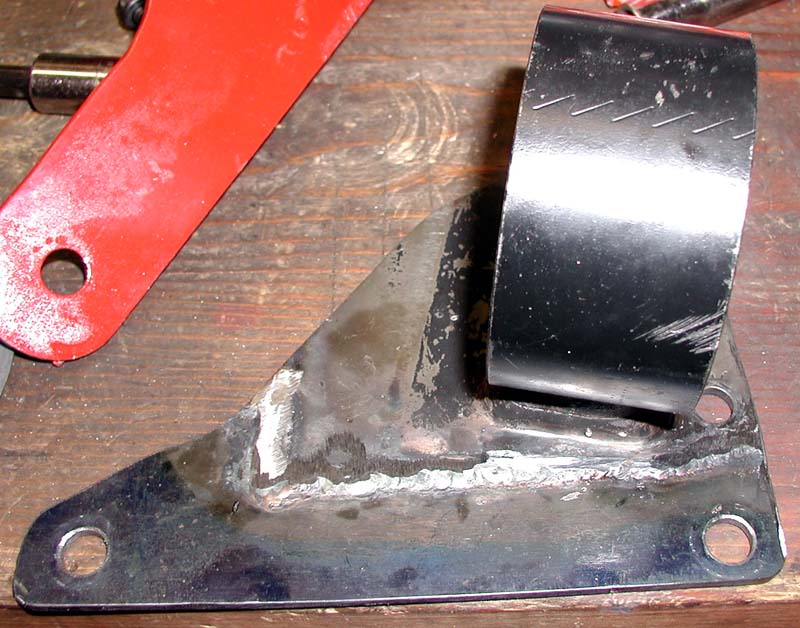
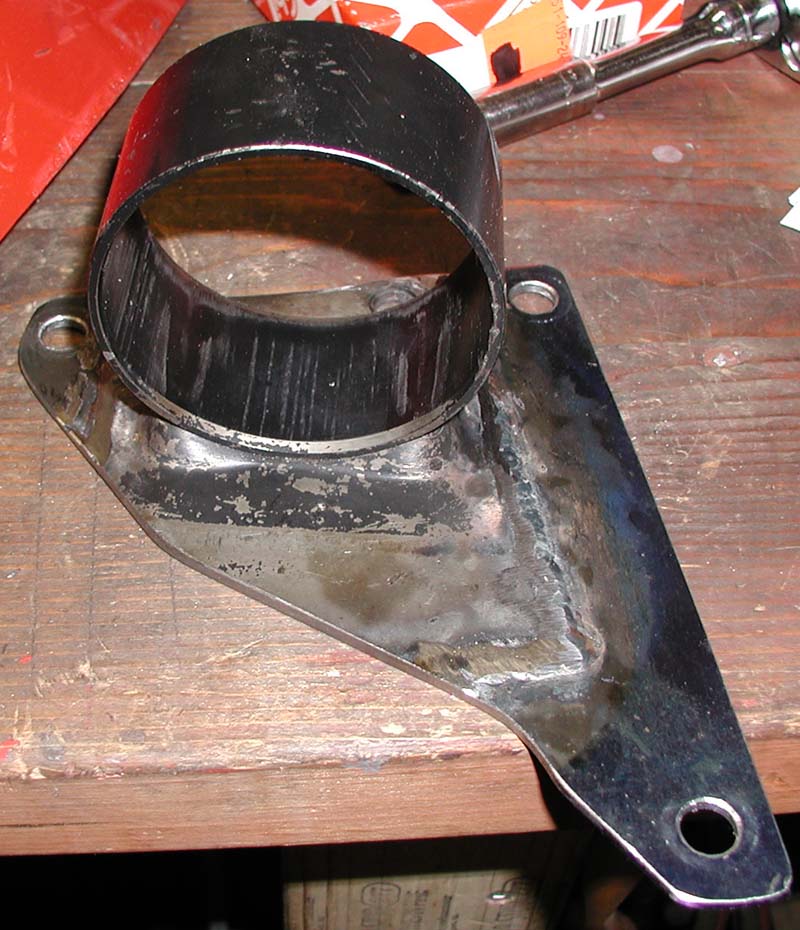
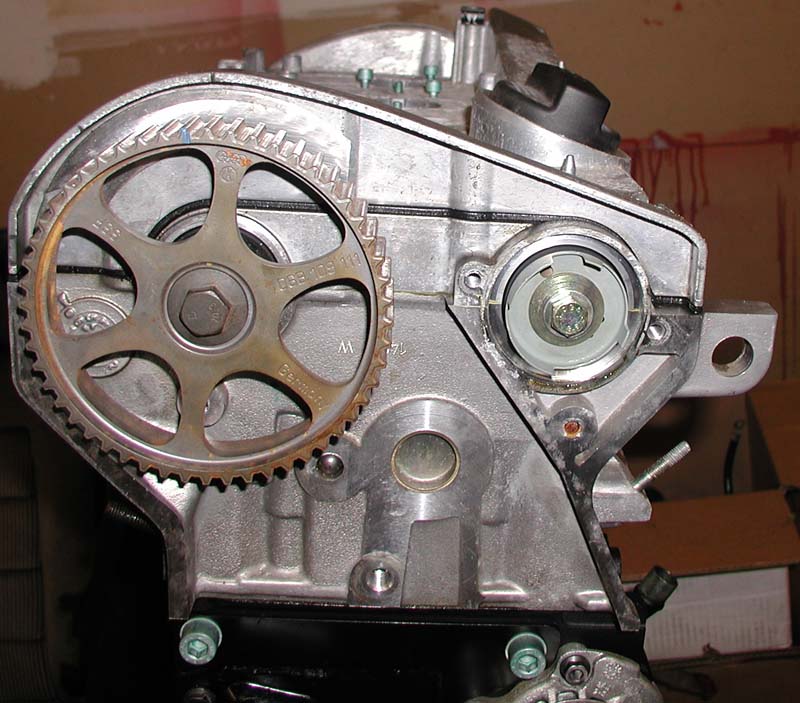
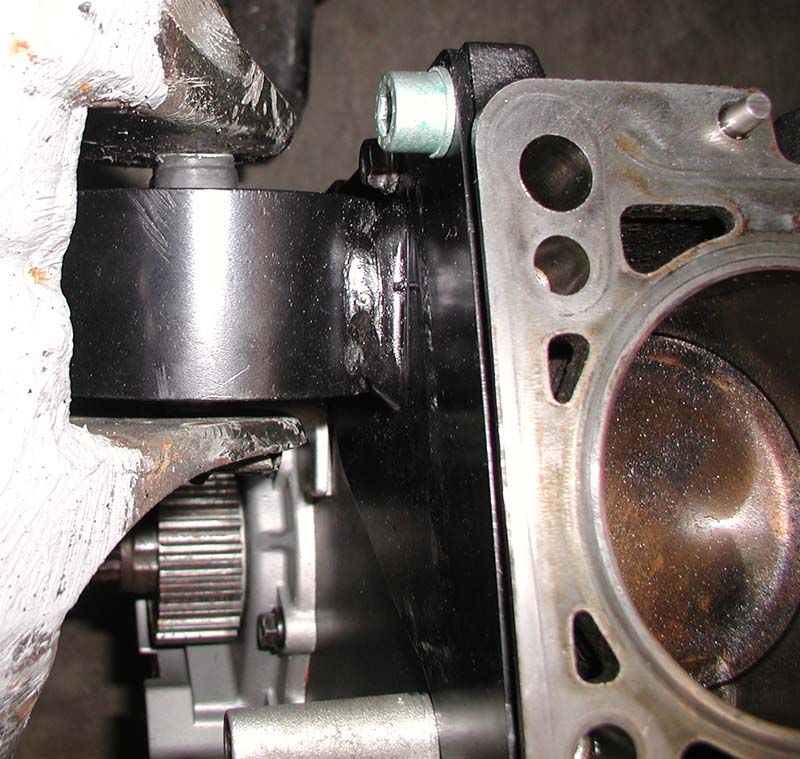
Passenger side mount bracket with 16V mount on AWP

Next, we had to switch the multi-windowed stock AWP cam position sensor trigger wheel with a single window version from an AEB.  The DTA needs to have one trigger input for every two revolutions of the engine and the AEB wheel is able to provide this.


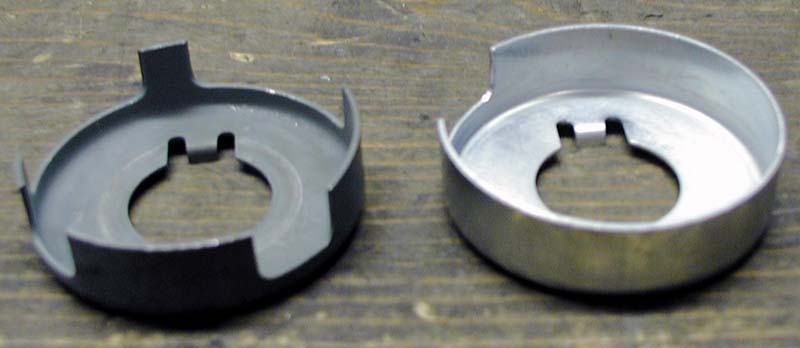
Multi-windowed stock AWP cam position sensor trigger wheel next to the simpler single-window AEB wheel.


Stock AWP wheel......


...and then there was none....


.....and finally the AEB wheel moves in


Because the stock AWP setup had a belt tensioning damper located where the modified passenger side mount bracket had moved in, we went with the 16V tensioning roller setup and used a spacer to compensate for the timing belt being further offset (3/10'').


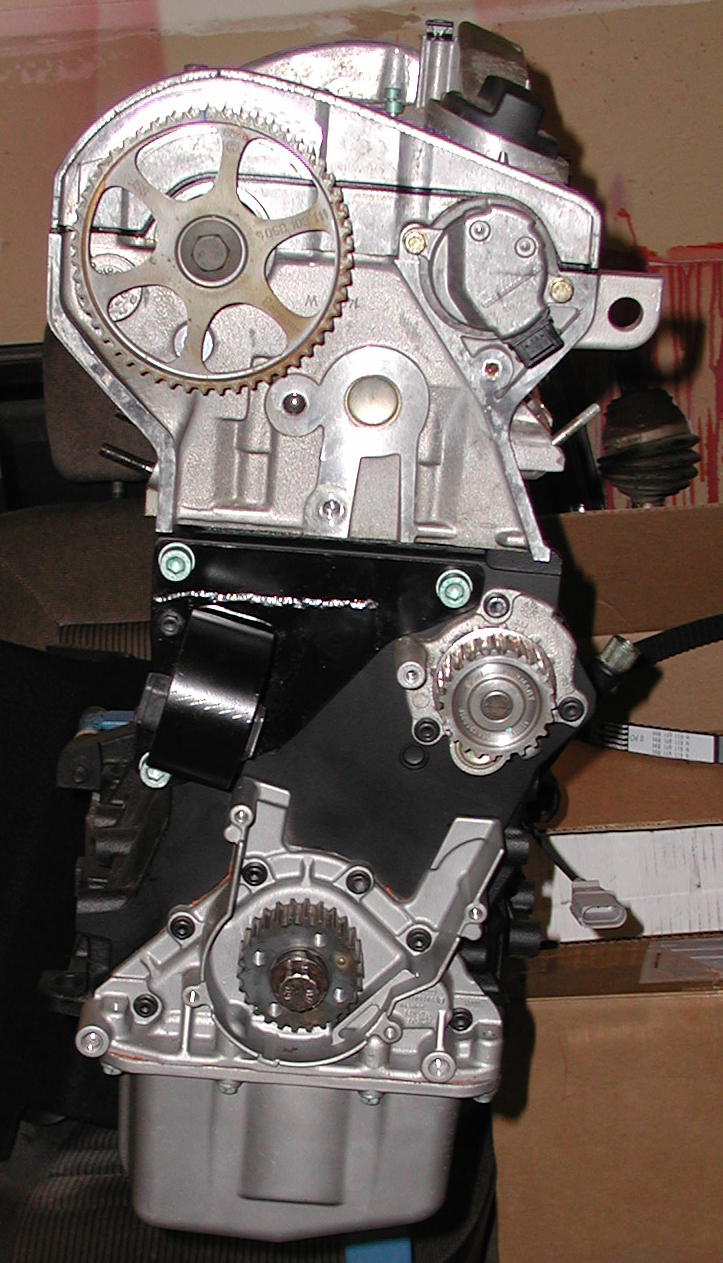
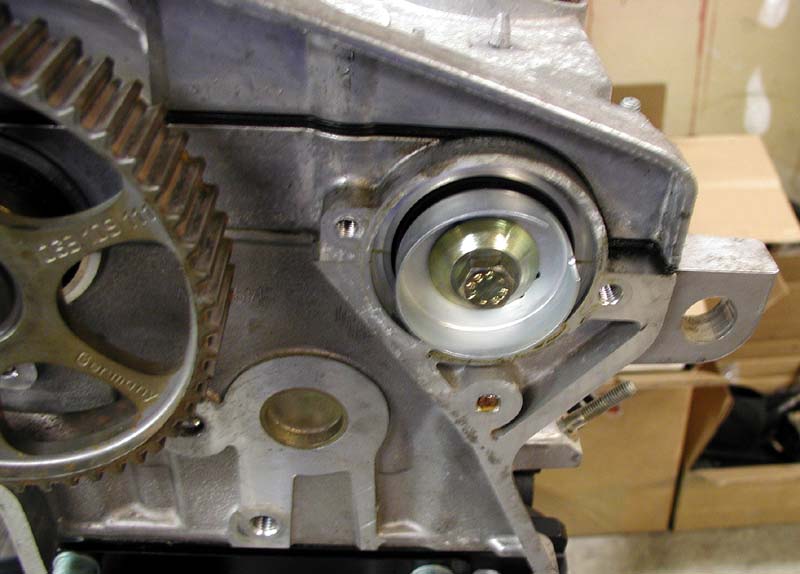
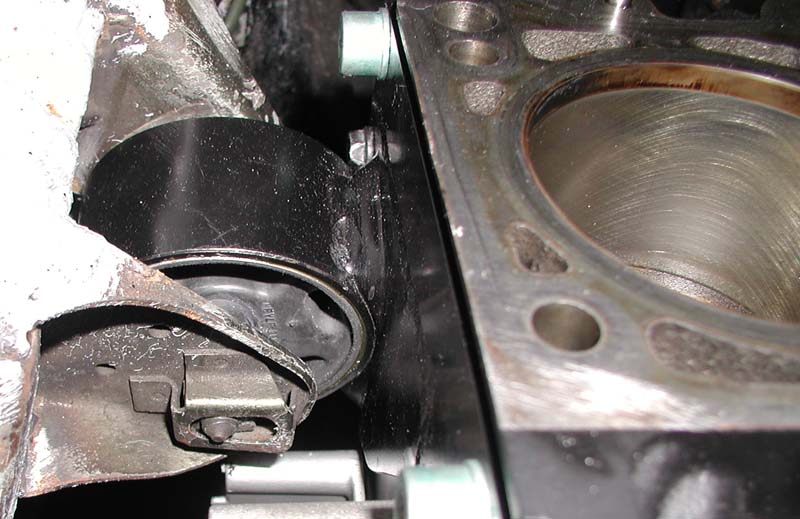
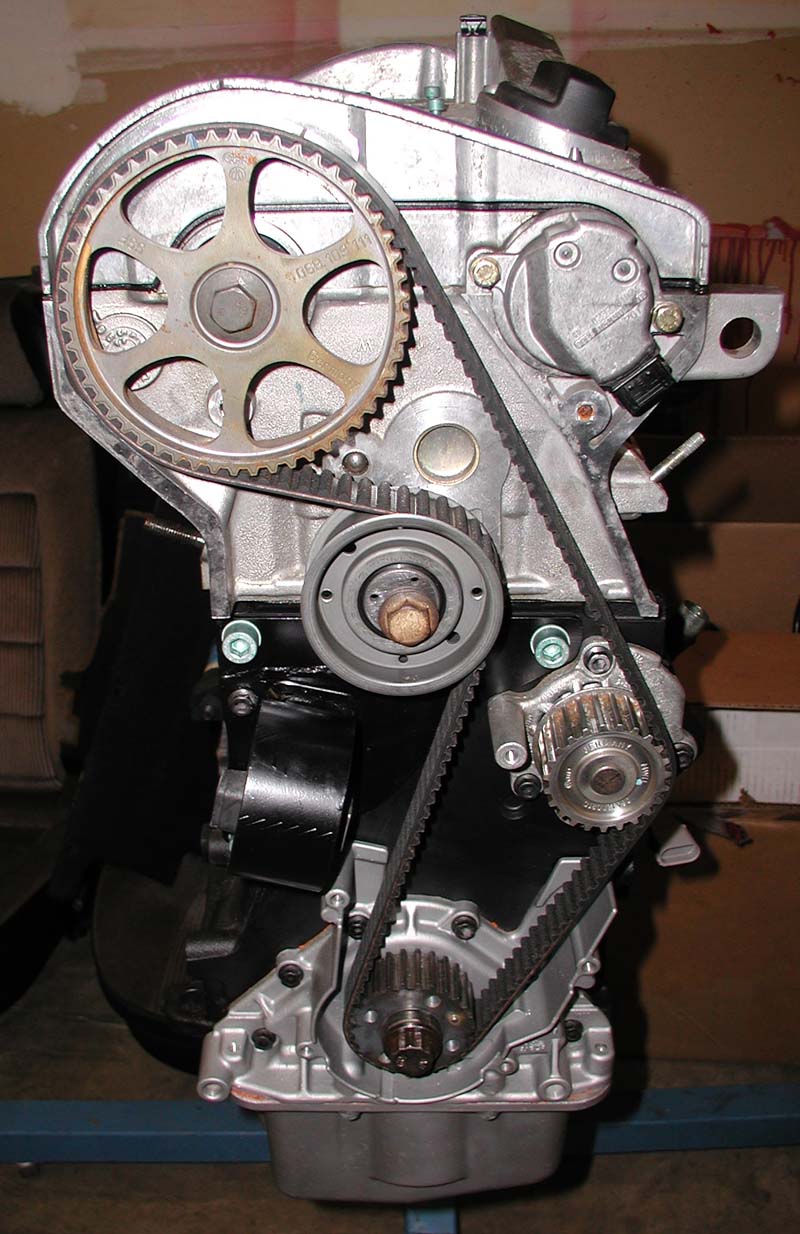
16V tensioning roller with 3/10'' spacer for timing belt offset

Next it was time to install the new clutch.....someone conveniently rammed a dowel pin into one of the threaded holes on the flywheel, so we had to pull it out, rethread the hole, and put the dowel pin into it's proper home.  From there it was smooth sailing other than ECS including no information regarding what the bolts needed to be torqued to for a VR6 clutch.  It turns out the torque spec was tighten the bolt until the head ALMOST shears off...then back off a quarter turn (ie a lot 'o ft lbs).   Oh, and don't forget to put on the cover plate between the bell housing and engine BEFORE you attach the flywheel.


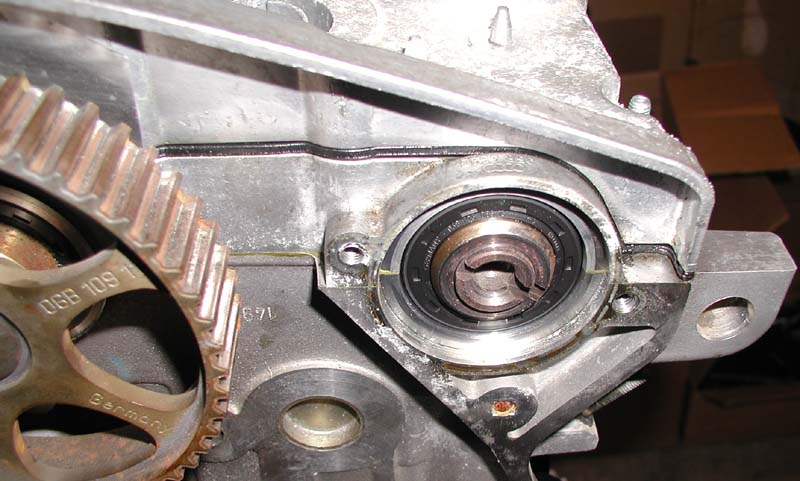
Dowel pin in wrong hole (on the right side of picture)


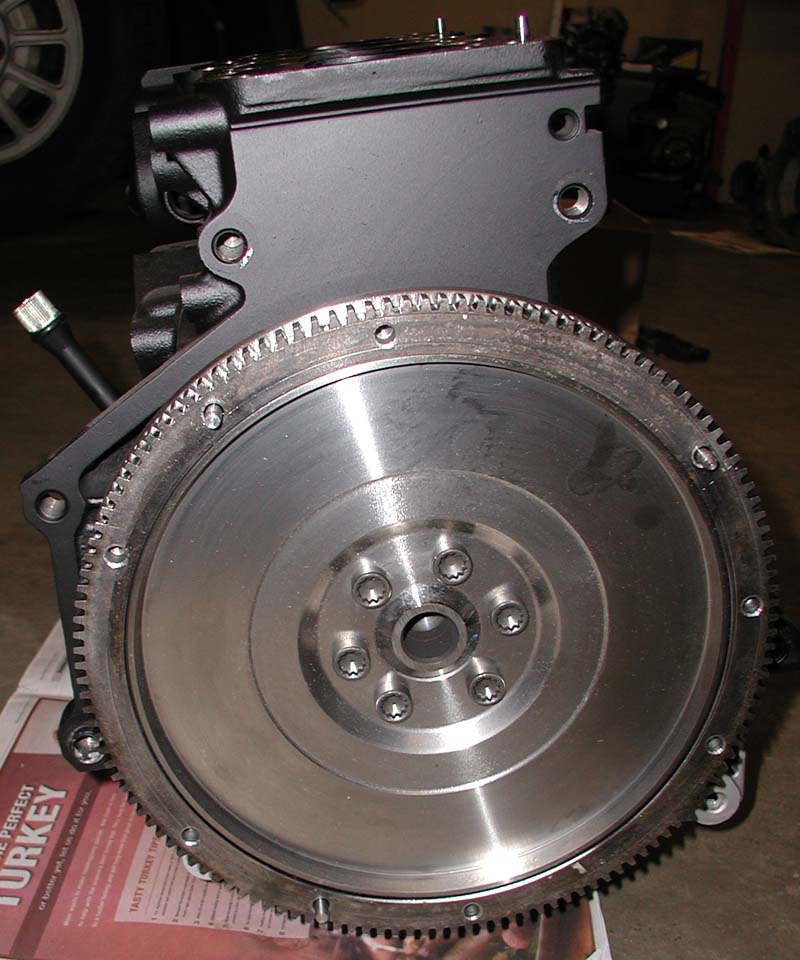
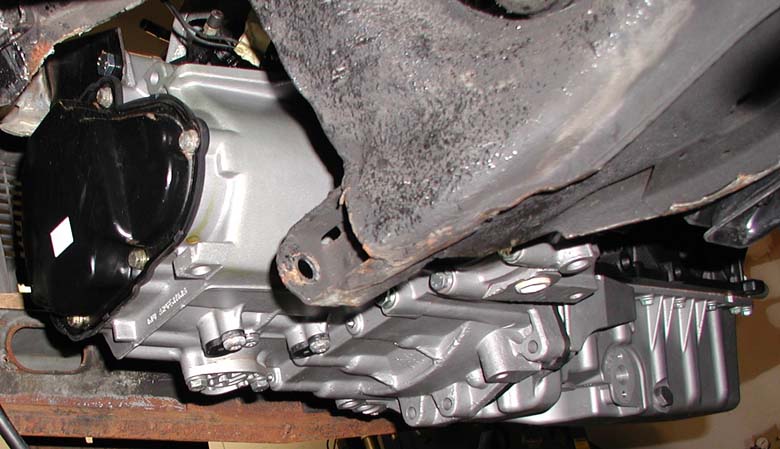
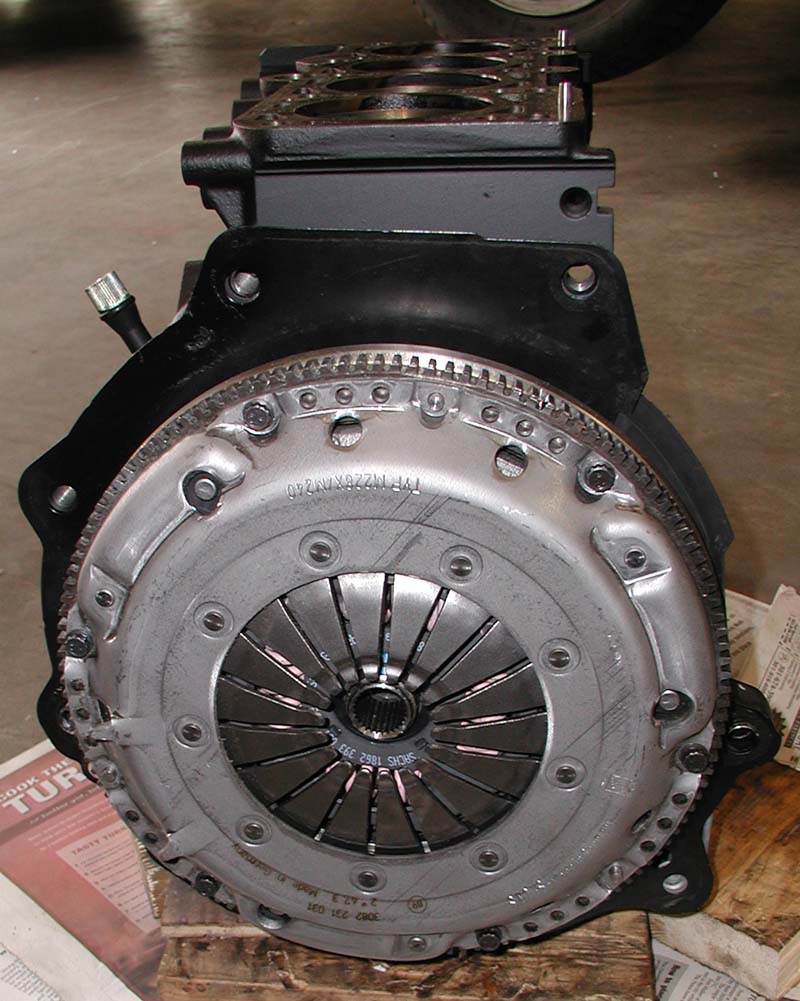
VR6 Clutch happily co-existing with AWP


Then we reintroduced the engine to the tranny and mated them back together so they could be moved into Shocky as a single unit.


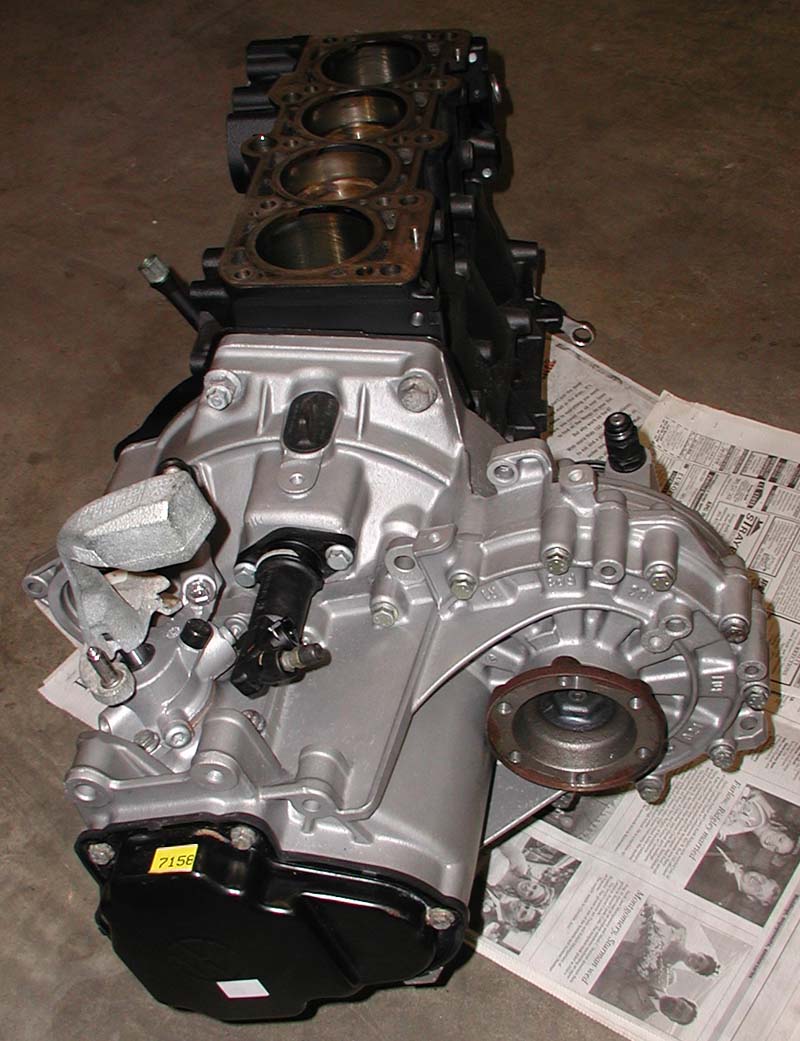
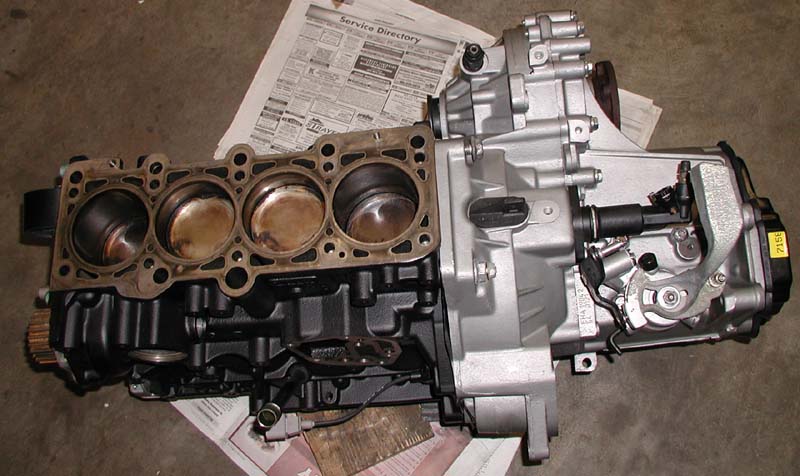
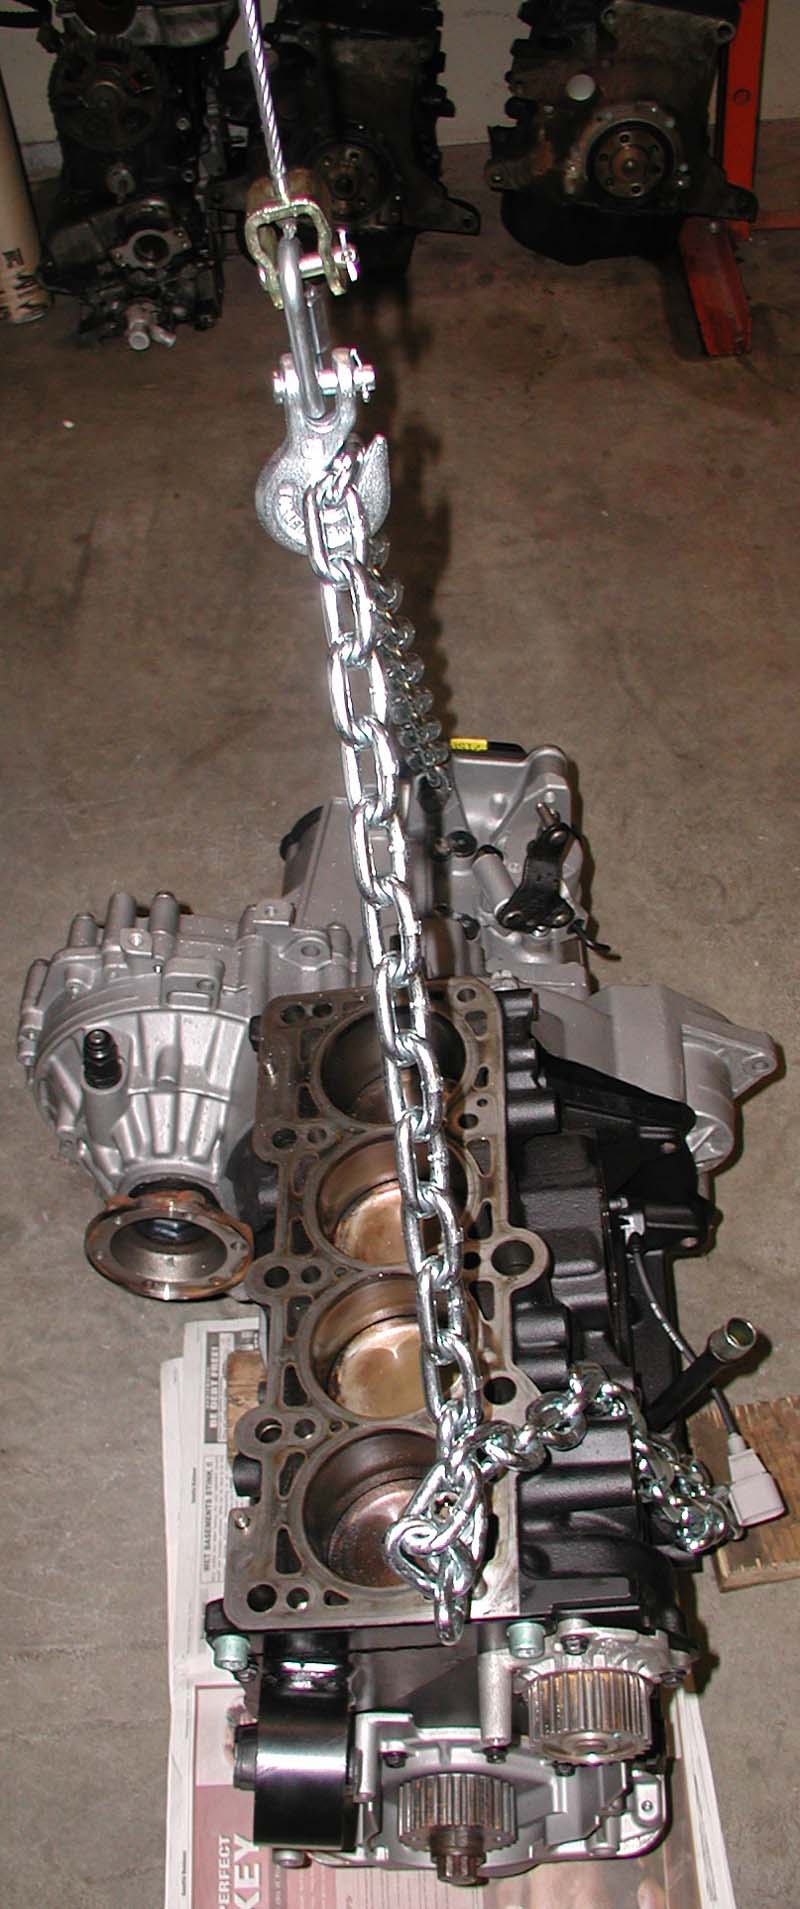
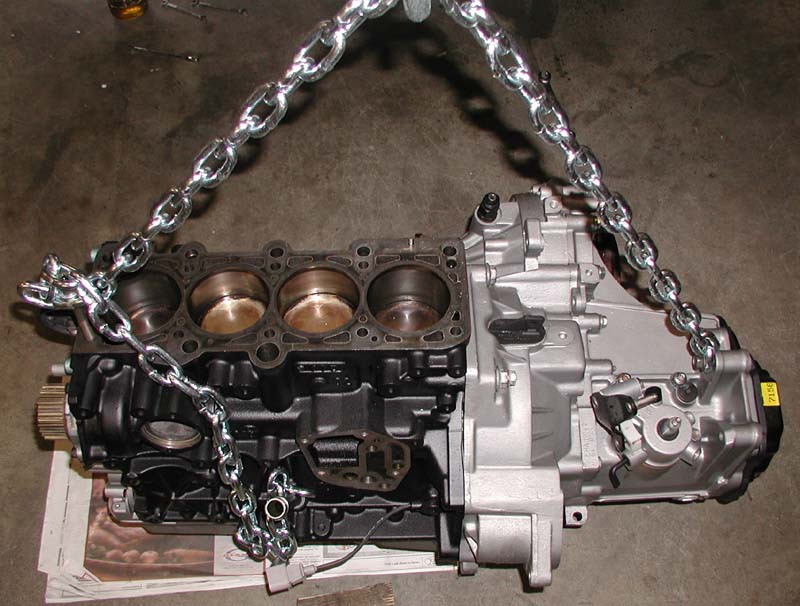
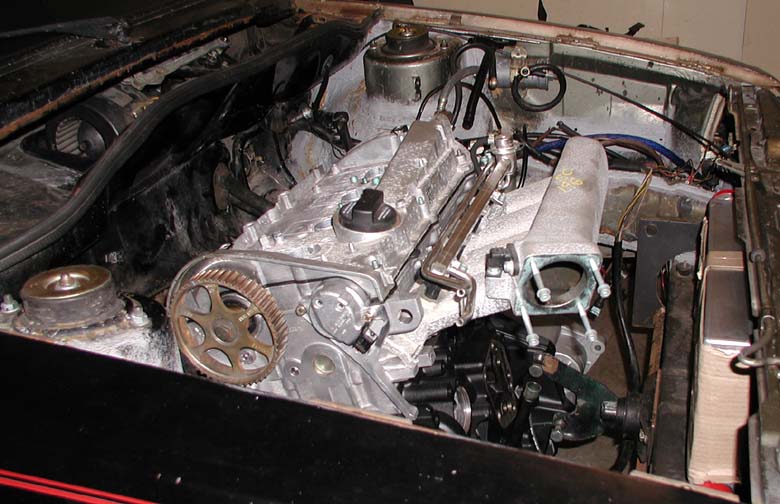
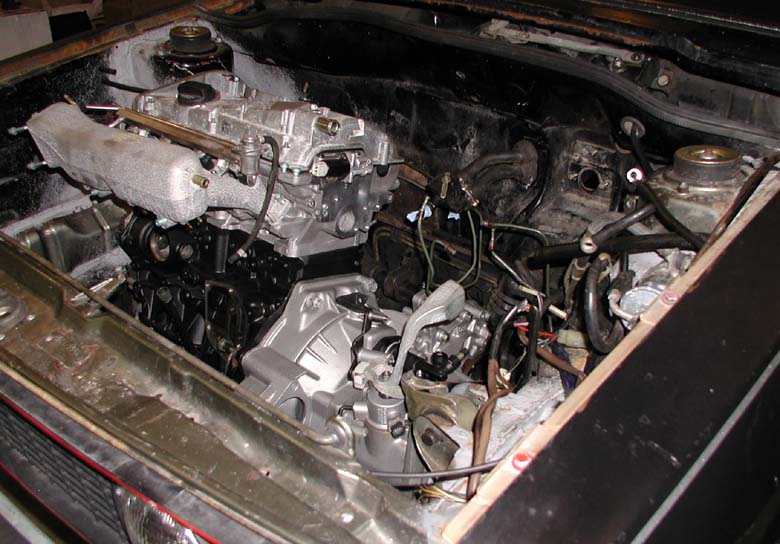
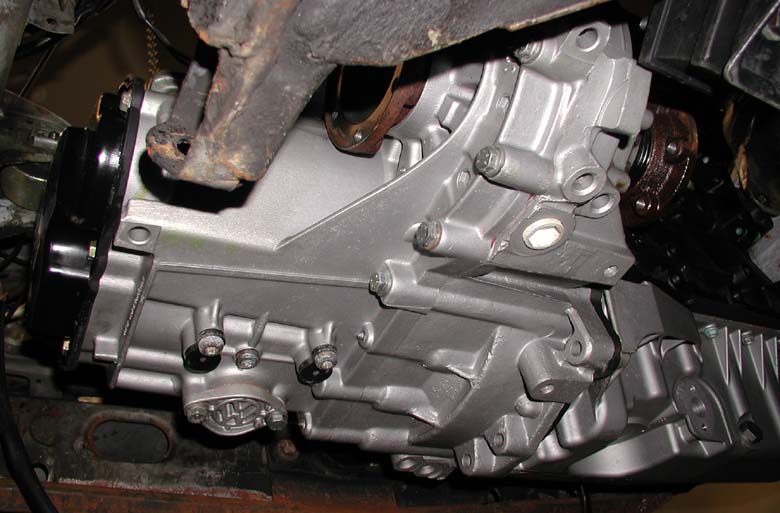
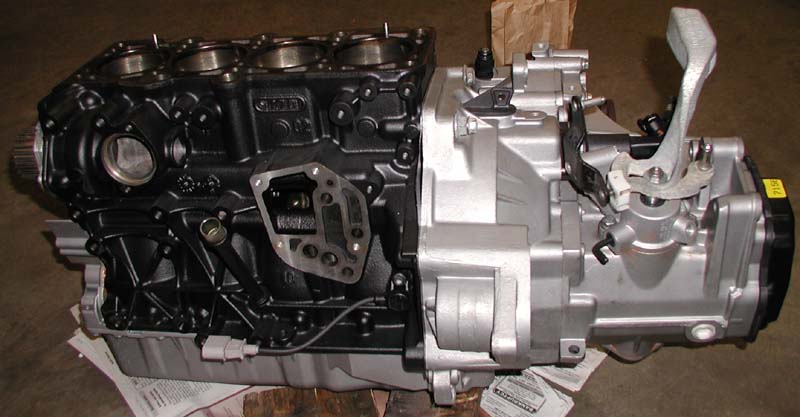
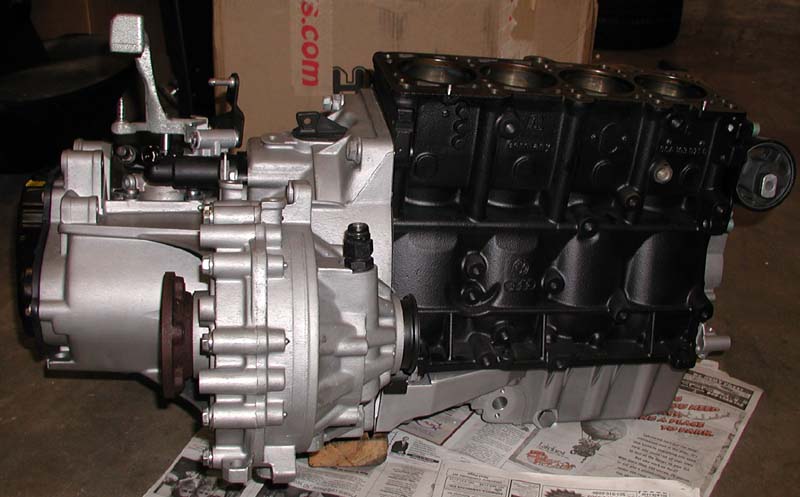
AWP and 02J together again!

Now it was time to move the big guys into Shocky's empty engine bay


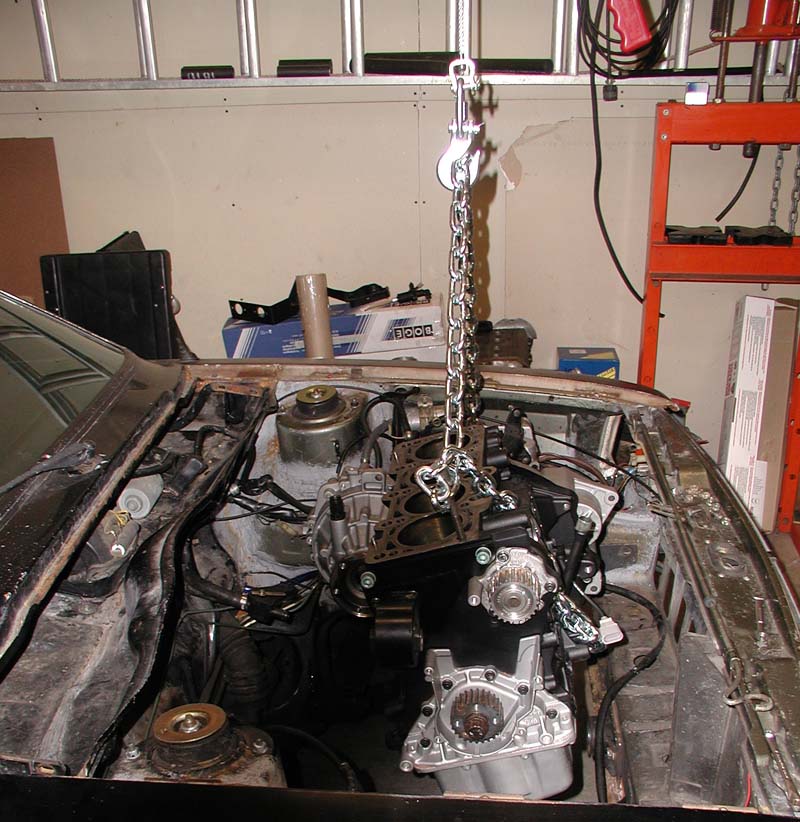
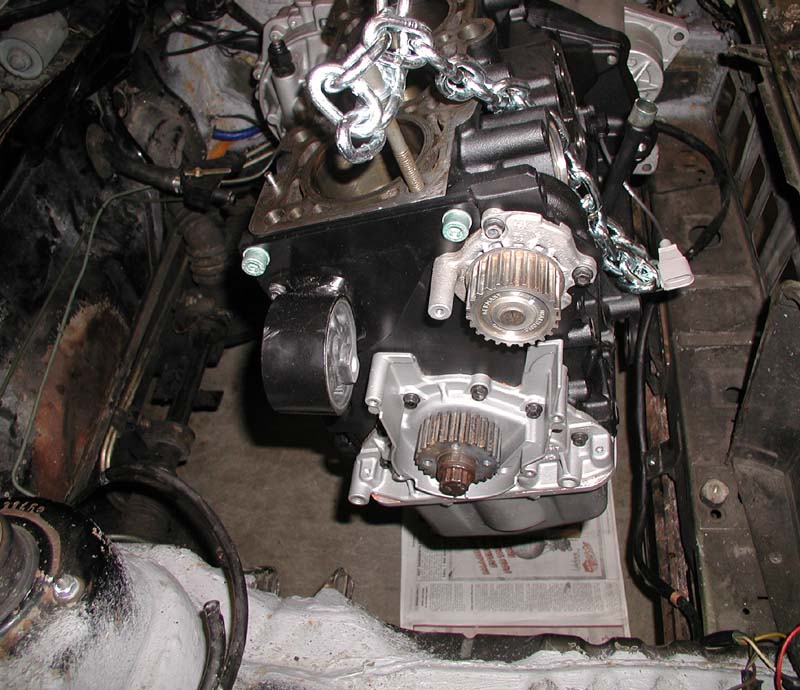
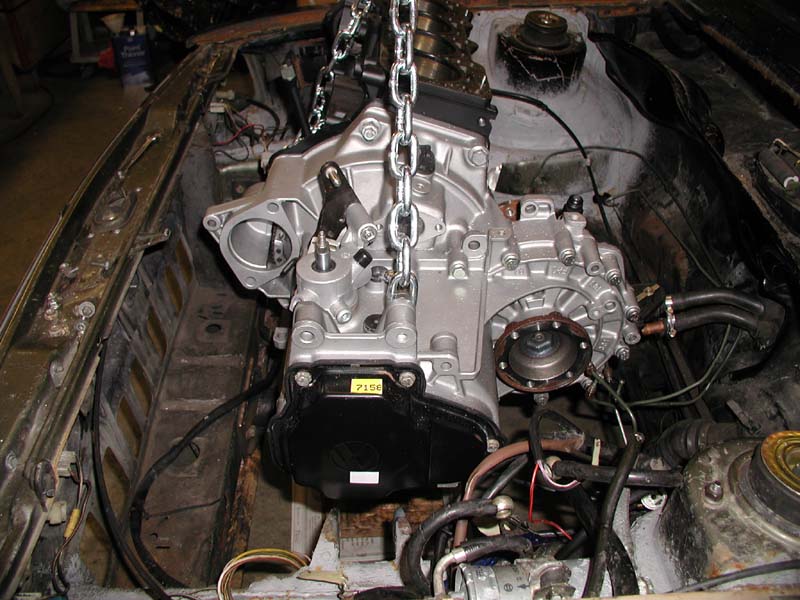
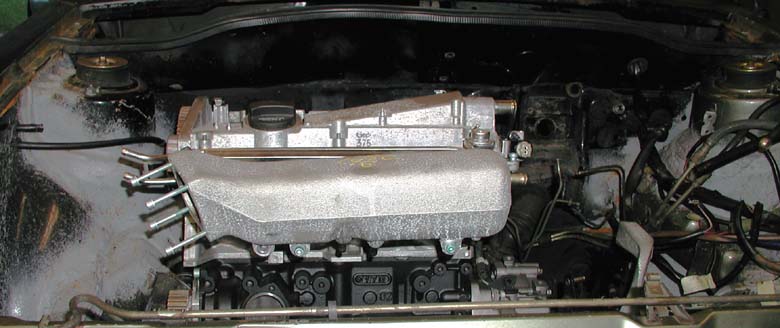
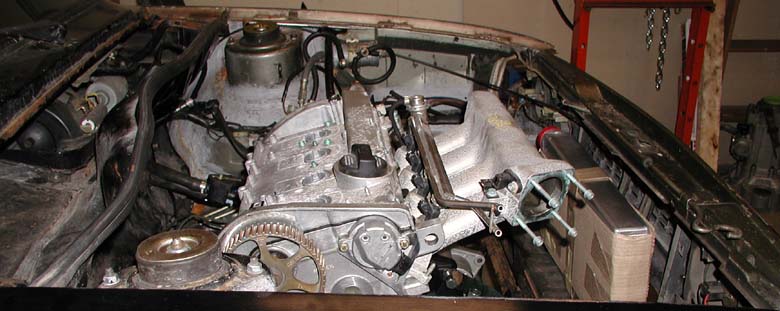
Shocky's now empty engine bay...but not for long....


Dan had been talking about putting a hoist in his garage since the first time I visited, but hadn't had the time to actually install one.  Well, no more....Dan did the planning, we headed to Home Depot to buy the parts to make the hoist, and then Dan bit the bullet and drilled a hole through the attic floor for the chain to live. 


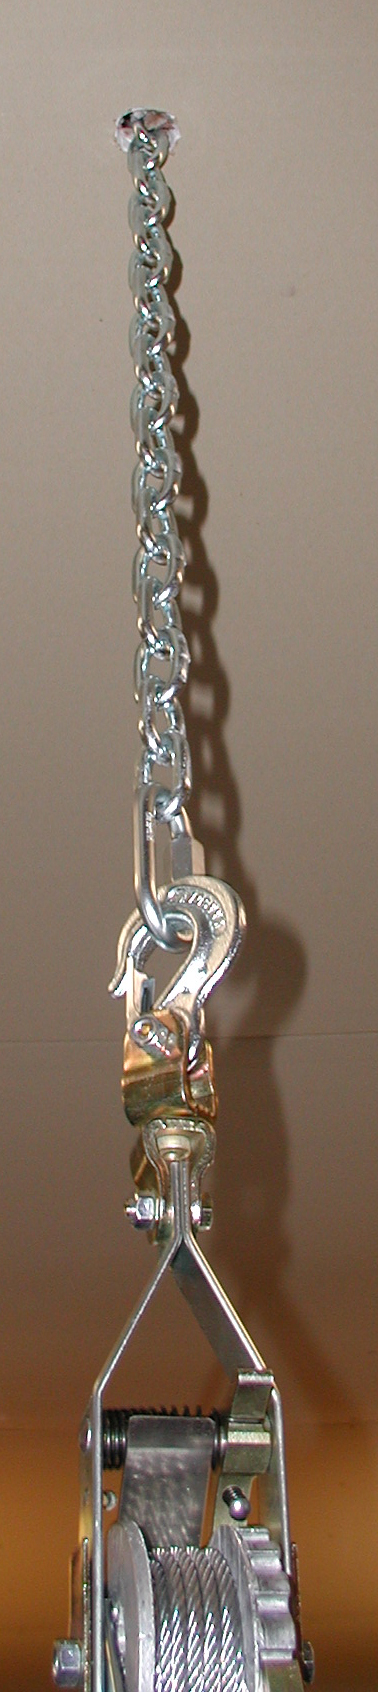
Dan laid out a big 'ol hunk 'o wood across the floor of his attic and then hung a chain from the center after drilling a hole through the ceiling of the garage.
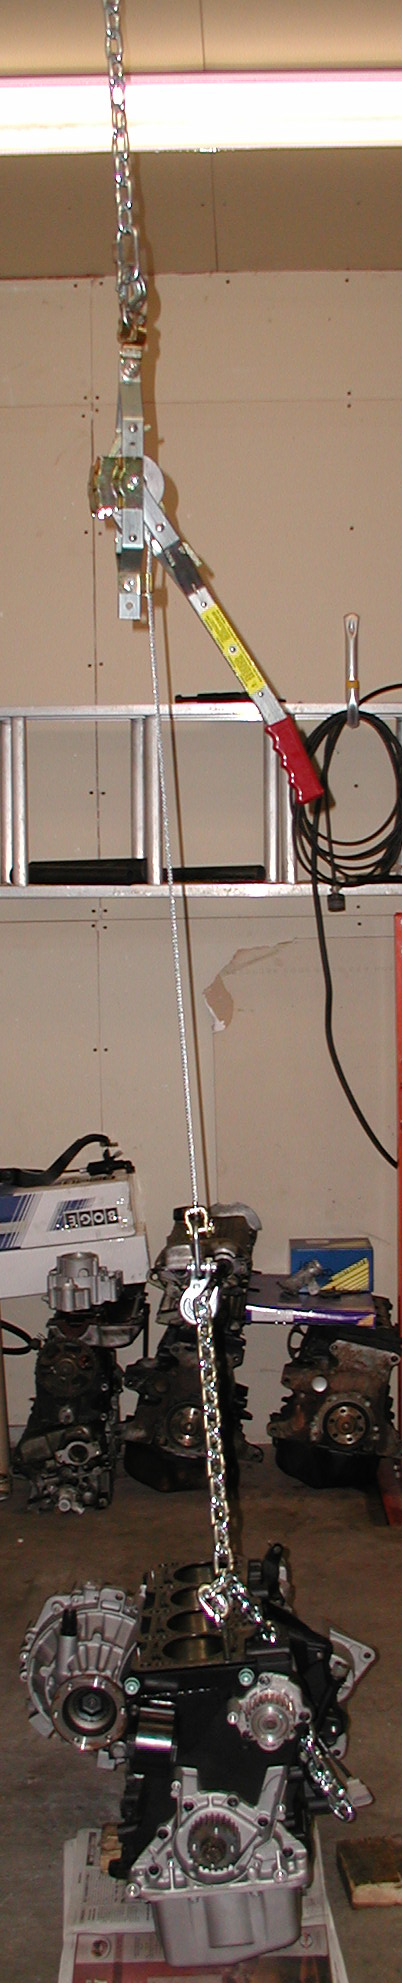

We proceeded to test the hoist using Shocky's AWP and 02J and all involved parties lived to tell about it (although it was quite stressful if you ask me):


We gave the new hoist a try


And then it was time for the real thing....


With the tranny resting on the jack, we made sure that the modified passenger side mount bracket was working.....It was.


After making sure that the engine was sitting in the engine bay in the correct orientation, it was time to trial fit the tranny mount brackets.  It had been really hard to locate someone with mounts that were designed to fit the 02J in the A1, but after searching high and low, we finally had a friend locate a shop who was making them.  Dan was skeptical about them from the getgo, but me being the ever-enthusastic optimist had high hopes for these mounts working  out.  So, with engine in place and baited breath, we first tried the drivers side bracket without the mount in place, just to see if it would line up:

.....And it didn't......in either direction....at all....by 1/2'' !!!!!  DAMMIT!

** at the request of the shop, I am not showing images of the mounts **

So, just to make sure we go and verify that the passenger side mount bracket and mount are in the correct orientation, that the engine is sitting at 15 degrees like it is supposed to and that there is no possibility of error on our part....

Everything looks good....


And so after confirming that the drivers side mount bracket was not possibly going to fit, we turned our attention to where the rear mount was supposed to attach.

And then just for fun, we try on the rear mount bracket.......and confirm that it doesn't come close to fitting either...

So, not wanting to leave the 02J just sitting on the jack, Dan quickly fabs up a makeshift drivers side mount bracket and we mount the tranny into the engine bay.  To prevent the engine and tranny from swinging freely, we also install the front mount and bracket.  The stock front mount and bracket don't need to be modified to fit with the AWP and 02J, however longer starter bolts will need to be used once it is time to install the starter etc.  For now, we just put the bolts in from the other side and leave it like that:


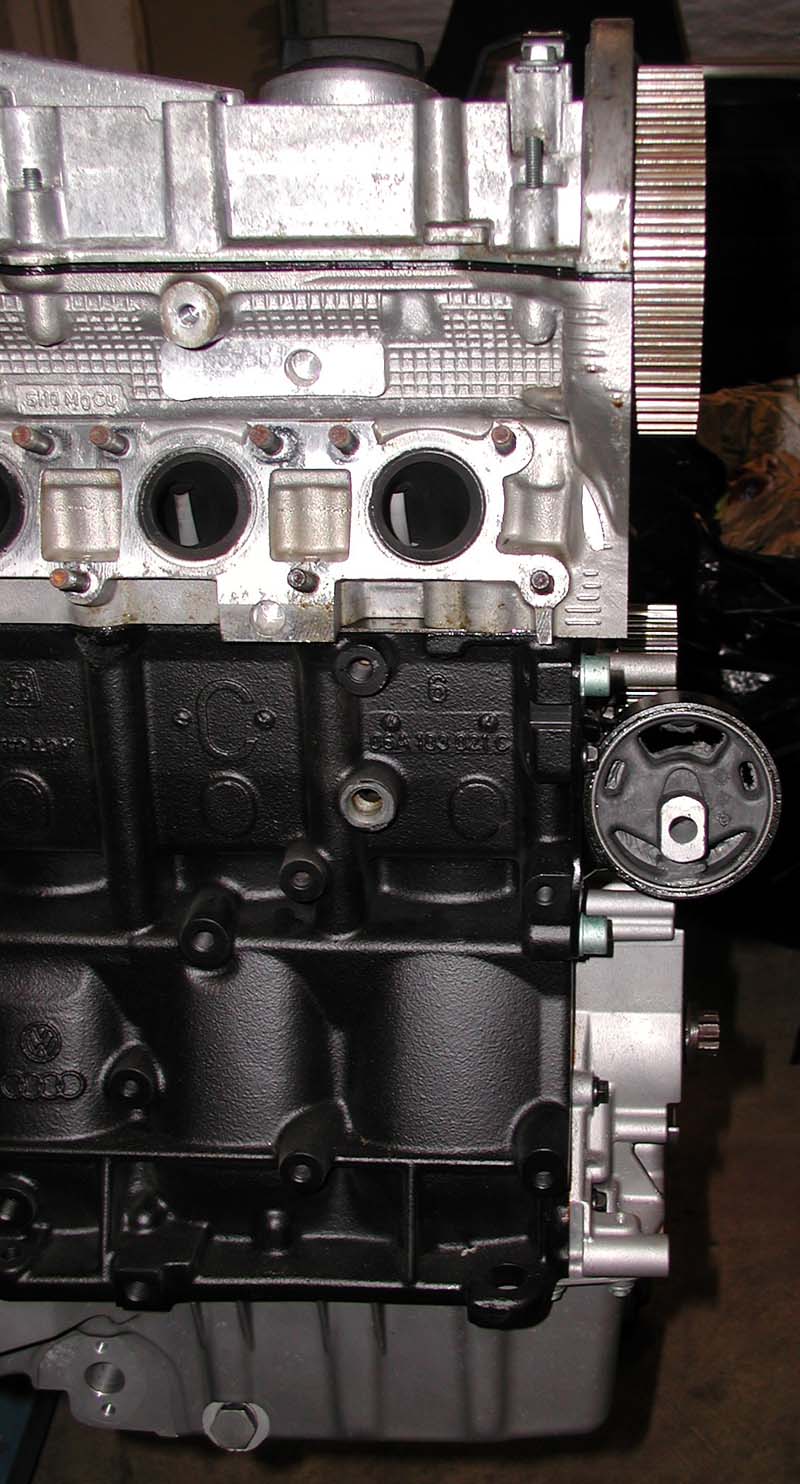
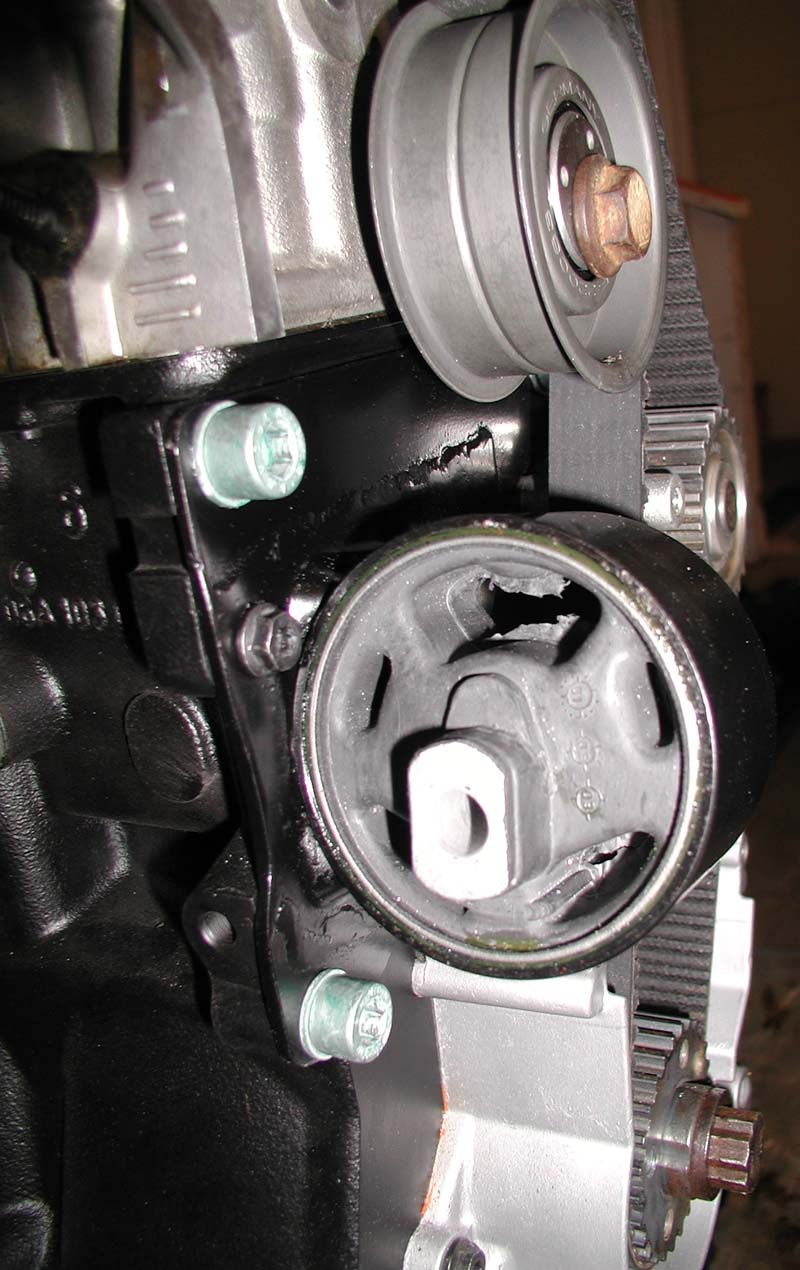
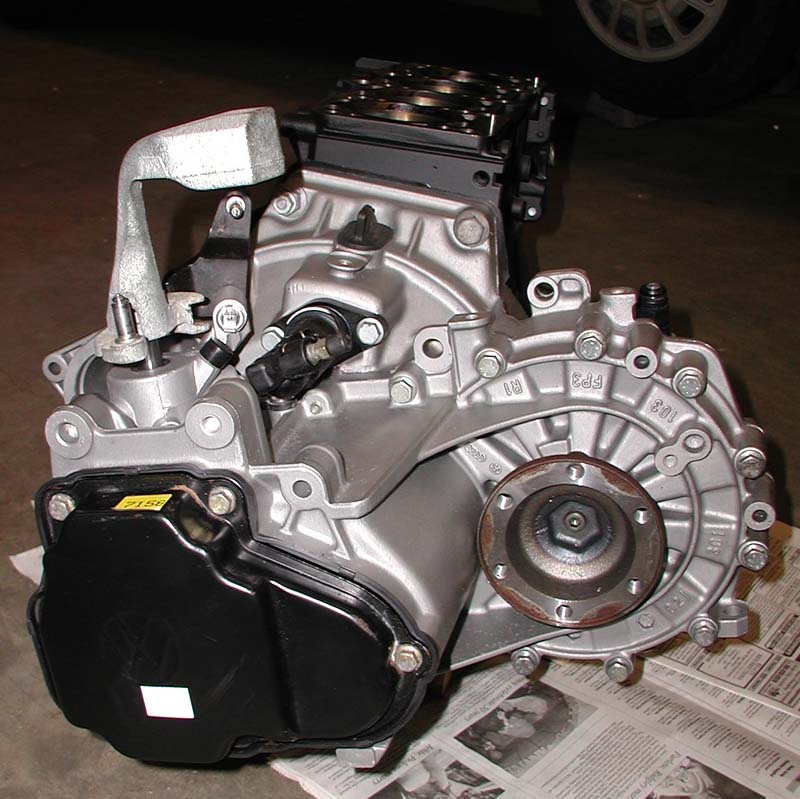
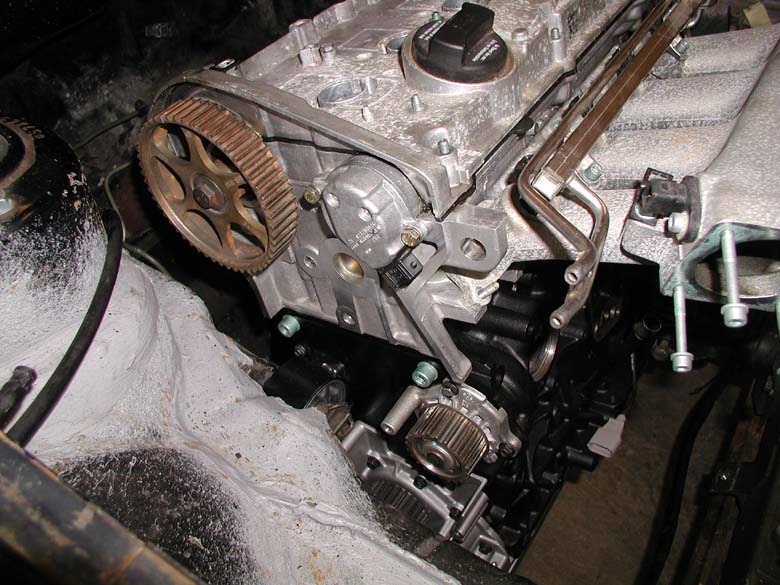
Stock mount bracket and mount fit with the 02J and AWP
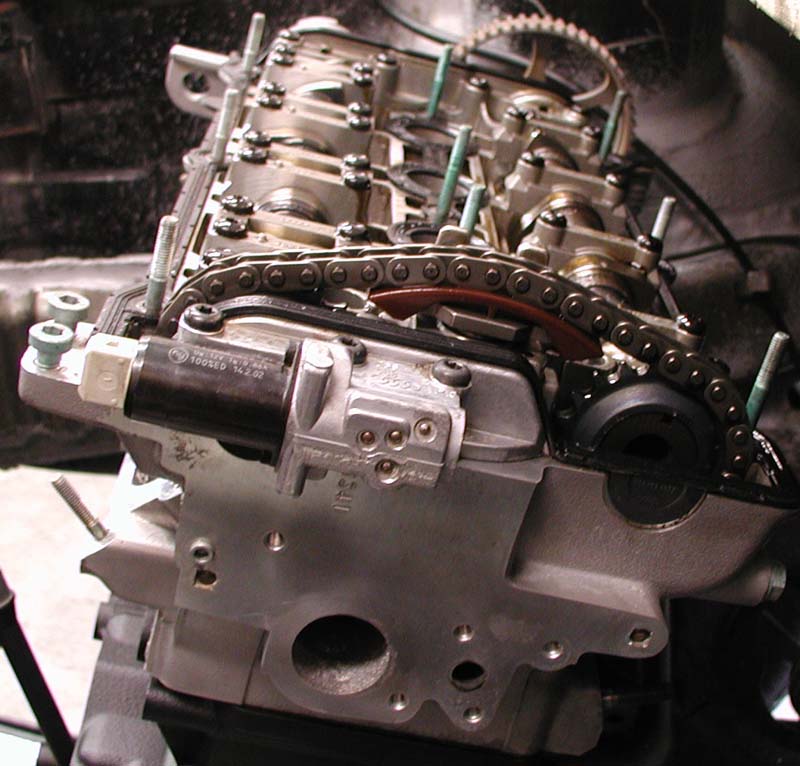
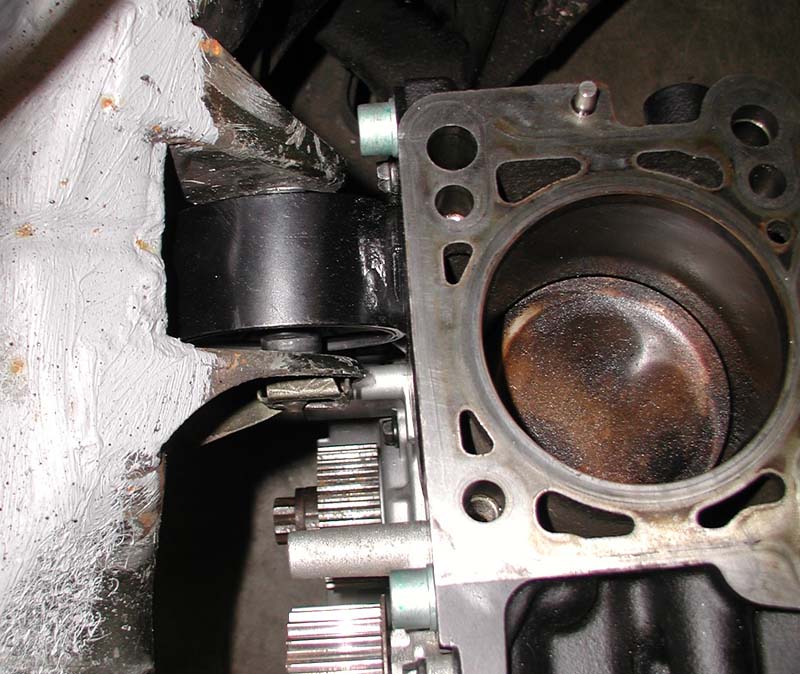
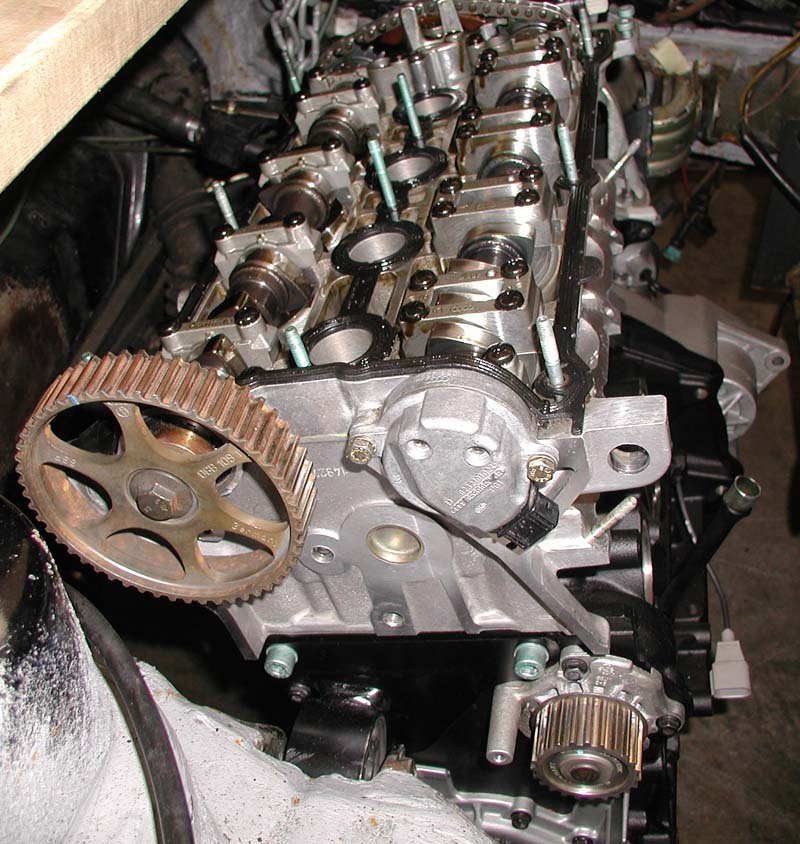
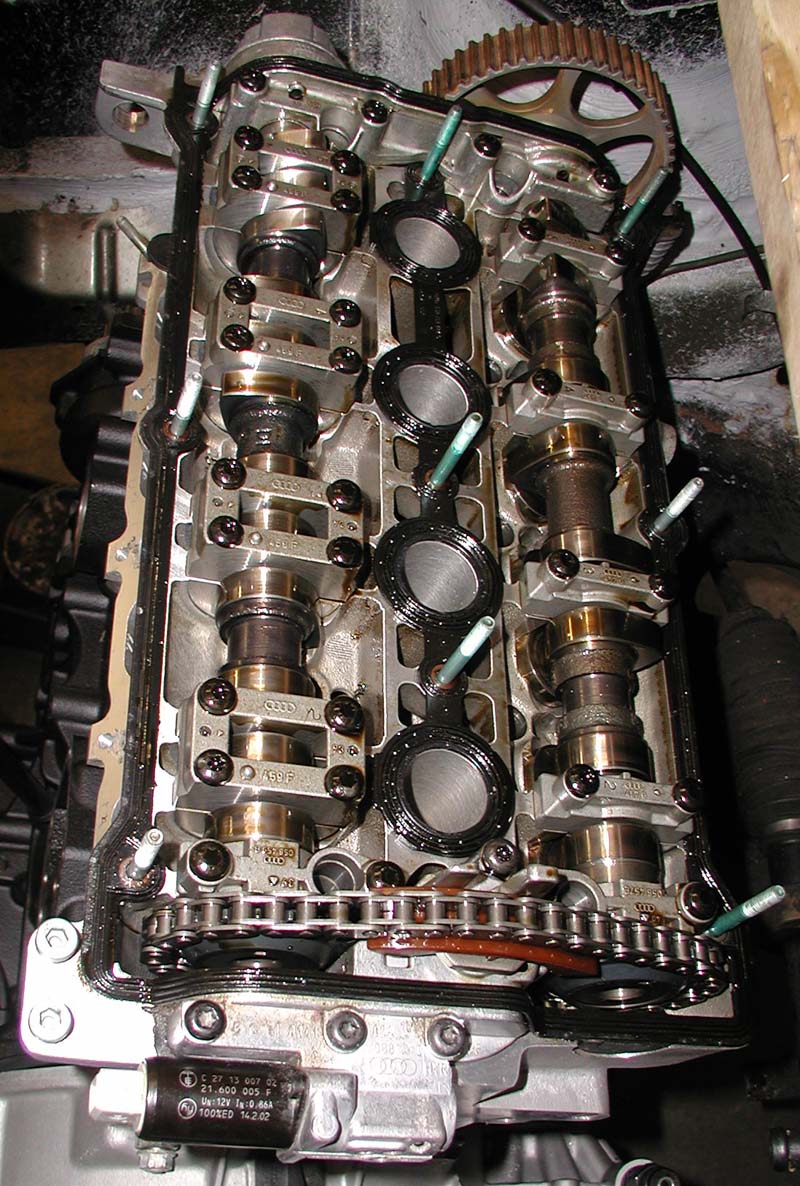
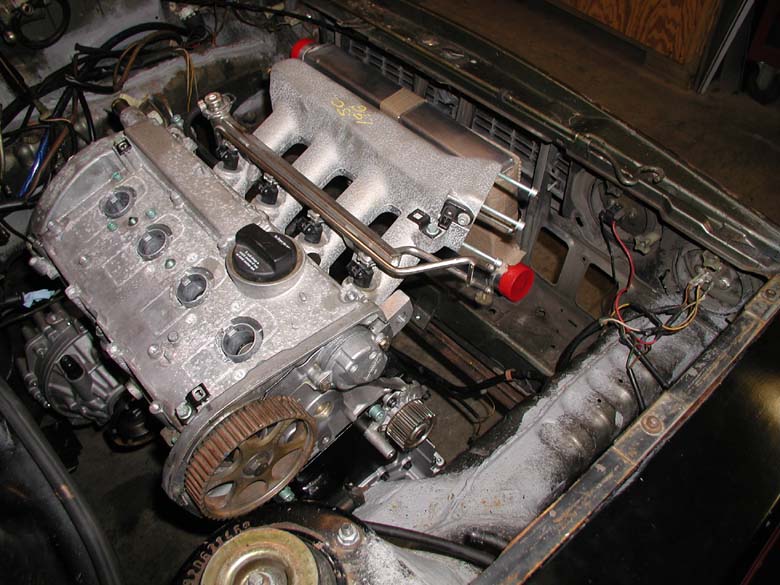
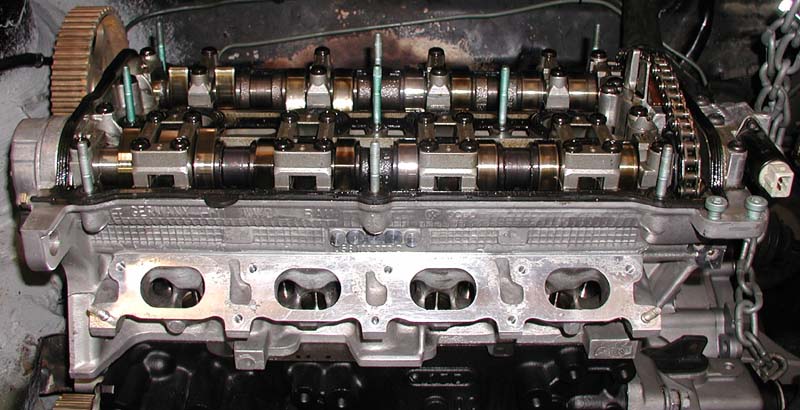
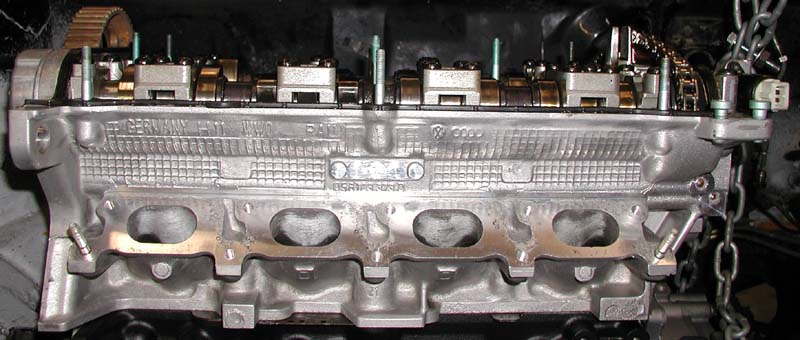

Well, since the entire rest of the engine swap hinges upon the engine and tranny being located in place, Dan and I move on to other things since the engine part of the swap is essentially dead in the water for the time being.

The cylinder head along with the valve cover and pretty much every other component arrived to us in a rusty, corroded, and generally not-so-clean state of affairs.  In the downtime I turned my attention to cleaning up the head...and although you can't really tell per se from these pictures, I got the thing pretty damn clean!  These pics are more for showing off how awesome the AWP is!


Clean cylinder head after many hours of work

Dan and I also take this opportunity to trial fit all the big bulky stuff that could potentially have problems clearing the hood.  So we throw on the intake manifold and valve cover and put the hood back on....

It clears....but just barely.  So, the plan is to tilt the engine and tranny forward a couple of degrees to allow for a bit more clearance between the intake manifold and hood. 


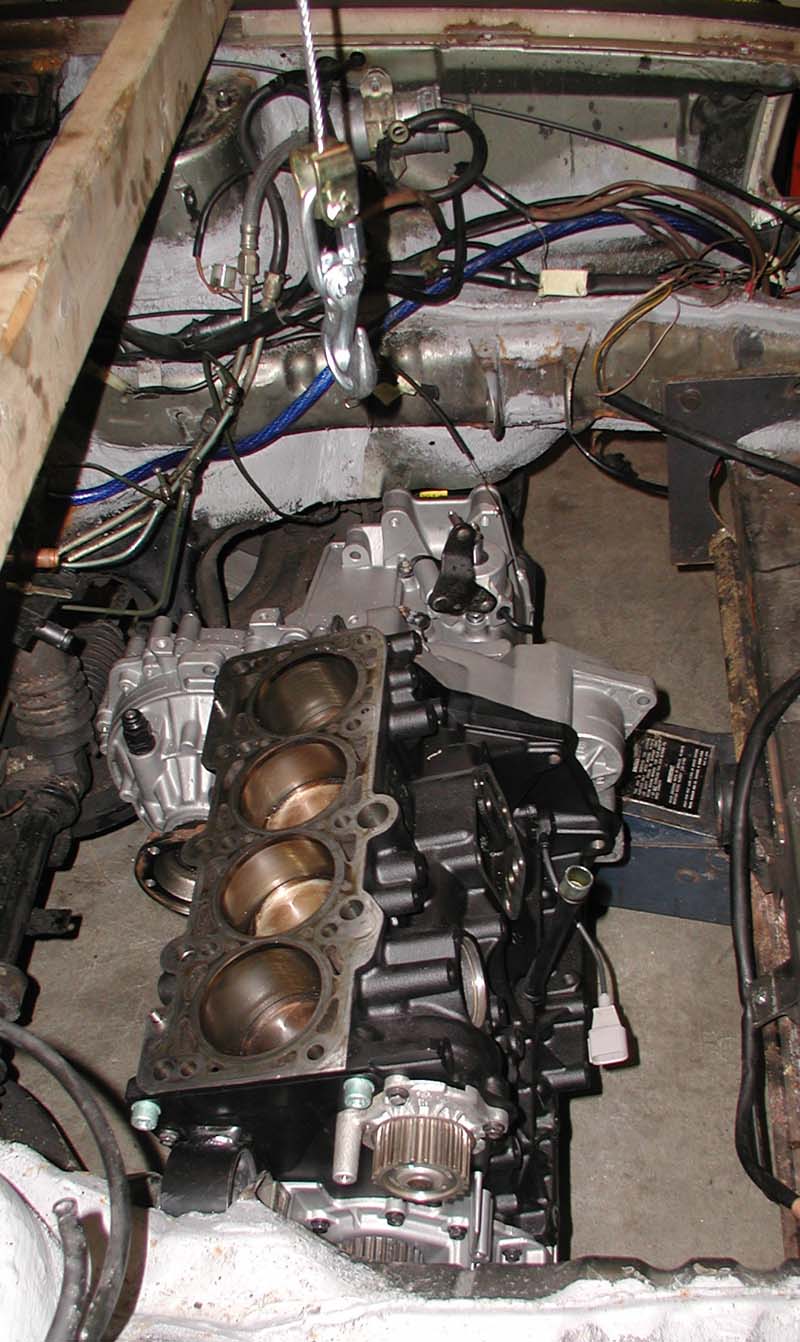
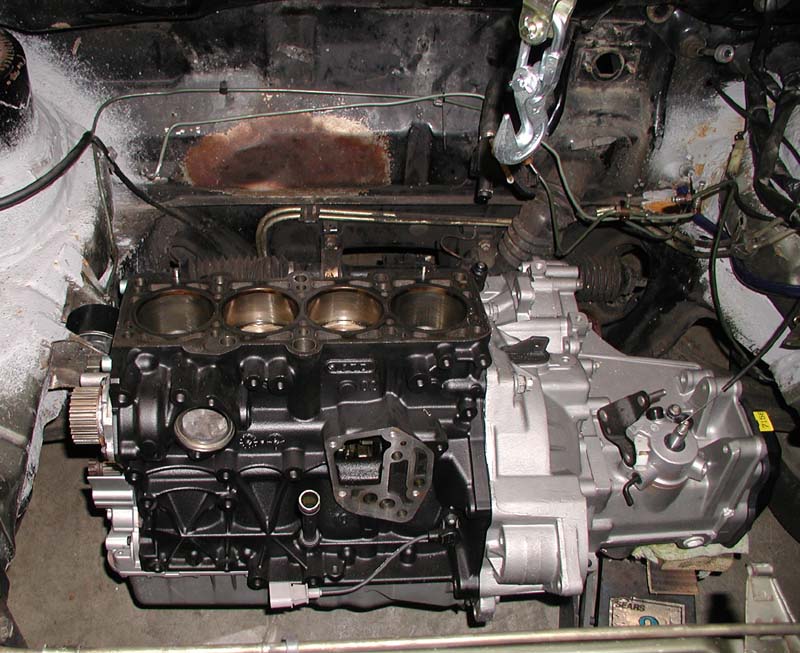
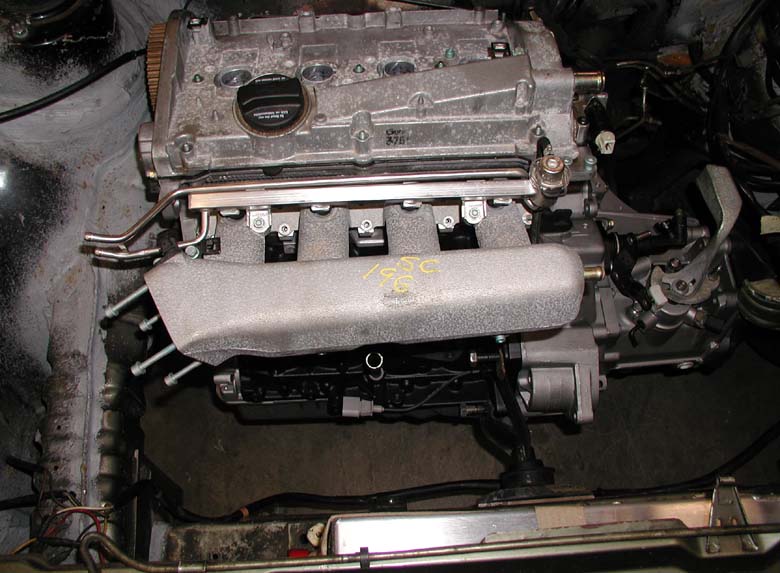
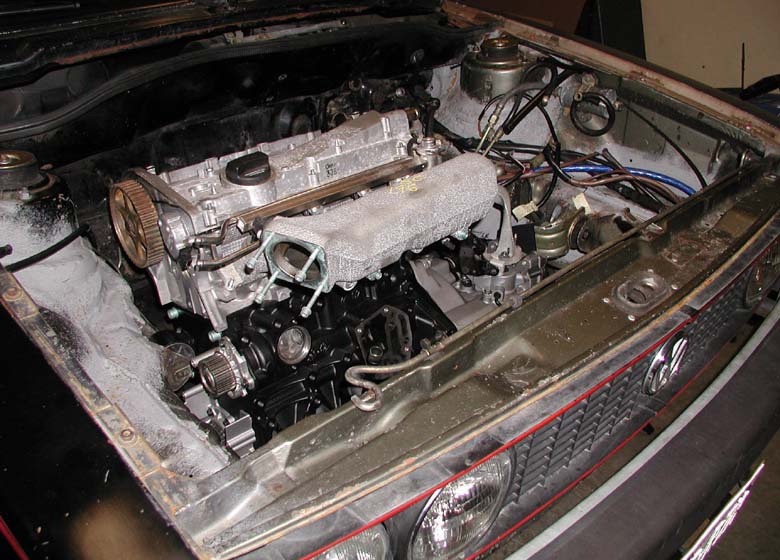
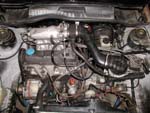
Shocky's engine swap status at end of March

And so that ended the engine portion of my March visit...so on to the non-engine related parts...we didn't get as much done as we had hoped for, and we came upon many frustrations, most of which I haven't mentioned on this page....but I will start the bitching several pages down the road from here...


PREVIOUS
INDEX
NEXT


Engine Removal
SHOCKY JR.'S RESTORATION AND UPGRADE ADVENTURE CHRONICLES


More New Stuff


No navigation frame to your left?  Click Here: