SHOCKY'S APRIL NON-ENGINE RELATED PROGRESS

Well, the actual engine swap was still dead in the water because of the mounts not being done yet, and so Dan and I spent my April visit working on non engine related items like the front suspension.  I was only out there for 4 days, so there wasn't much time to devote to any one thing in the first place.  The visit started quietly enough.....:


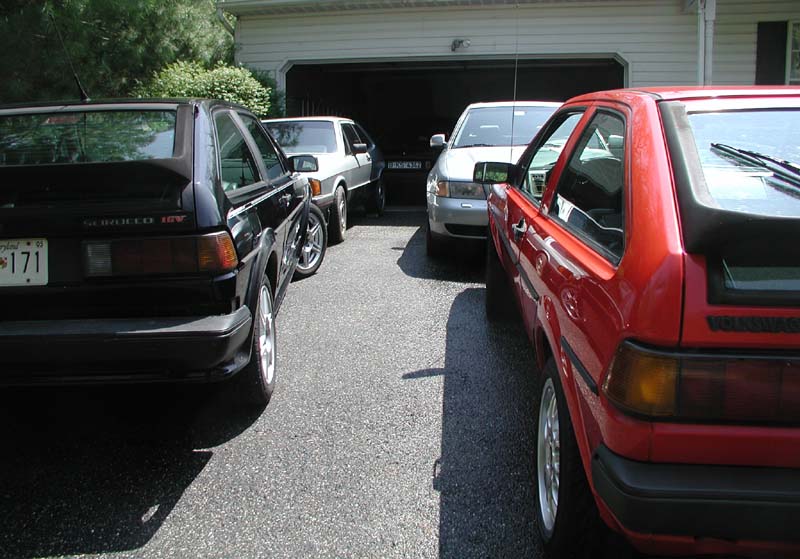
Approaching Dan's place, something seemed awry, but I couldn't quite put my finger on it.......

Dan's Sciroccos were being  awfully quiet....
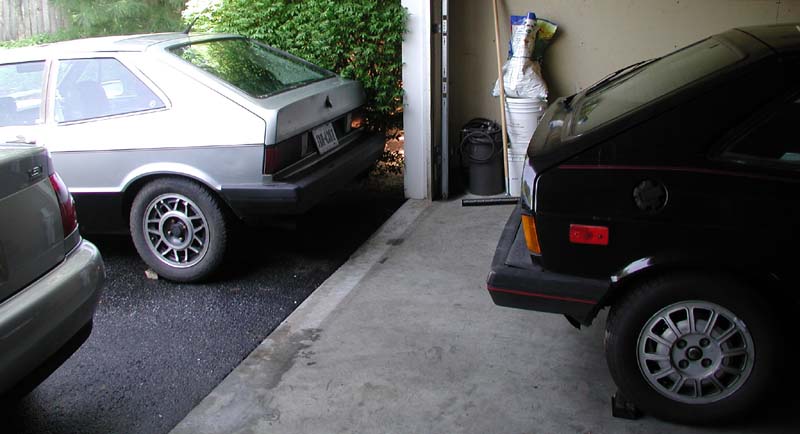
As I round the bend and come up towards the garage, I realize what is going on....

Dan's Sciroccos and the Audi have turned their backs to Shocky!!!

Poor little guy.  You can see them here talking amongst themselves and poor Shocky all by himself in the garage with his back to them....
The worst of the bunch being Dan's '81 of course.  Shocky's own brother!  Dan tells me it is just because Shocky gets the garage to himself...., but I am not sure...I wonder if they aren't all jealous Shocky...


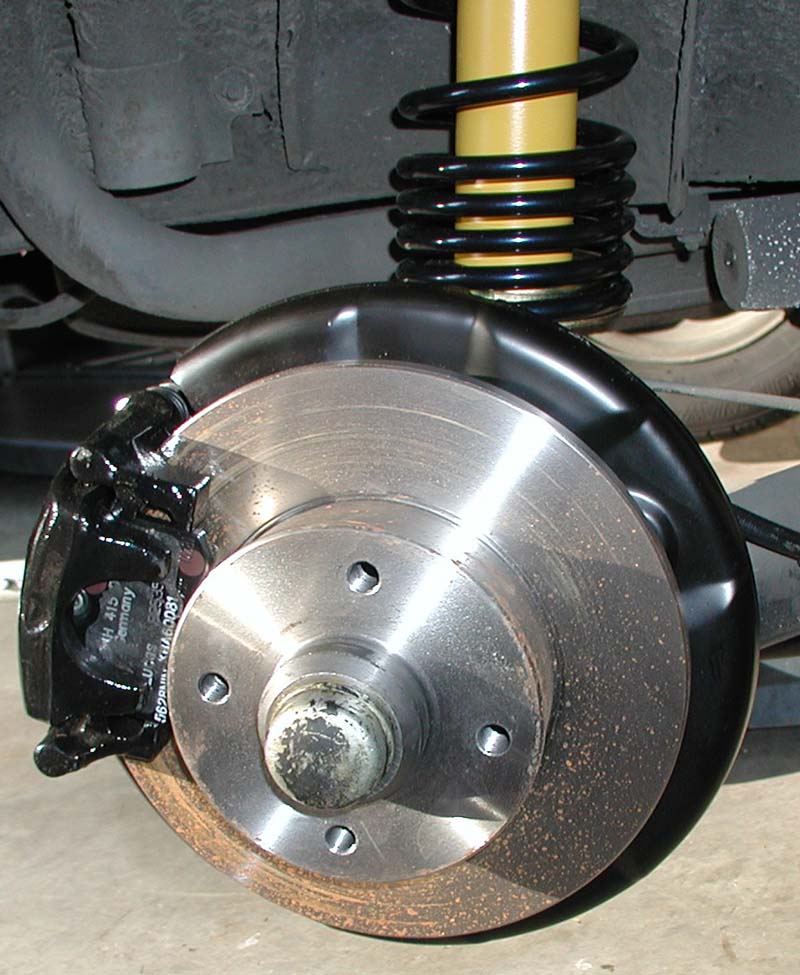
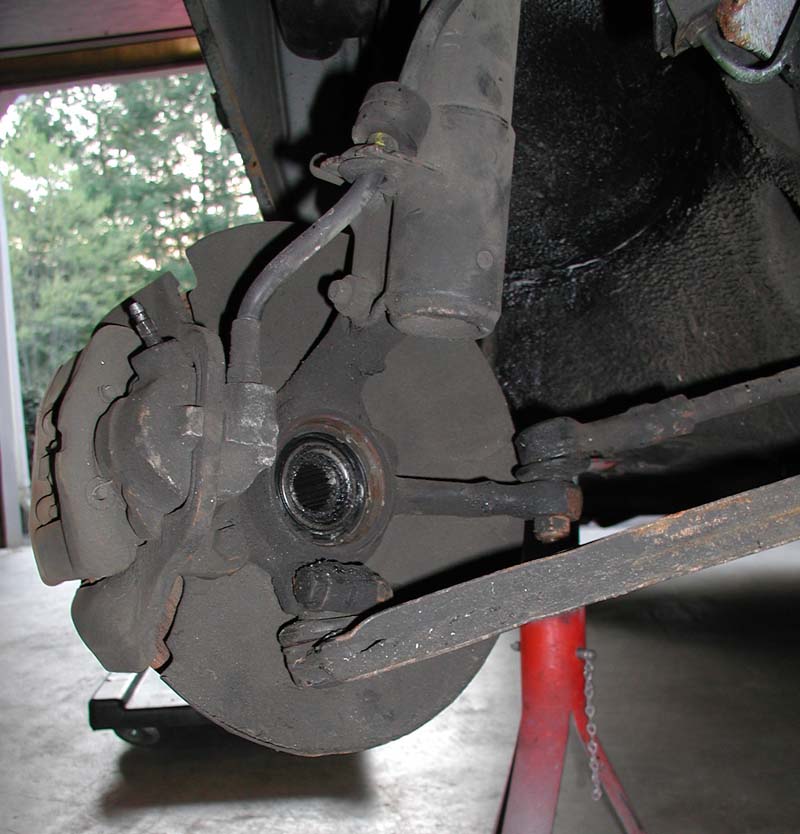
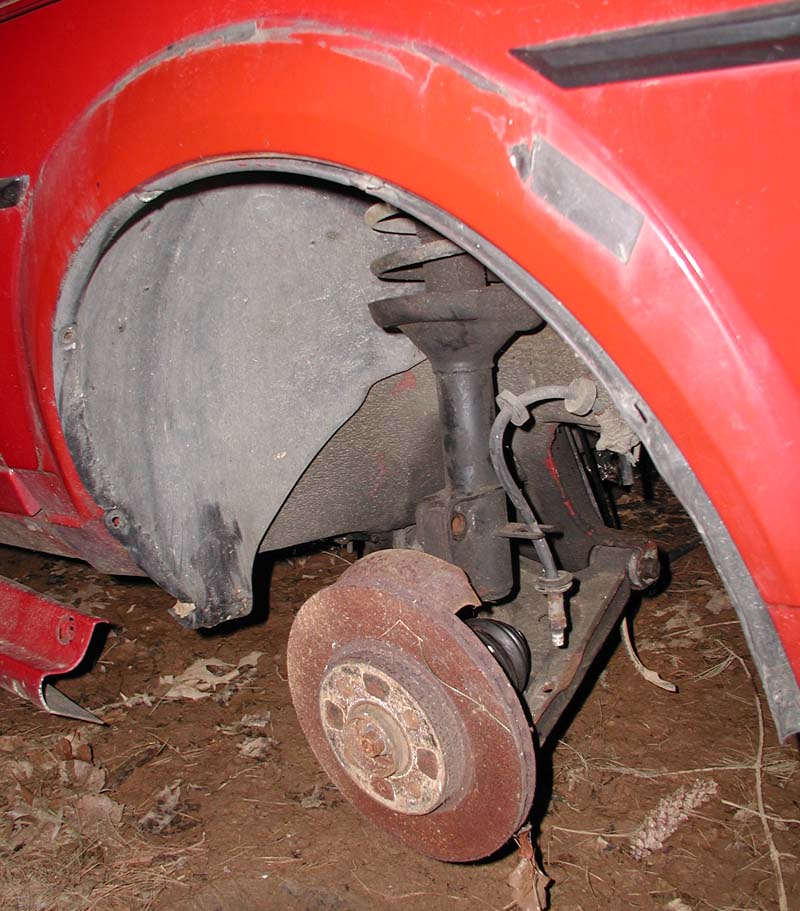
So it has been 1 month since I installed these rear rotors....and already, they have rust!!  @#*&$!*&%!@!

So, keeping with tradition....I followed my patented "set unrealistic goals and expectations so you can fail miserably and feel sucky" routine and set out to get everything you see below installed and functional (at this point in time I had only 1.5 days left in MD).  This may not seem like a lot, but keep in mind that Dan and I both have the same sickness:  We have to make everything look just so and nothing goes back into the engine bay in the same condition that it came out in.....ie everything must be cleaned, some of it painted, and then all of it installed.  Perhaps that is why we enjoy working on car stuff together....I think I may have one up on Dan though in the "Wow, is that ever so obsessively neurotic" department...Now if only I could apply that same theory to the outside of Shocky Jr..... <heh>


Yup....Gonna make Shocky happy with new suspension stuffs!  So just the usual routine for removing the suspension components....until....


Until the realization comes crashing down on us that Shocky Jr. has the older style upper spring seats....and the new springs require the later style.....


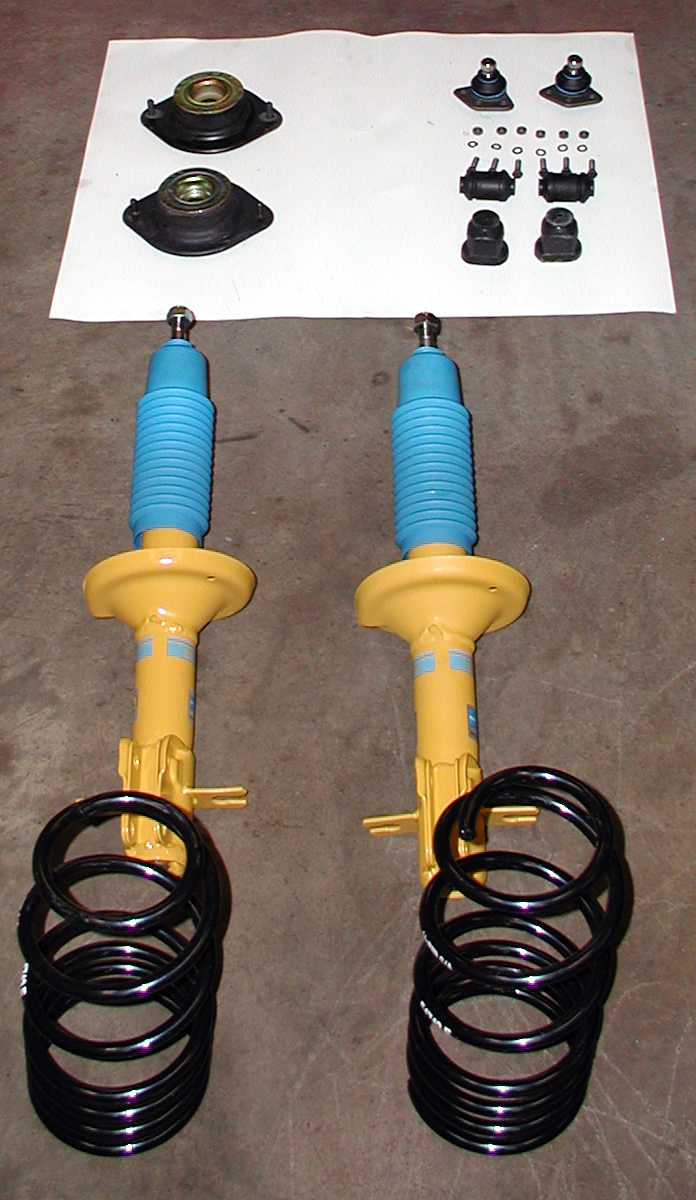
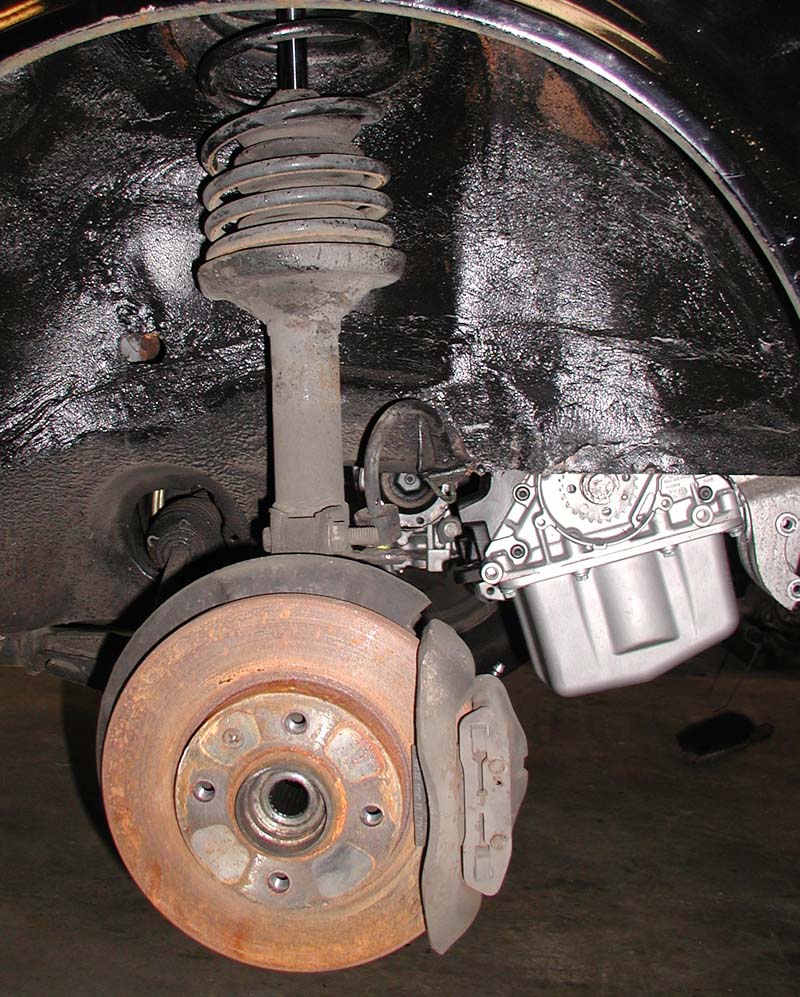
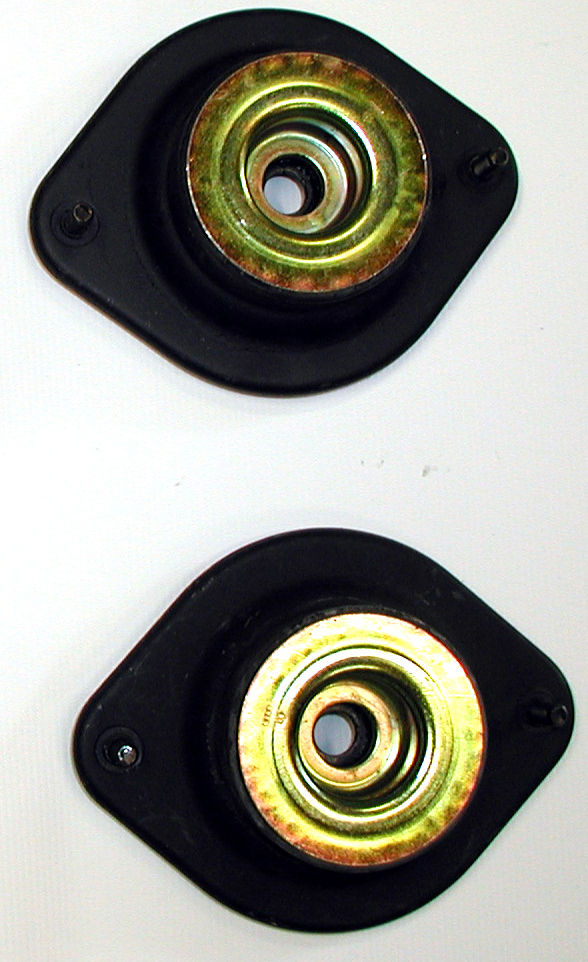
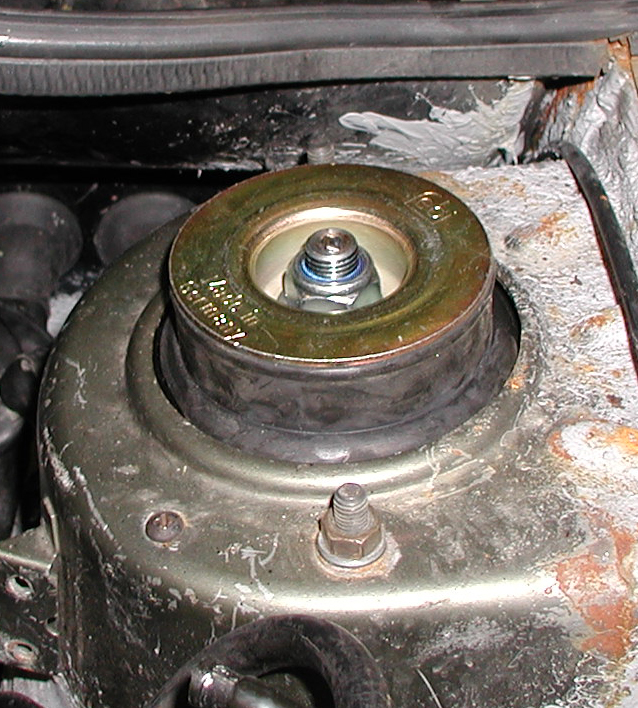
This is the older style of upper spring seat....and apparently it doesn't like to commingle with the new H & R springs....

Well, I thought that all was lost....but Dan has this red 16V parts car that he is in denial about owning and likes to keep hidden from the watchful eyes of his neighbors.....and so, he and I set off on the long journey through the brush to find and harvest a set of spring seats for Shocky....

Two problems with this whole scenario....1. It is dark....2. It had rained recently and the ground was far from dry -- so essentially we were working in the middle of one big puddle of mud.  I use the term "we" loosely here since really I had the job of flashlight holder...and far be it from me to deviate from my main responsibility......<heh, thanks for getting dirty, Dan!>

So a bit of fumbling here and a few bolts later (after some moderated cursing) and.. Success!

We return victorious from our kill, the freshly harvested spring seats would soon be ours...!!


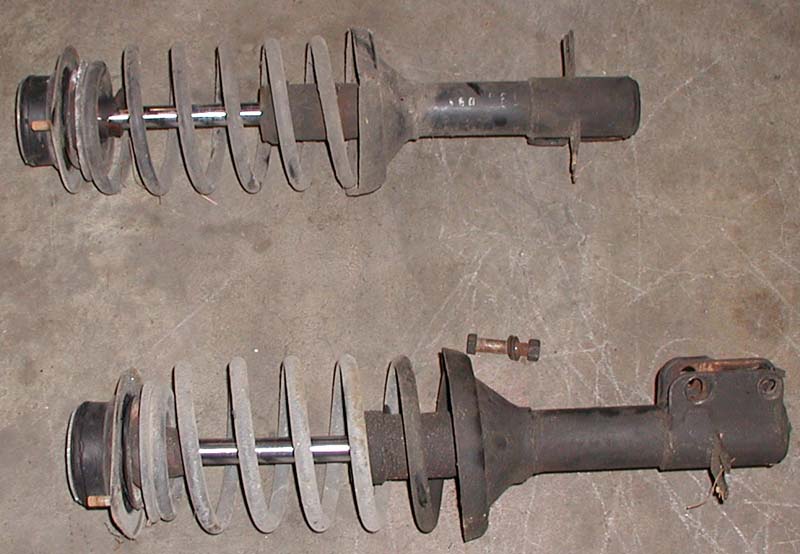
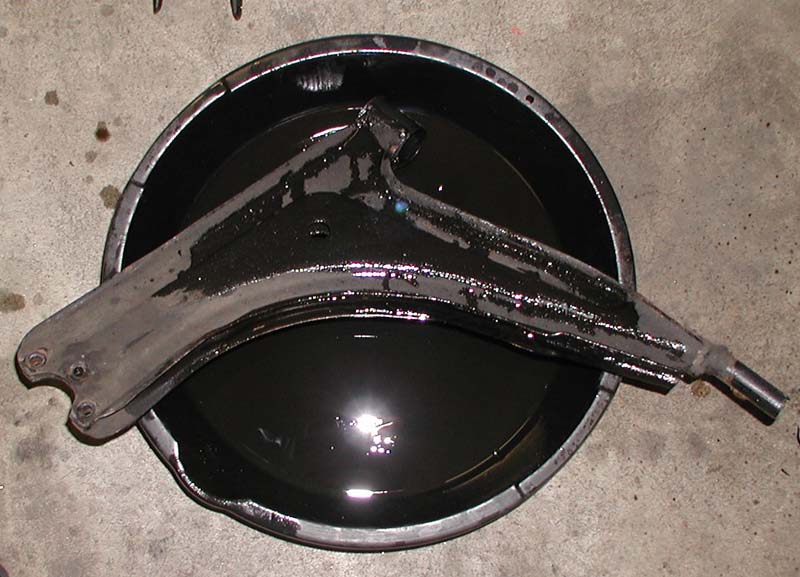
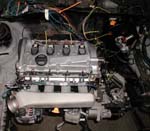
The harvested parts from the 16V....ah a good kill!  Victorious are we!

And into the paint thinner the little guys went to get all cleaned up for assembly.  Dan and I briefly wrestled with the notion of painting 'em, but exhibited remarkable restraint when we collectively decided to "just not go there".  A couple of turns with the impact wrench and we were good to go.....


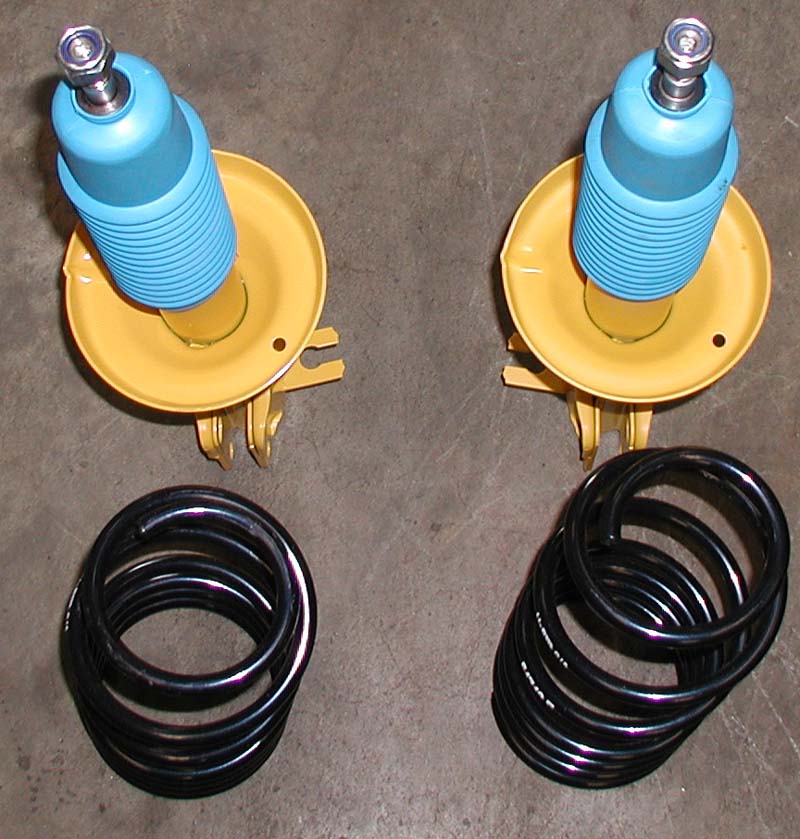
The newly transplanted spring seats seem to be taking well to the operation.....
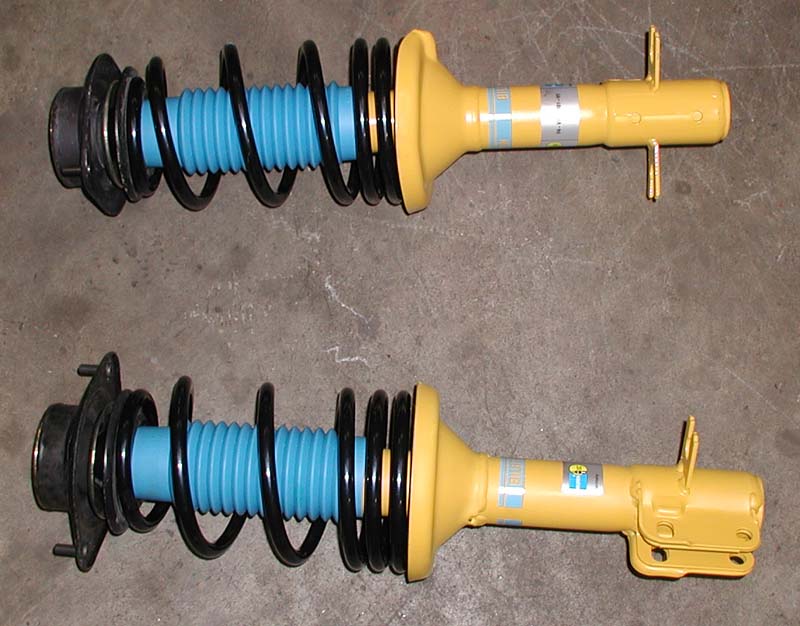
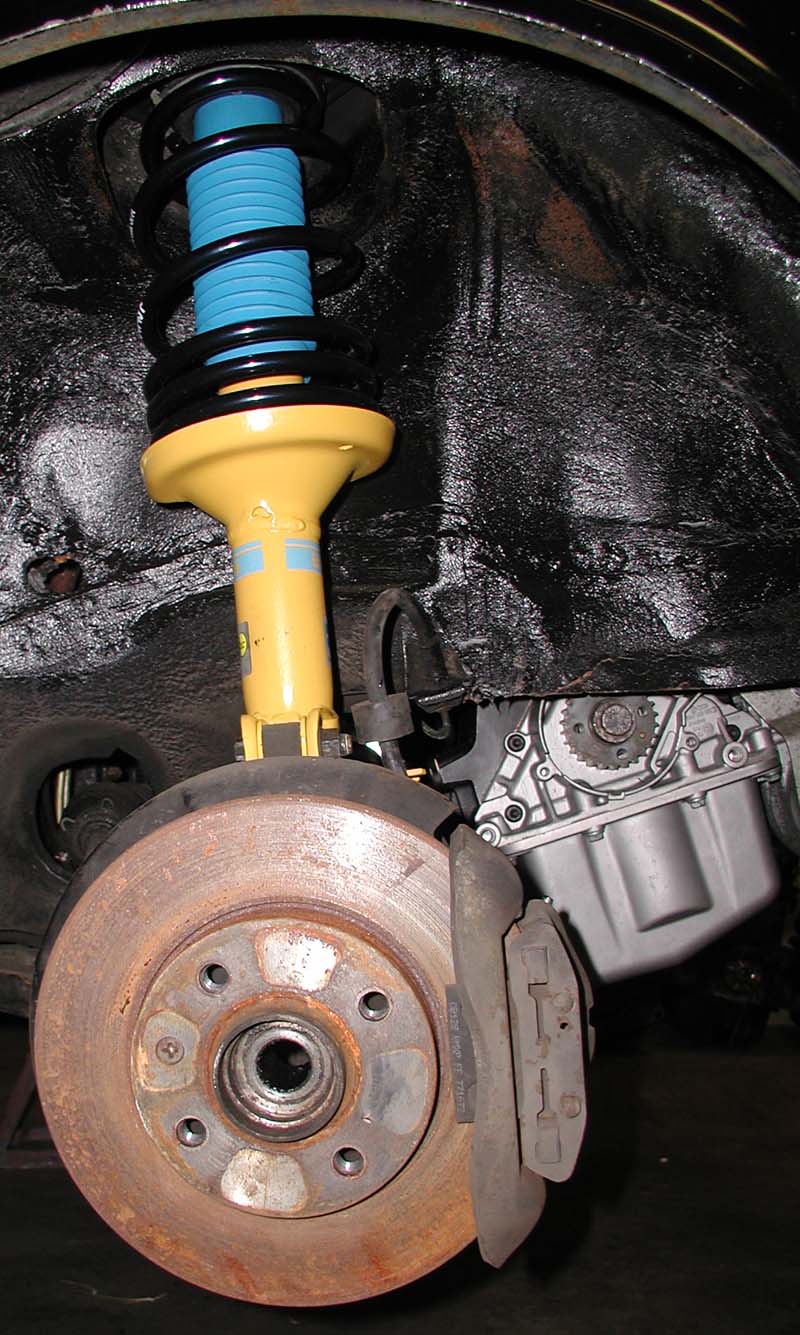
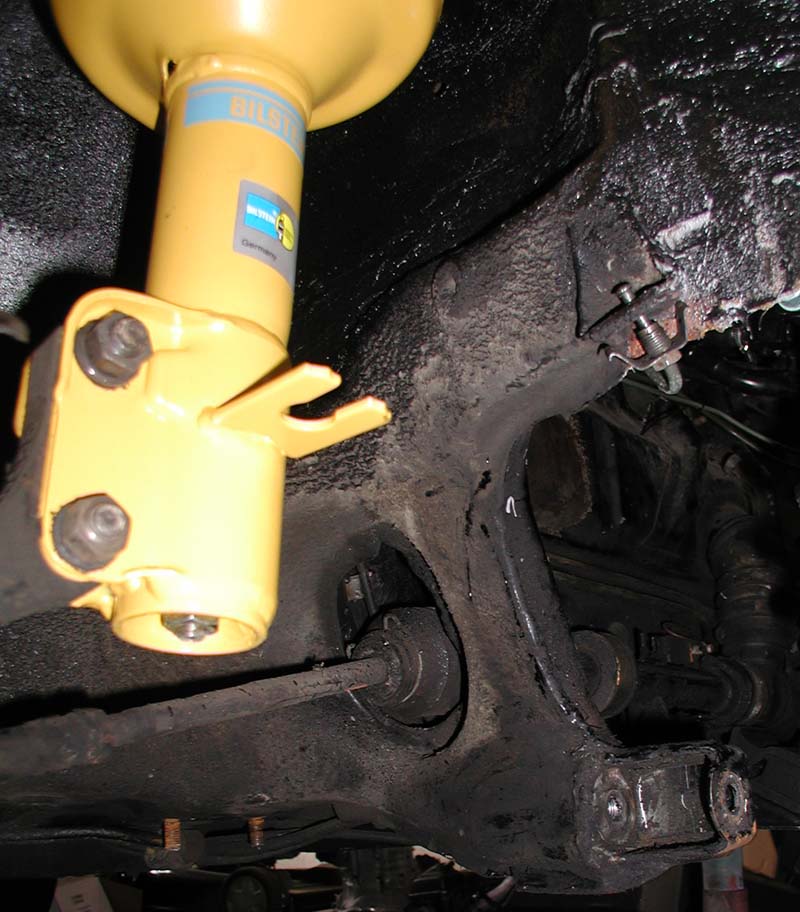
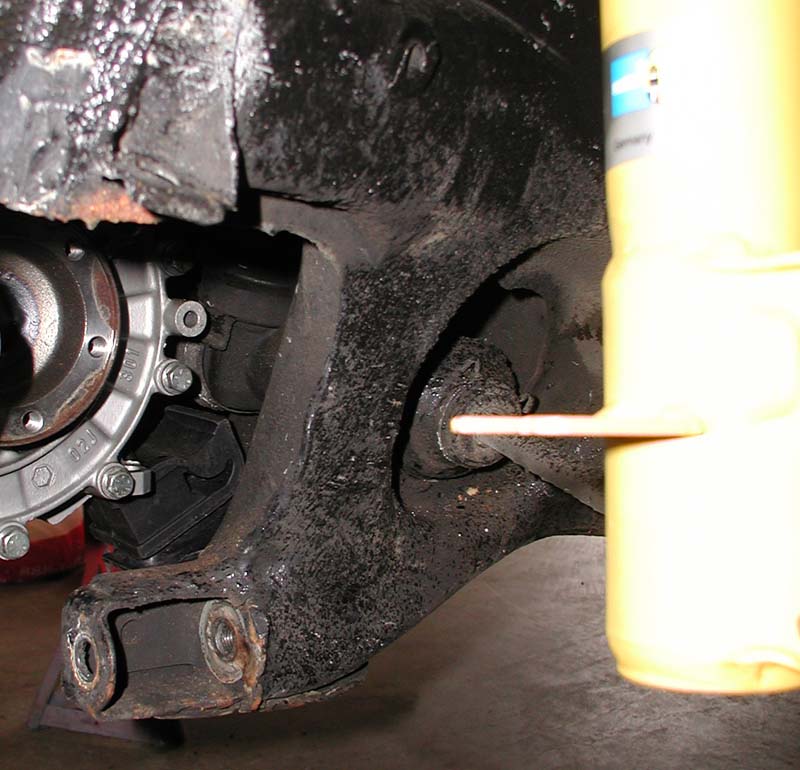
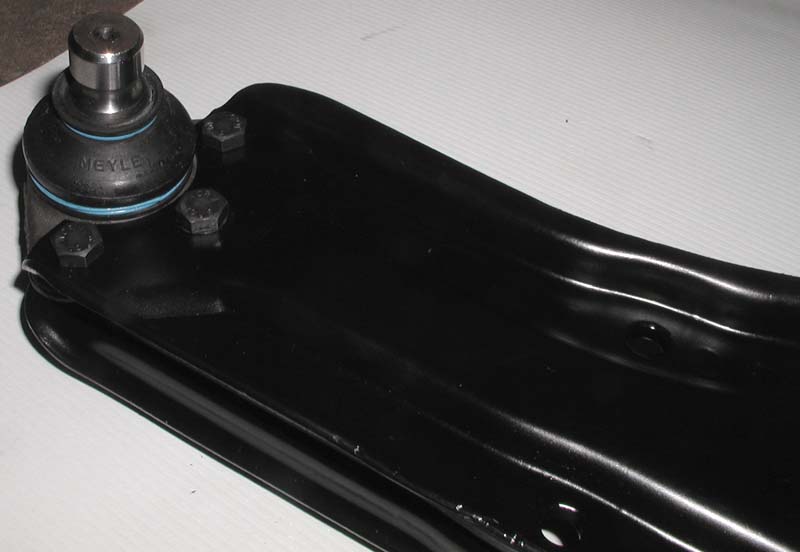
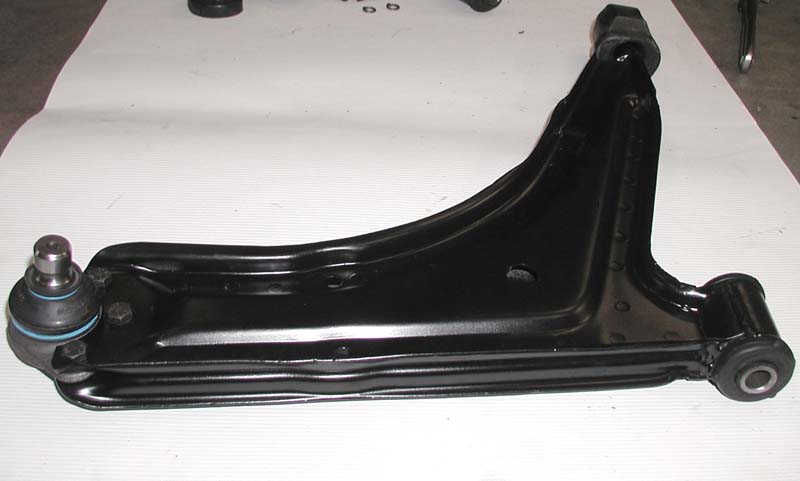

And 
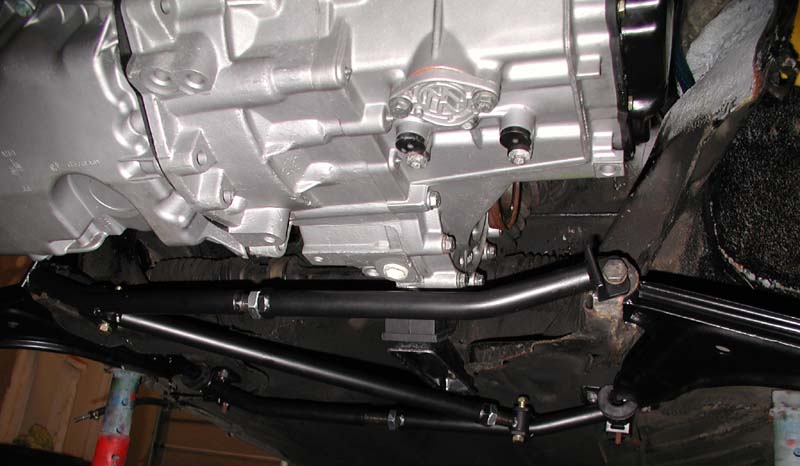
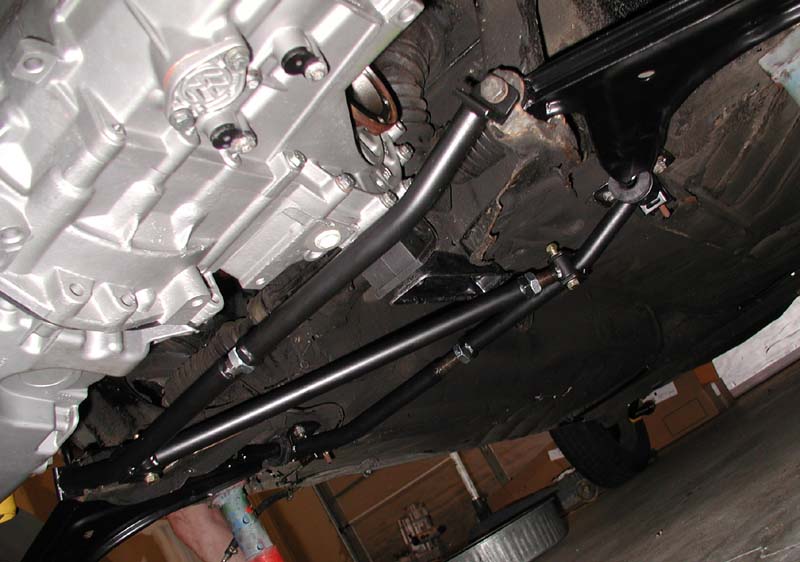
so into the car the assembled struts / springs go....so we can move on 
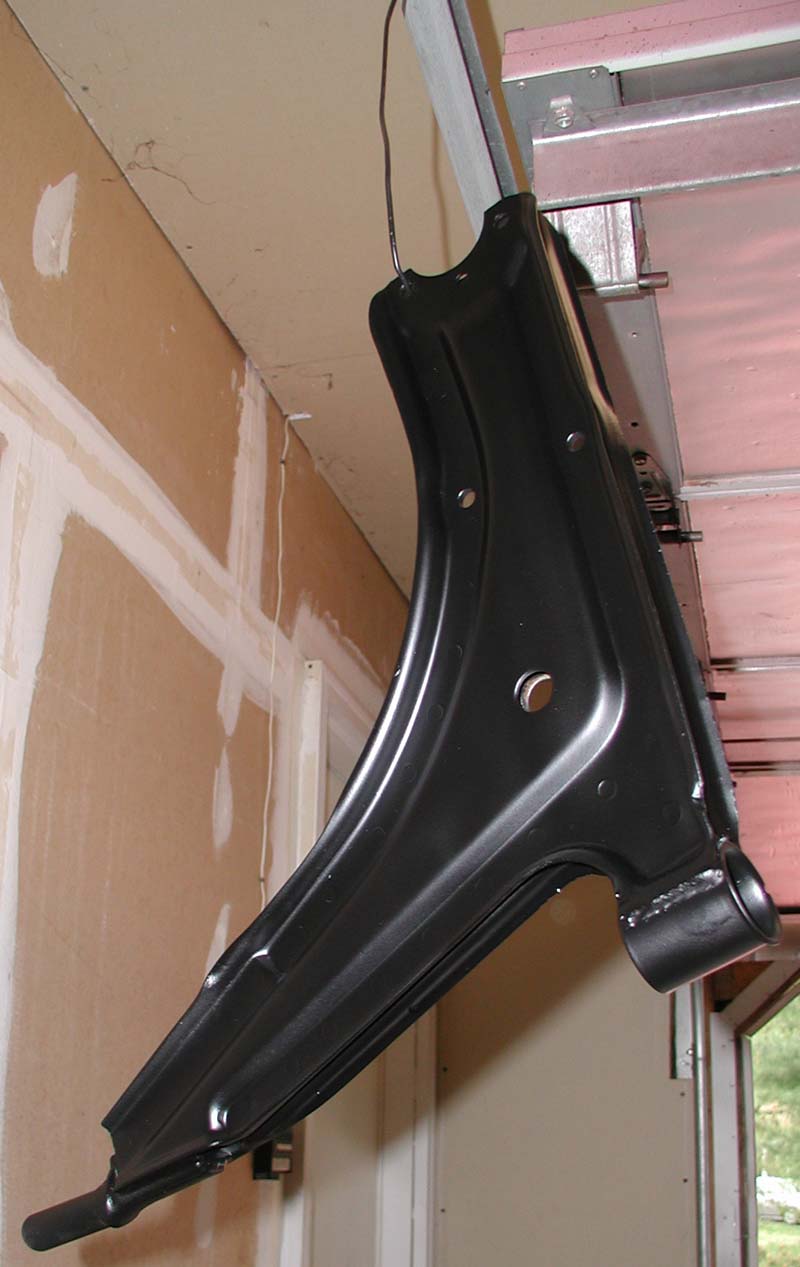
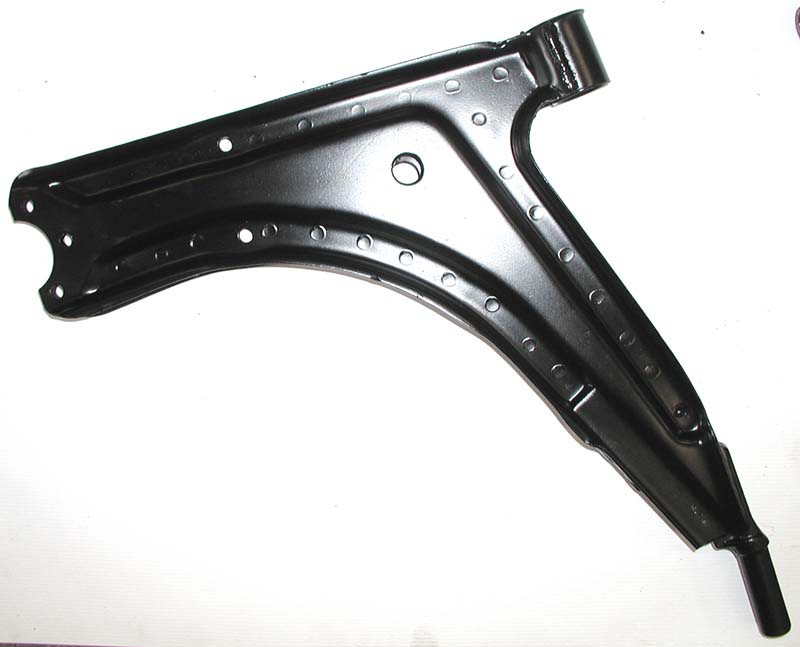
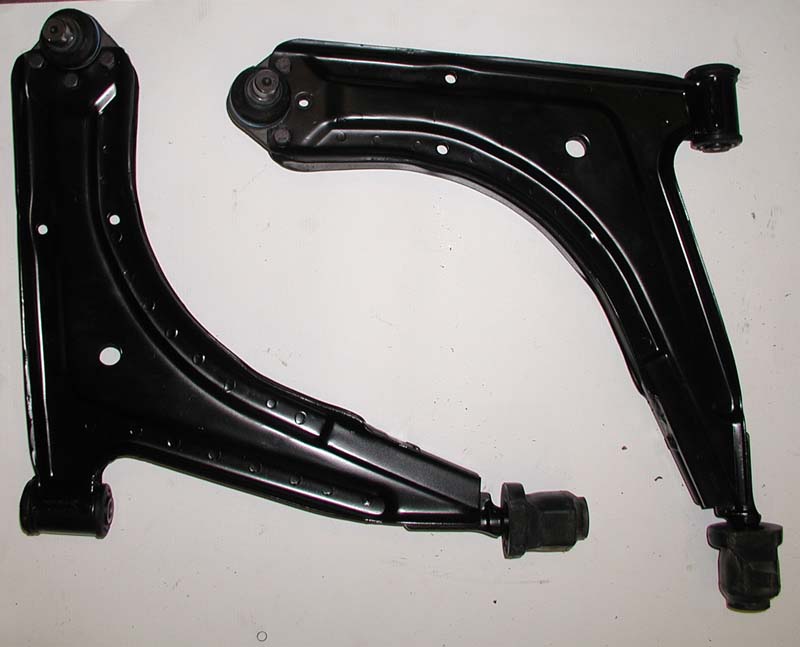
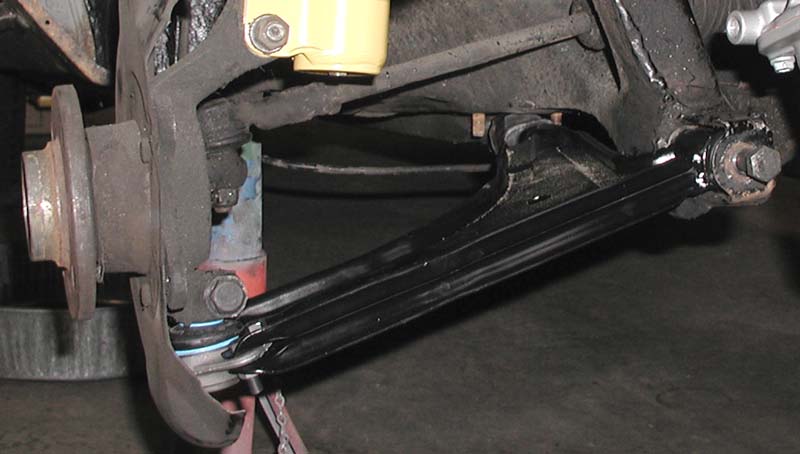
to bigger and better (and lots more dirty) things...the control arms....

So with a bunch of things hinging on the completion of the control arms....Dan and I boldly forged ahead.  Since the plan was to install the front sway bar and subframe, holes would need to be drilled in the control arms to accommodate the brackets.  We also wanted to verify that they were in good condition plus we needed to install new ball joints and bushings.  Shocky's were in good condition <yeah!> but as to be expected, were very dirty.  So, off to the bowl of paint thinner they went, and after much scrubbing, purple power (it works wonders), and lots of elbow grease, the control arms emerged ready to be painted.  Dan is absolutely awesome about allowing stuff to go into his oven to help with the drying process, and so these babies headed to the oven and soon were ready to have new stuffs attached.


So, onto the rest of the stuffs.  Let me just say, that I am SO glad that Dan has a hydraulic press!!   In  record time, those bushings were pressed on and ready to go...


Now on to the ball joints...So the new ball joints went on and then much to my dismay one of the nuts promptly stripped out which you can see in the bottom picture....  Looking at the bolts and nuts after that, it was noted that they were really, really long for the application and new ones have been purchased.  * that is my hand in the bottom picture....they never seem to be clean....ever.  Next to that is a picture of the actual threads from the nut... gotta love digital cameras!


Well, we kept the ball joints on with 2/3 bolts and will be installing the new ones when I am out there in June.


Without further delay, the painted control arms promptly get dirty when reinstalled into Shocky <sigh>.  But Shocky mentioned to me that he really likes the clean feeling.....I'll just have to take him for his word on that.


Okay, so now it was time to put in the subframe.  Dan and I got underneath Shocky to survey the area for potential problems...and we didn't have to look far.,,,

Those pesky little fuel lines which were already crimped from someone previous to me jacking him up incorrectly, were sitting happily in the way.  I don't know if you have ever tried to move the fuel lines out of the way, but they are quite content sitting right where they are.

So, what to do?  What to do?  Well, hey, I have a suggestion Dan says....."We could cut the fuel lines....they are damaged anyway....Shocky won't mind!"  And I say....."<expletives> What on earth are you thinking?"  to which he replies "Well....cut the fuel lines, and fabricate new ones, and you are good to go....."  so Shocky and I confer momentarily and then Dan and I come up with a plan....I will provide the new SS lines from work, and we will cut out the old lines up until an undamaged section out of the way and then put in the new tubing in its place.  I suppose as an after-thought we can make our own routing in the engine bay that is more conducive to the new location of the fuel system components - it won't be THAT hard <laughter fills the air>.

So Dan gets the job of hacksawing through the lines - it was HIS idea after all.....


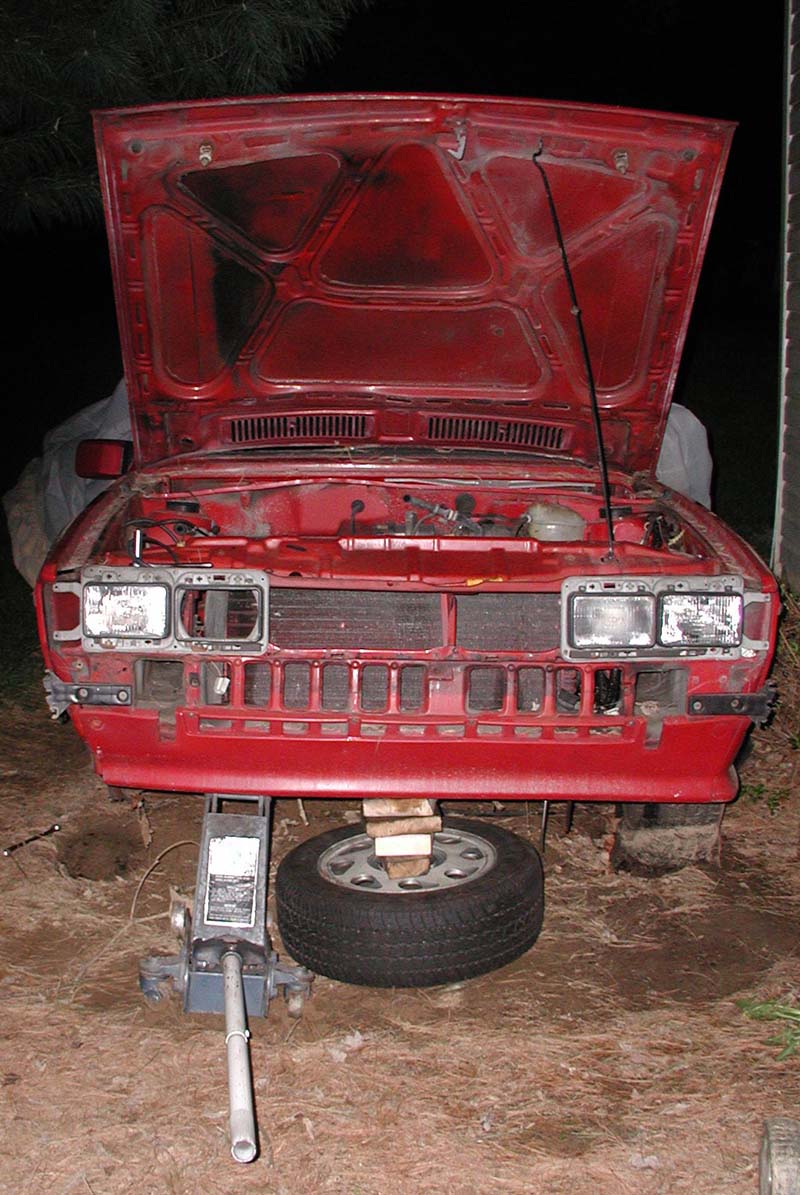
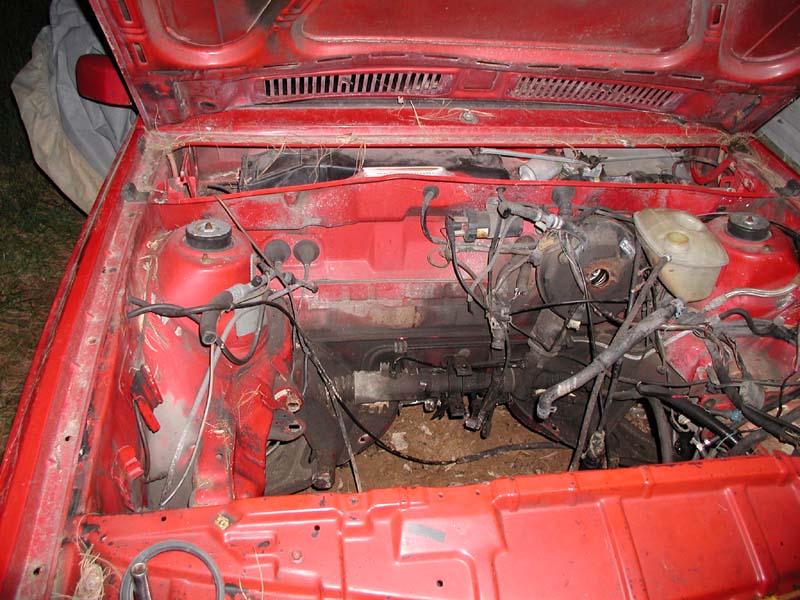
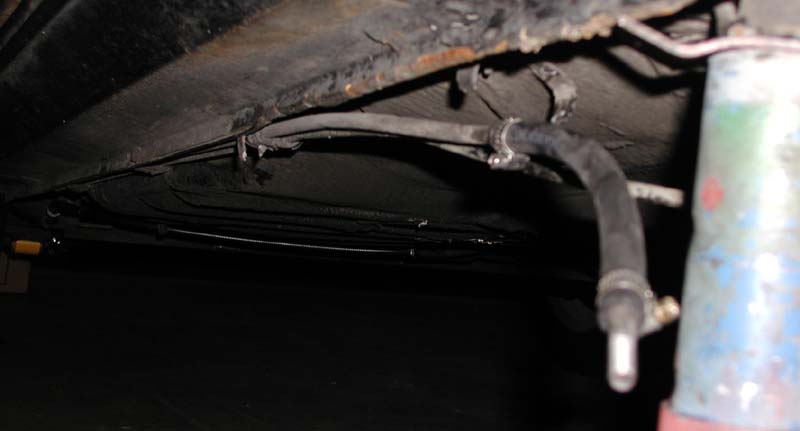
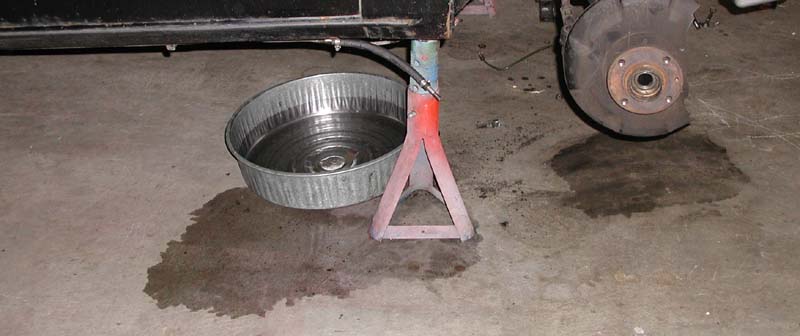
Did I mention that fuel is in with the oil, coolant etc. in nefariously plotting against me?


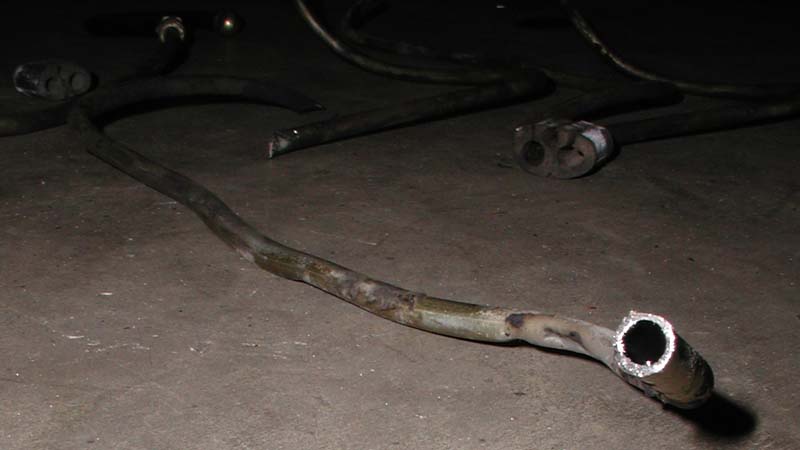
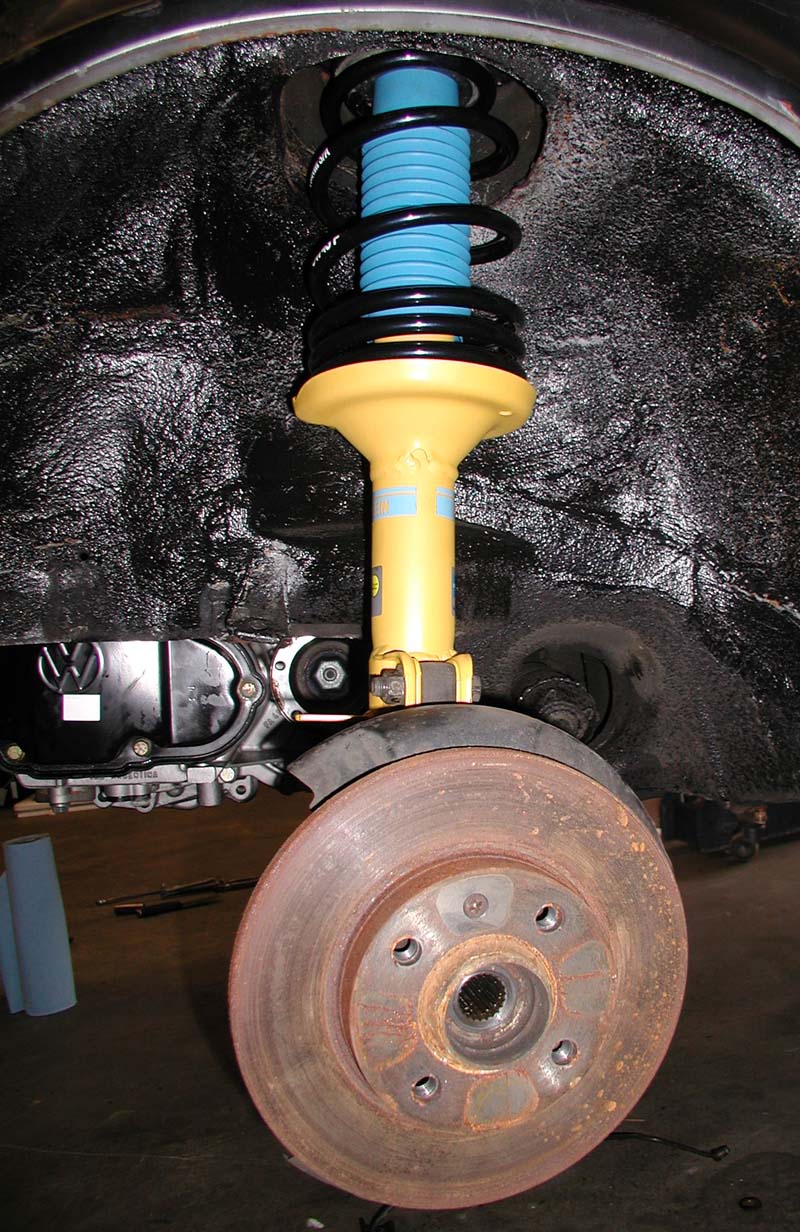
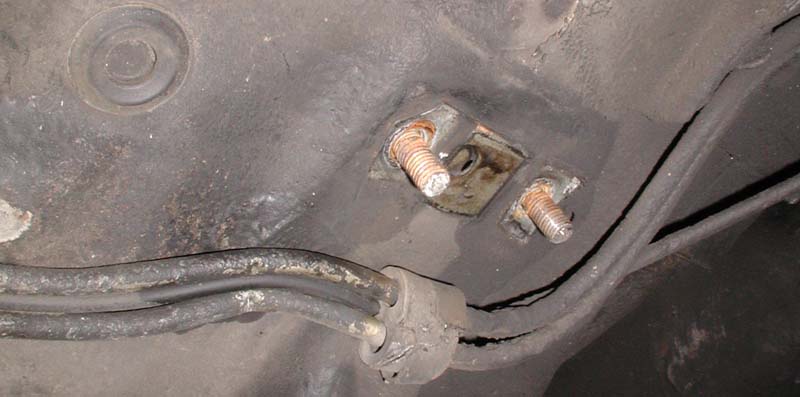
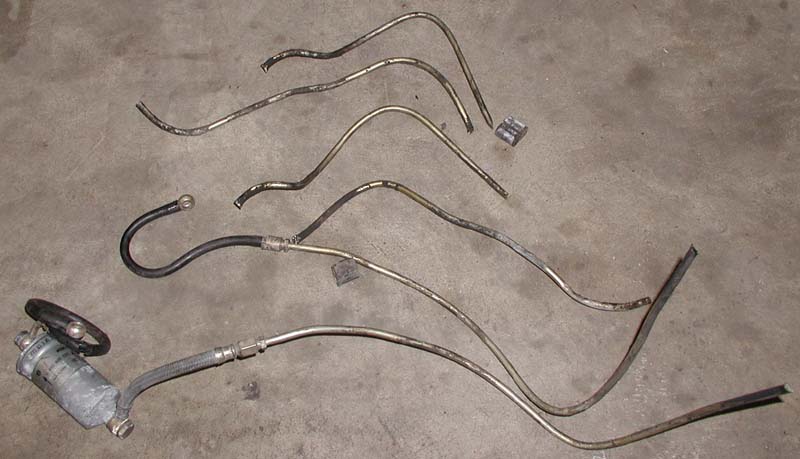
And so there you have it....no more fuel lines in the front.....but soon to have custom-made ones in place!

And so, with that problem taken care of, the subframe and front sway bar can now move into their new home....

Not to be outdone by the hassles the rear swaybar had caused, the subframe also was a pain in the ass to install.  Same poly bushings, same clearance issues with the hardware, same frustrations.  But eventually everything was bolted into place and ready to have the front swaybar attached as well......next time...


Pretty cool little VW Cover Plate, huh?


And that was pretty much the end of my April visit......


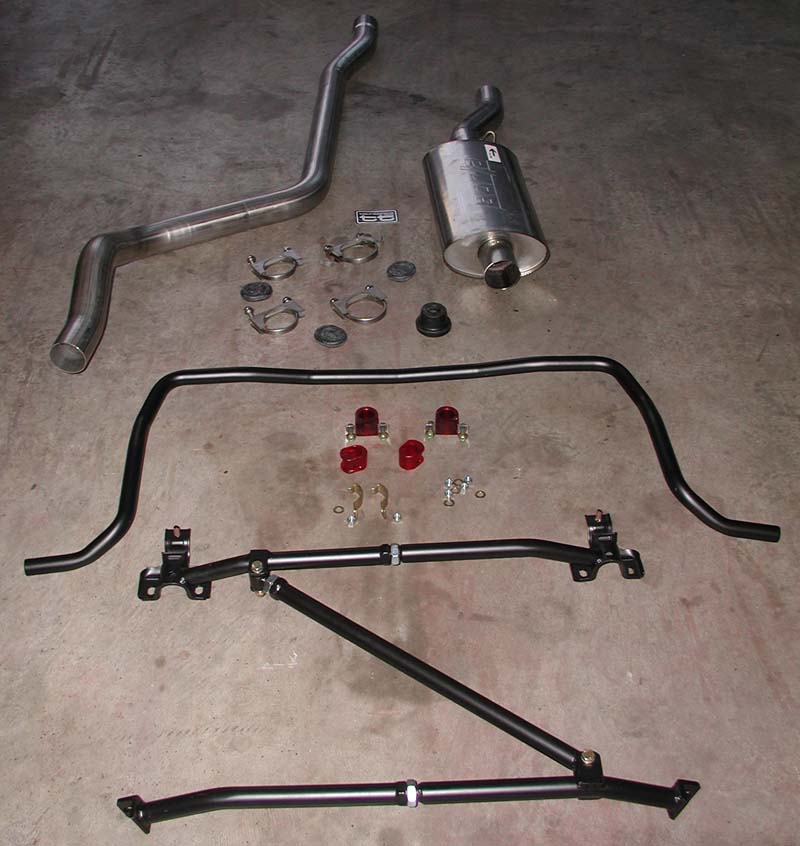
Well, we had set our sights a little on the high side for what we wanted to get done, and so the exhaust didn't end up getting hung as we had hoped.....


PREVIOUS
INDEX
NEXT


April Engine Swap Progress
SHOCKY JR.'S RESTORATION AND UPGRADE ADVENTURE CHRONICLES


Progress is Made


No navigation frame to your left?  Click Here: