JUNE ENGINE SWAP


Dan and I had essentially been dead in the water on the engine swap side of things since discovering in March that the mounts we had gotten to fit the 02J into the A1 wouldn't work.  After searching around for an alternative solution and finding nothing...we set our sites on making a set of our own, for both the drivers side and the rear.  The end result turned out well...as to be expected since Dan is kick-ass at designing stuff....and finally we could move forward in the progress department for the engine swap.

The drivers side mount, which had been initially created half-hazardly for quick and dirty fitment of the tranny back in March was modified....redone essentially.  For detailed info on how it was fabricated, check out my  Driver Side Mount Fabrication Page.

Here is the final driver side mount:

swap001 (30K) swap002 (34K)
swap003 (39K) swap004 (36K)
swap005 (41K) swap006 (35K)
swap017 (35K)

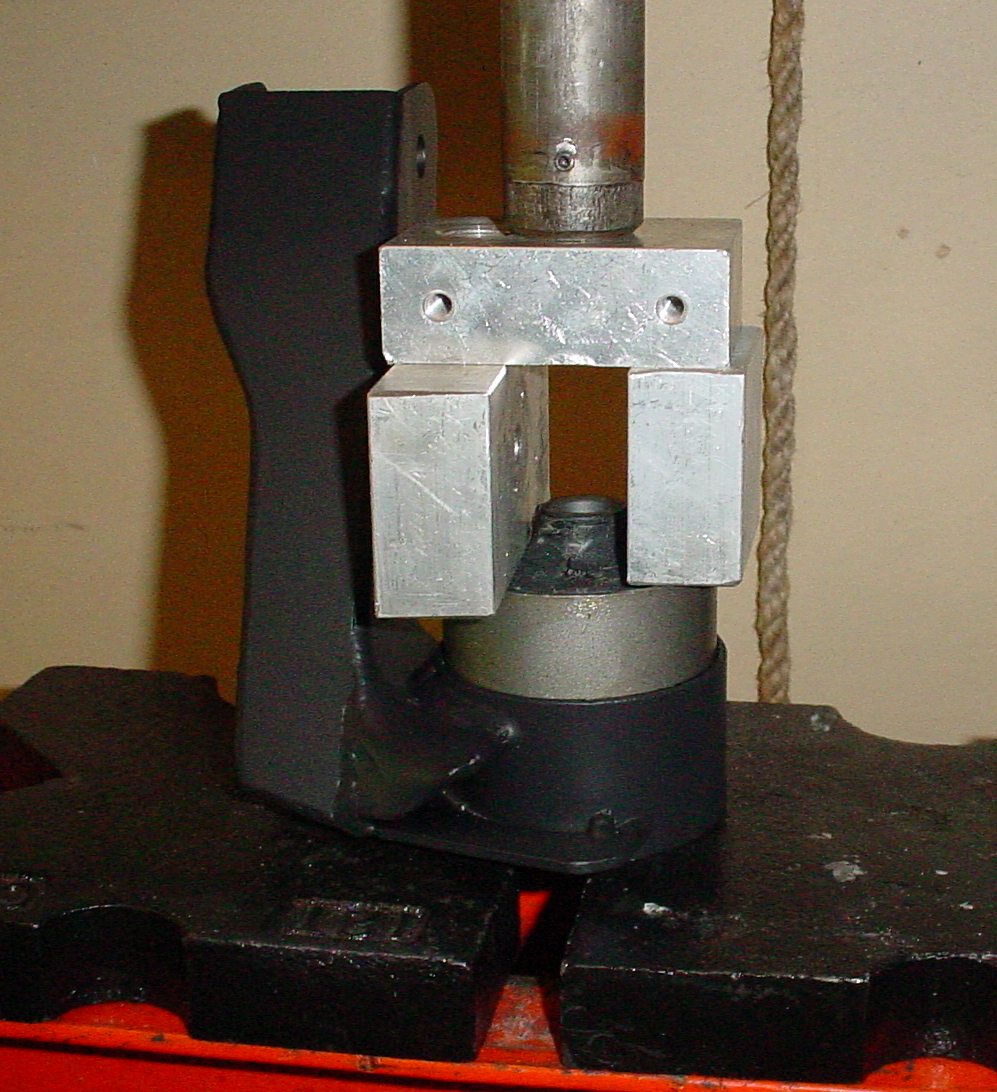
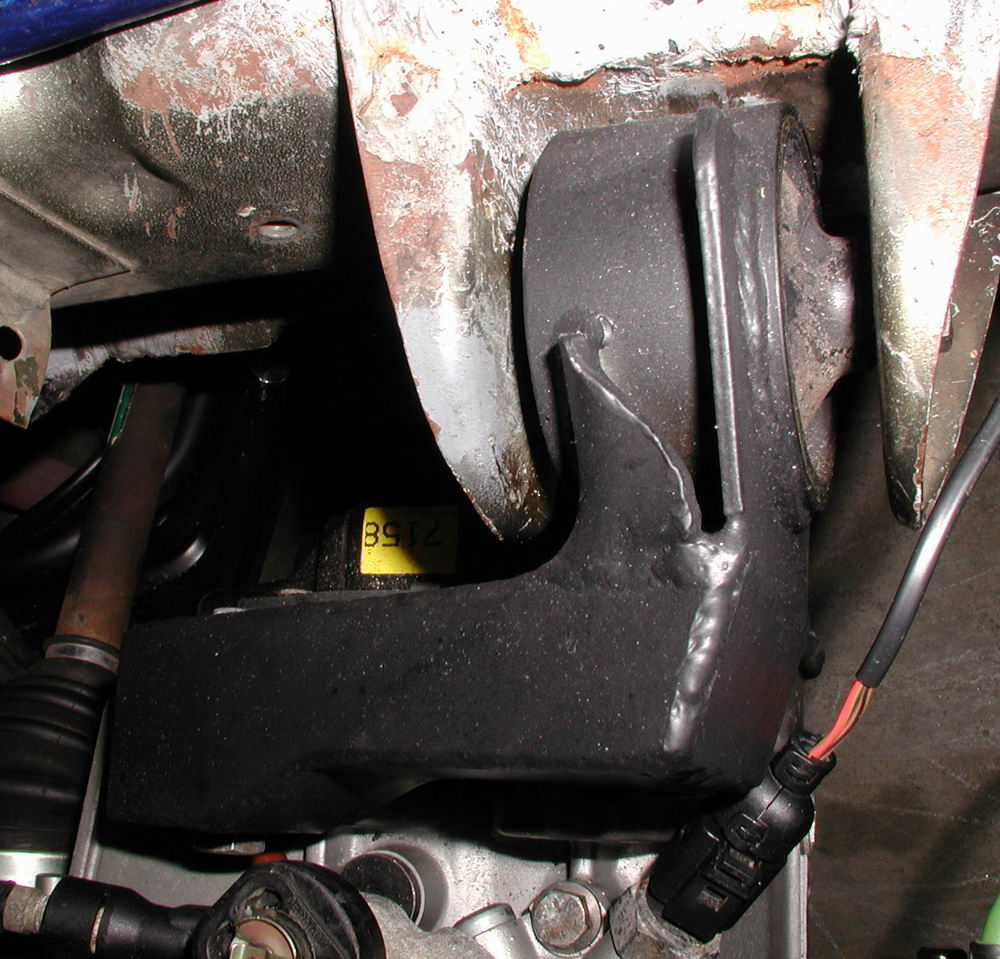
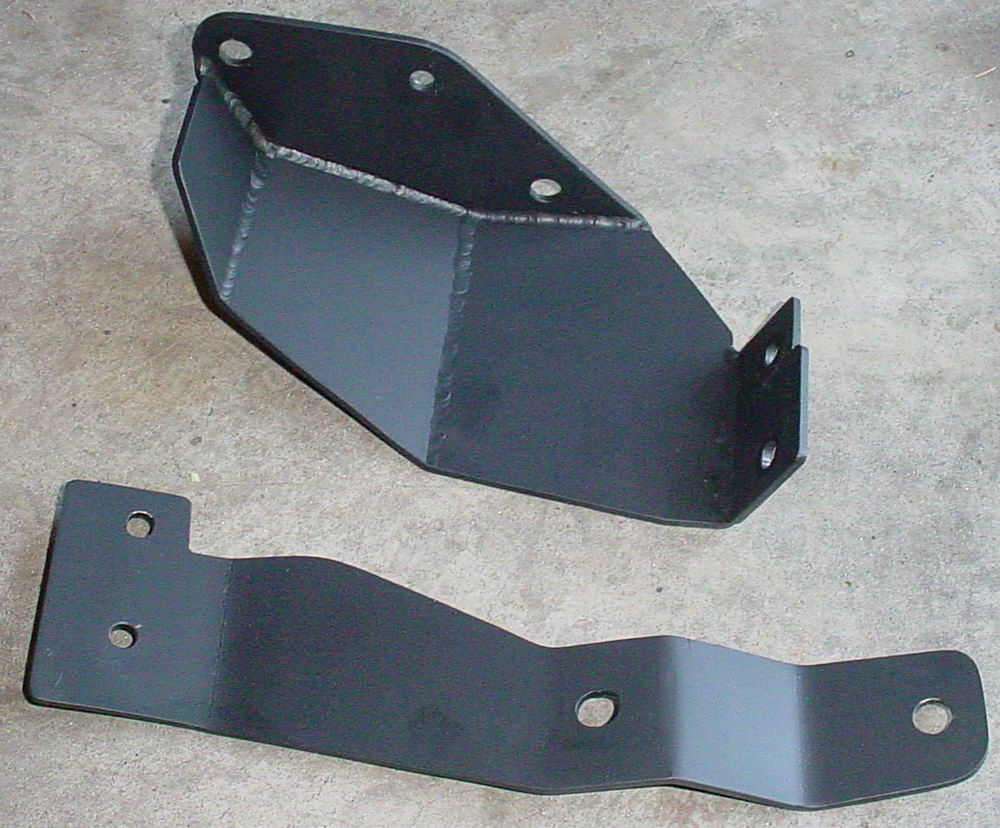
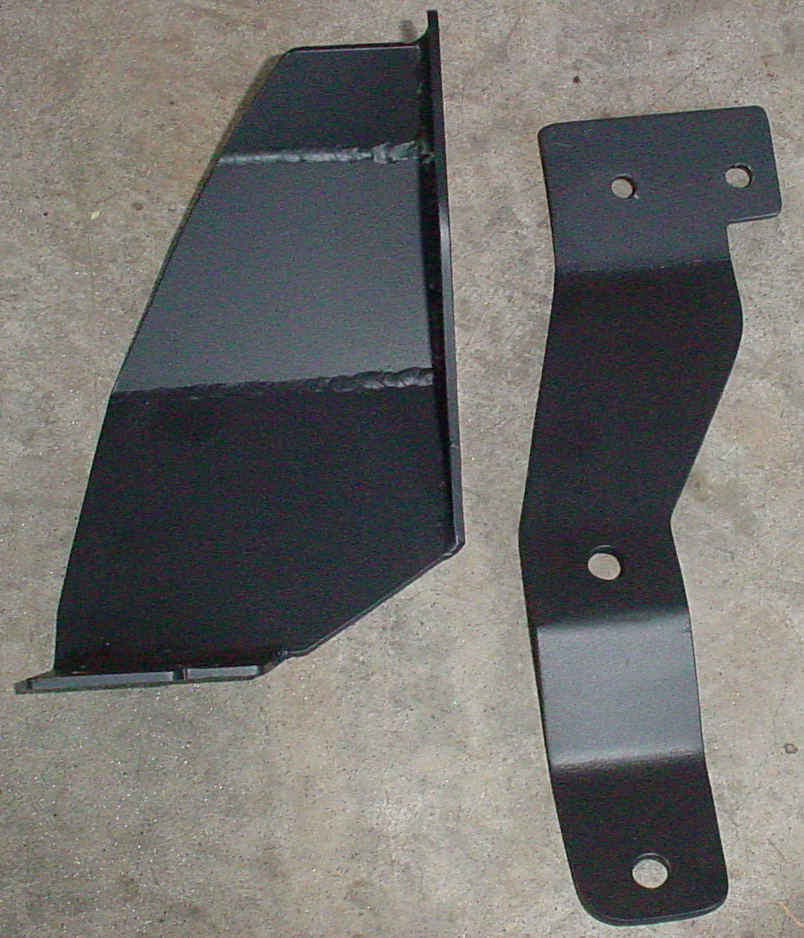
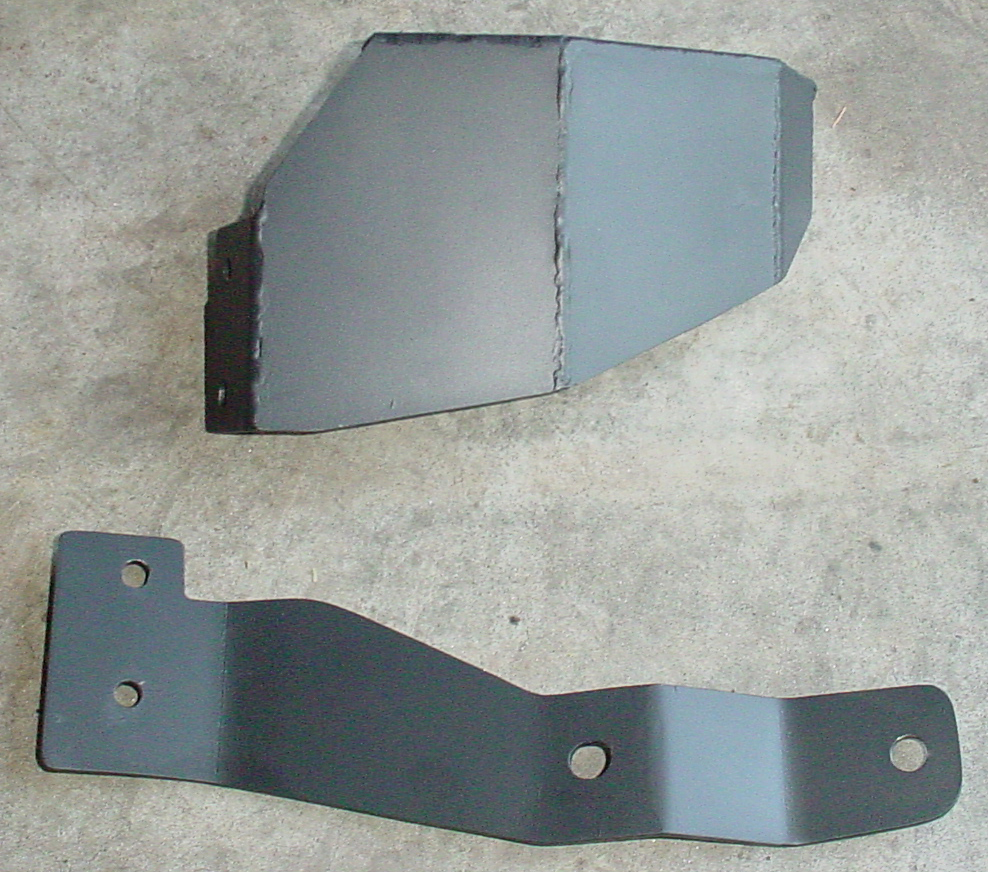
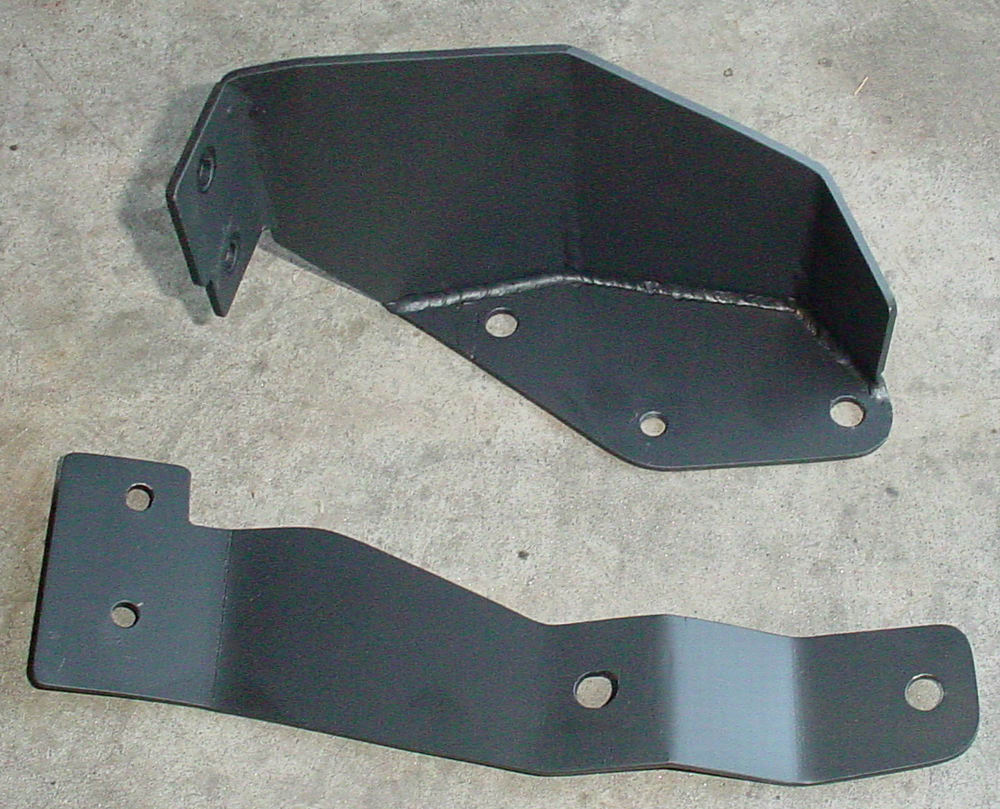
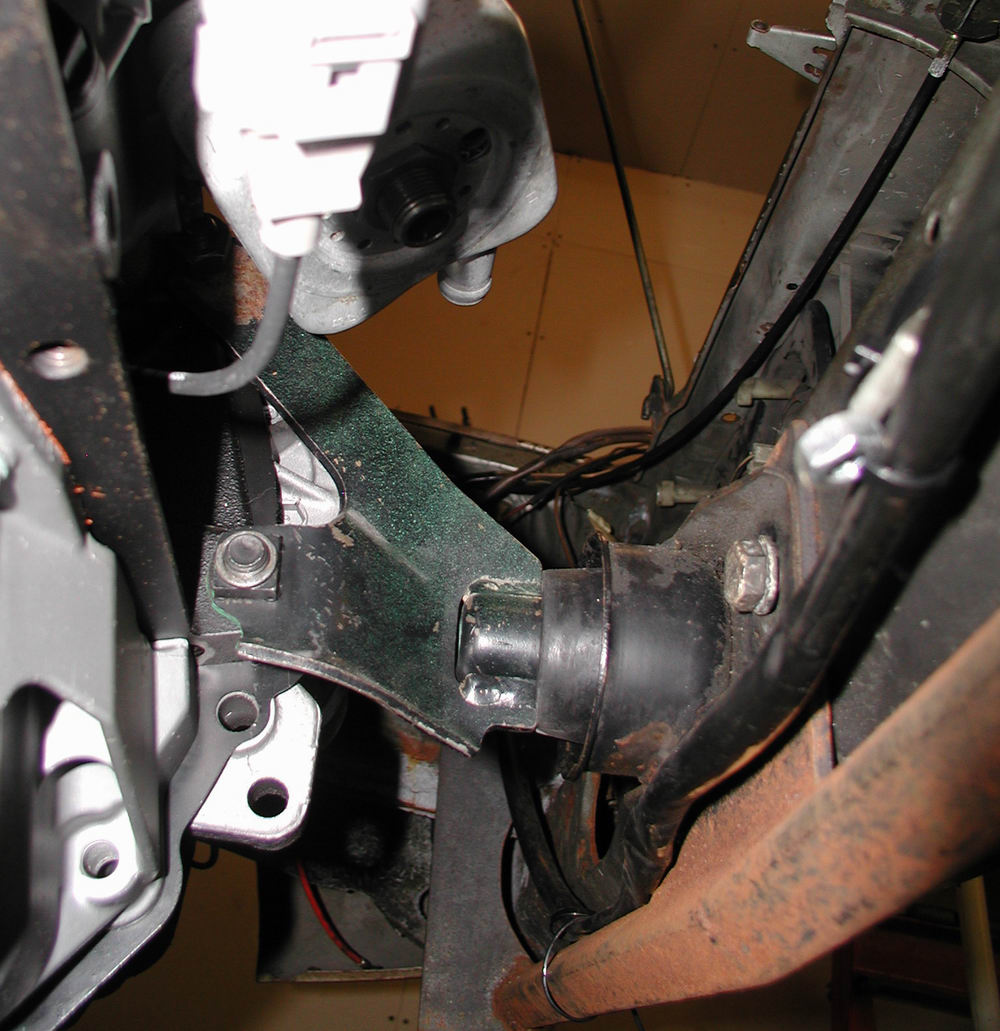
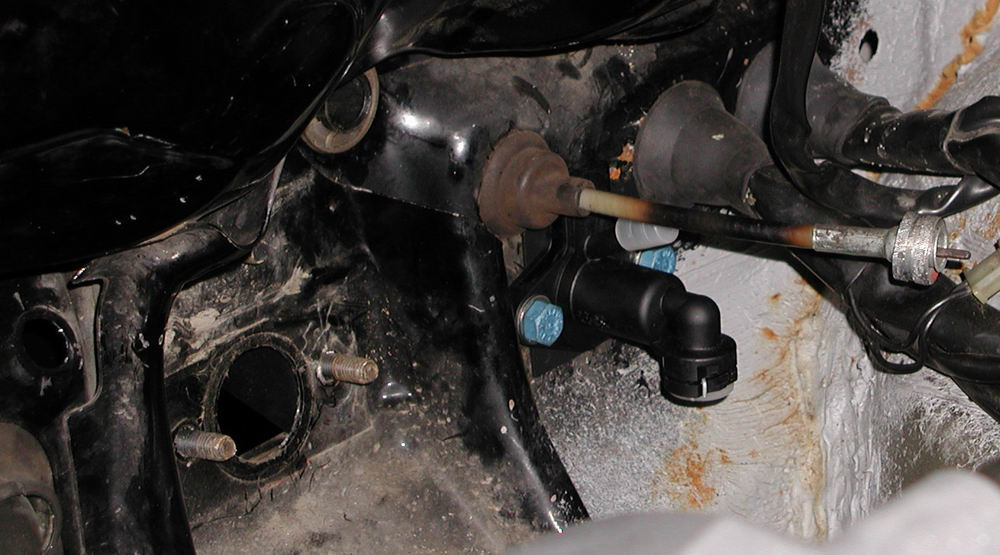
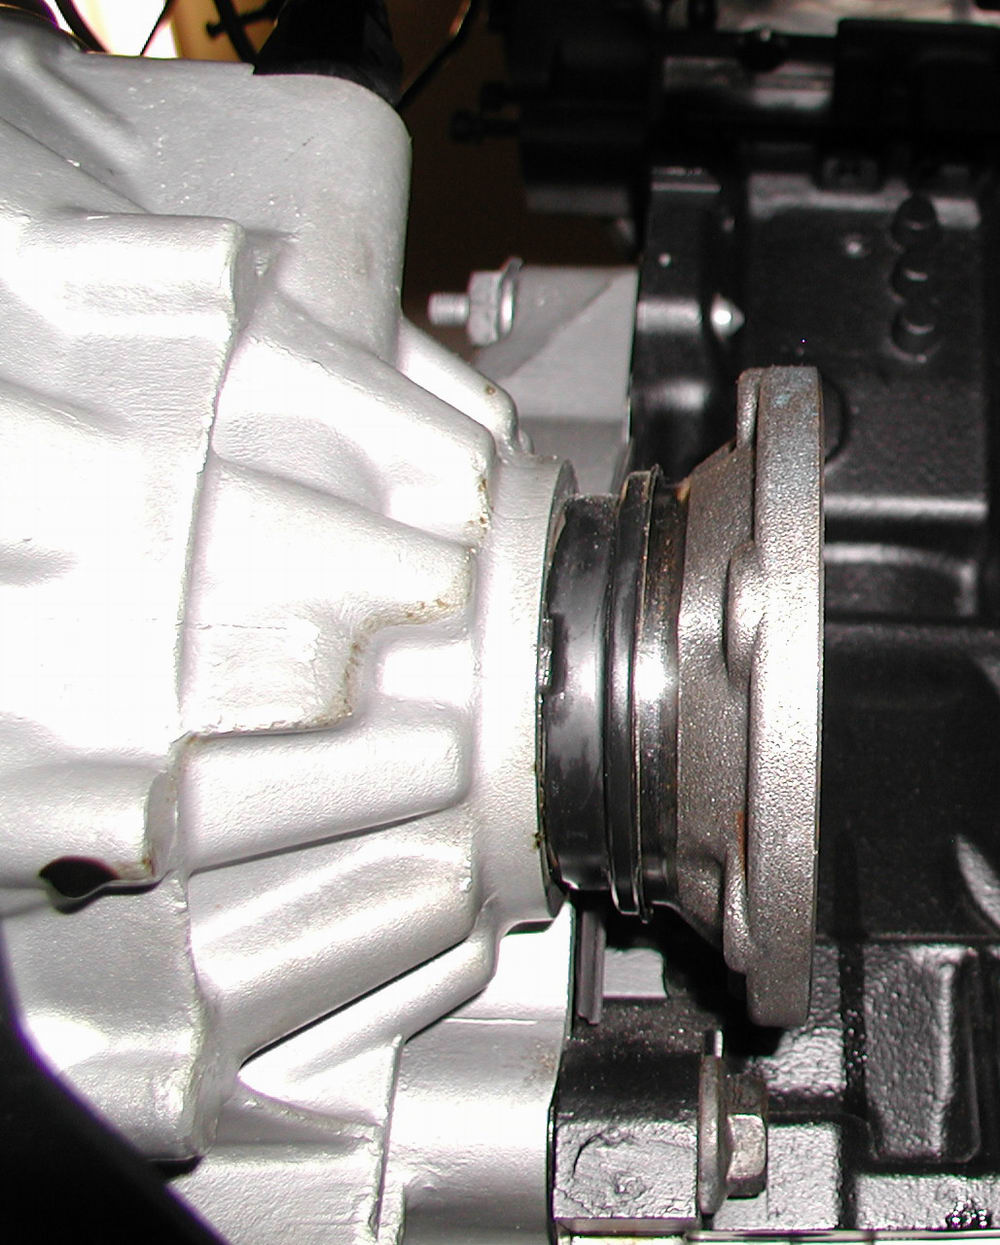
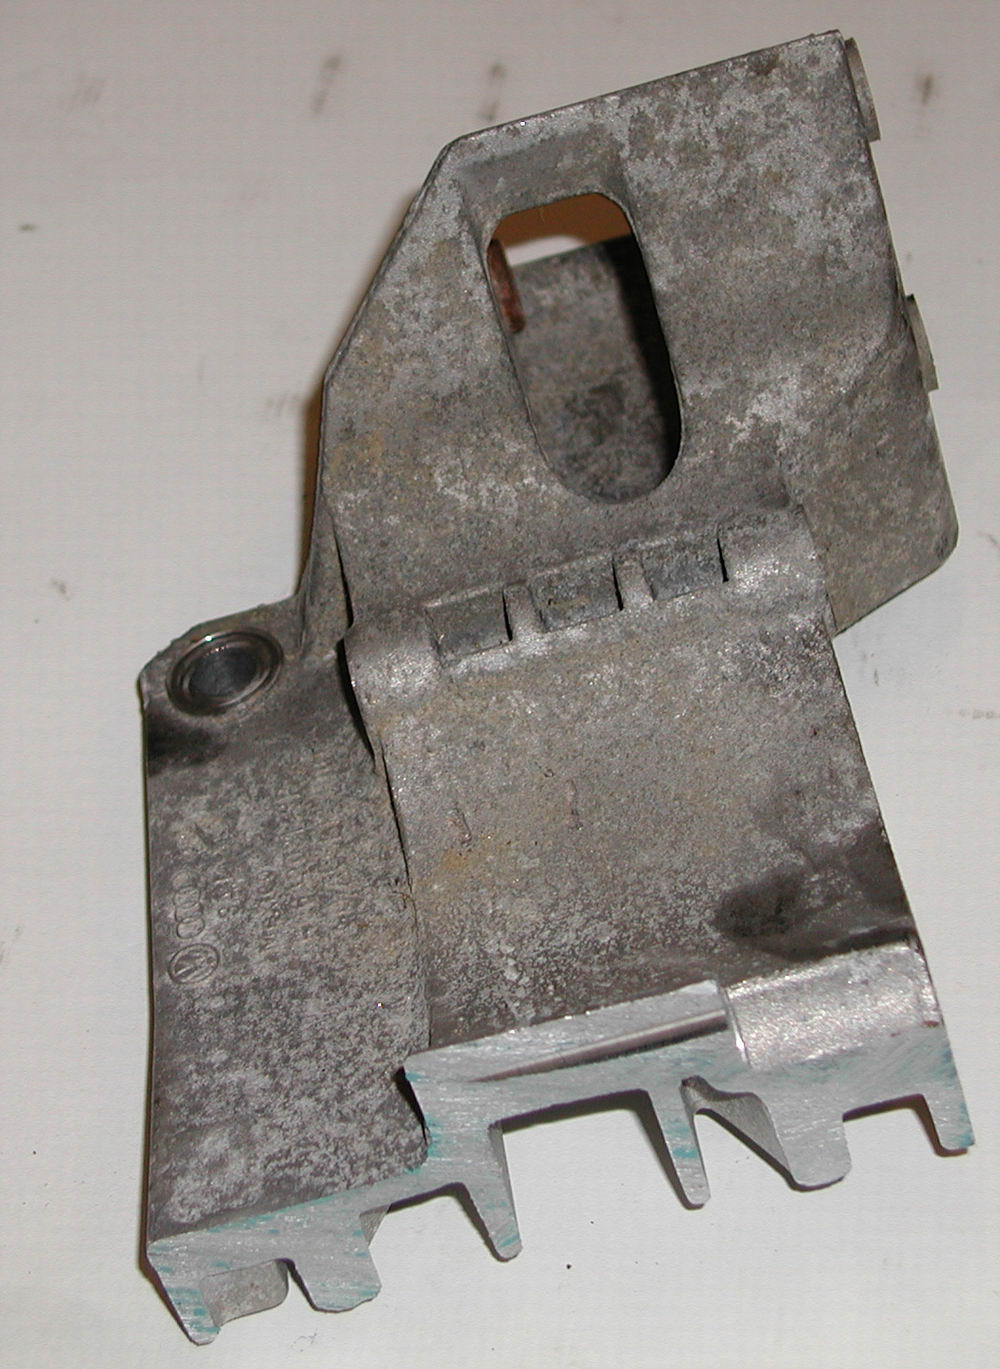
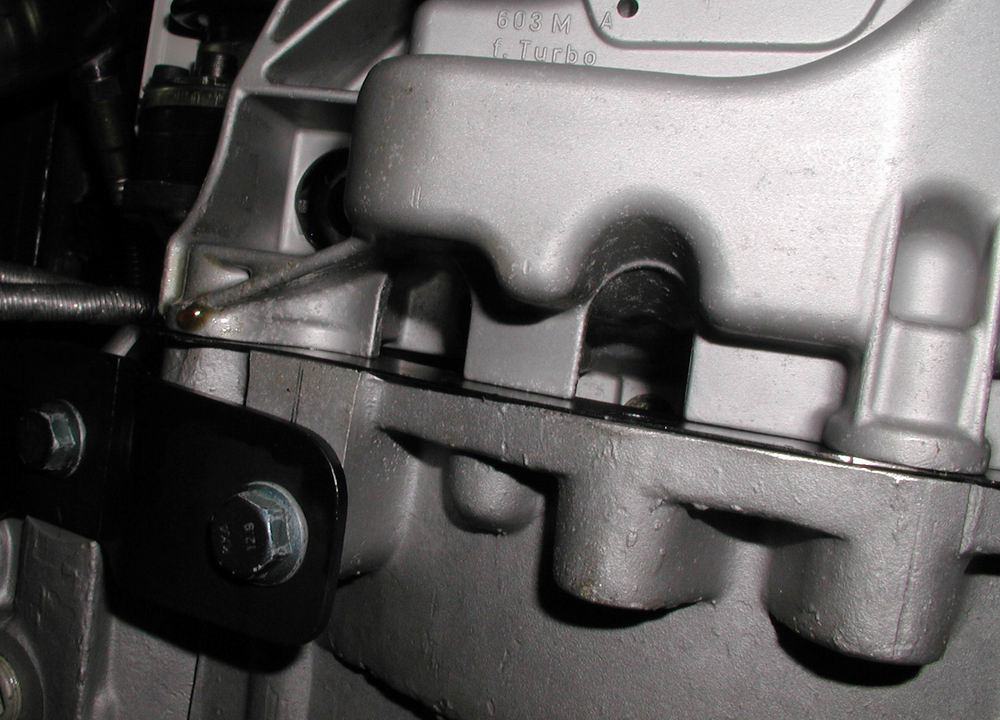
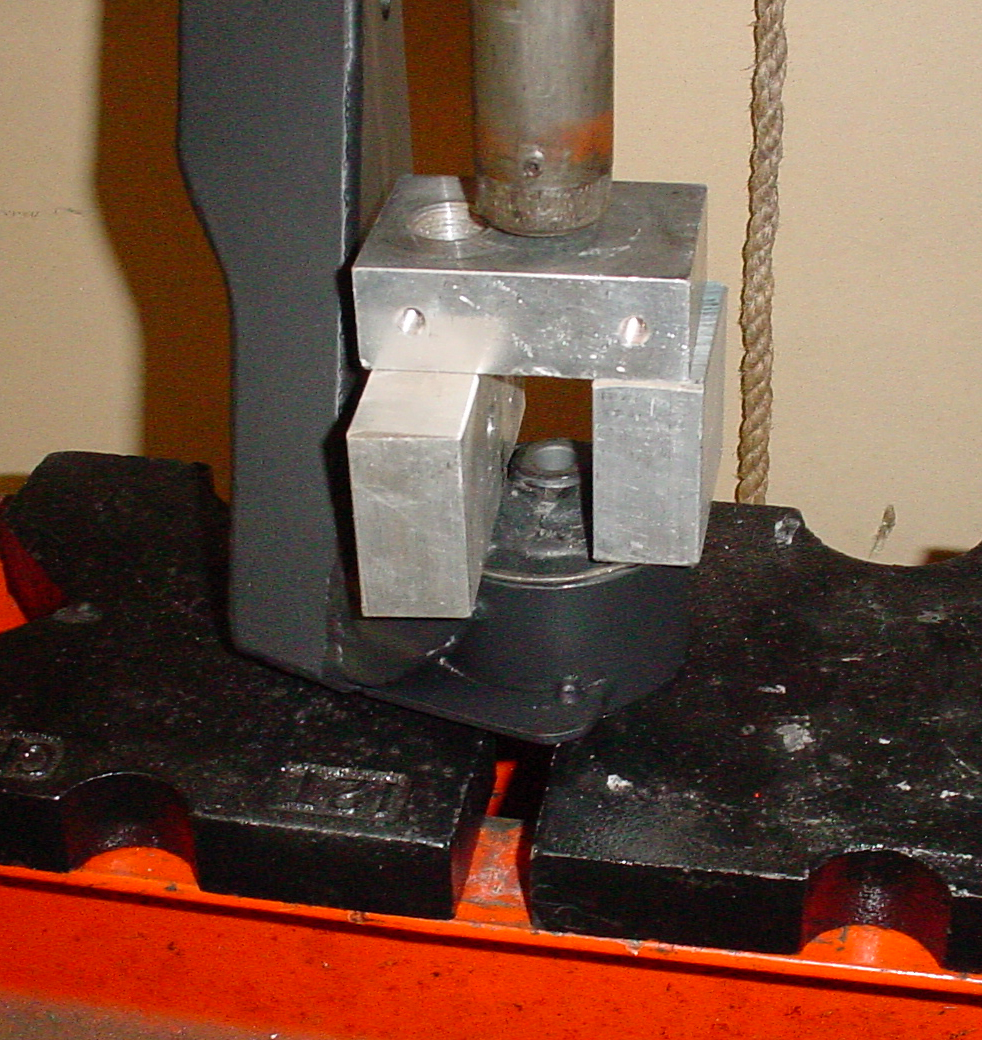
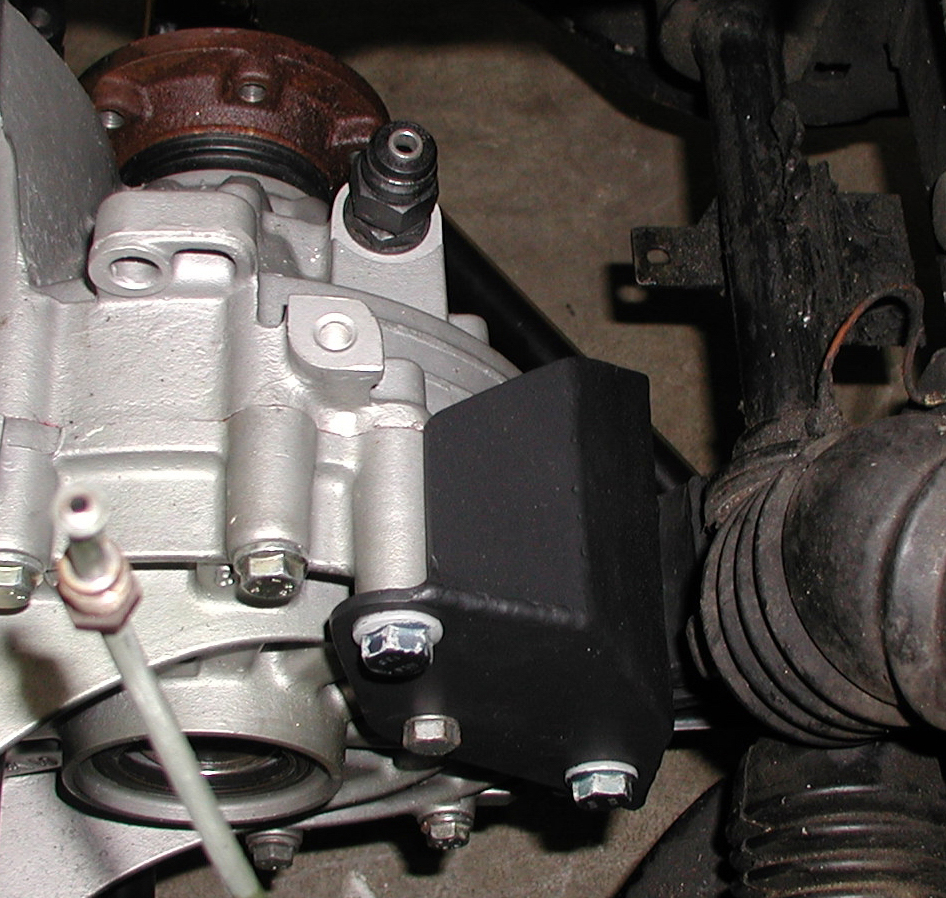
And finally the 02J can be more securely mounted into Shocky.
swap018 (44K)

The other key player in the mount game of course was the rear tranny mount.  This one was a bit trickier and required complete fabrication from the ground up (as opposed to using part of the original stock mount).  For details on how it was fabricated, check out my  Rear Mount Fabrication Page.

And the final version of the rear tranny mount, which consists of two separate pieces.......:


swap008 (34K)
swap007 (43K)
swap009 (32K) swap010 (33K)
swap011 (41K) swap012 (23K)

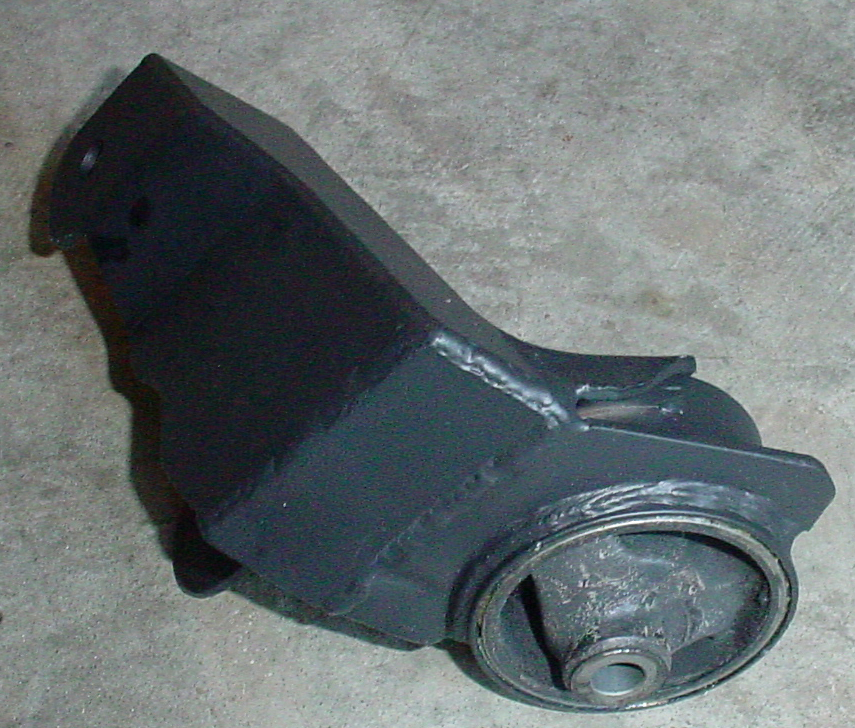
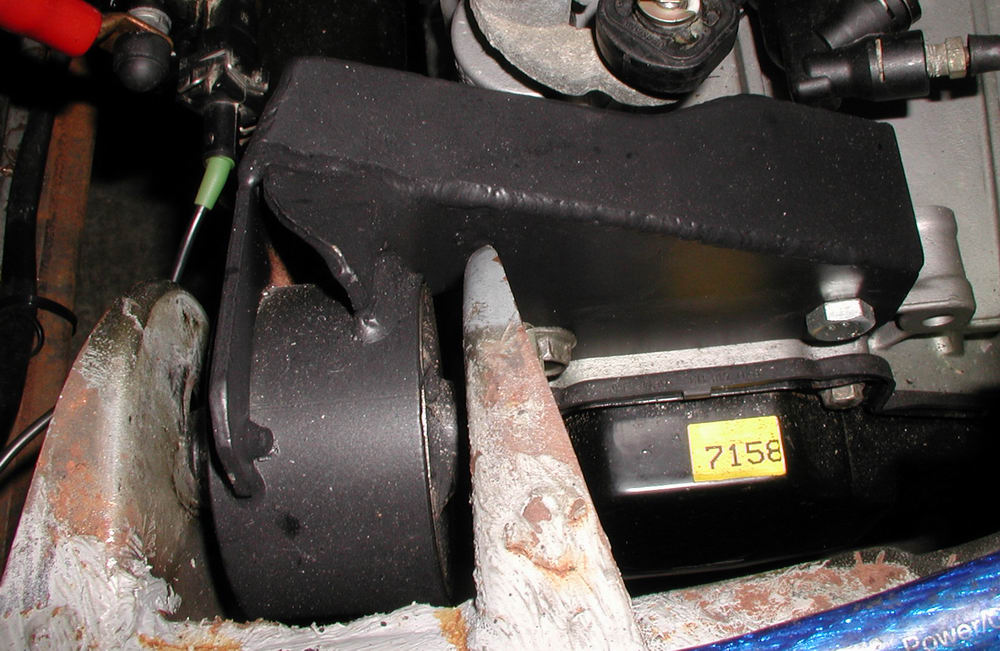
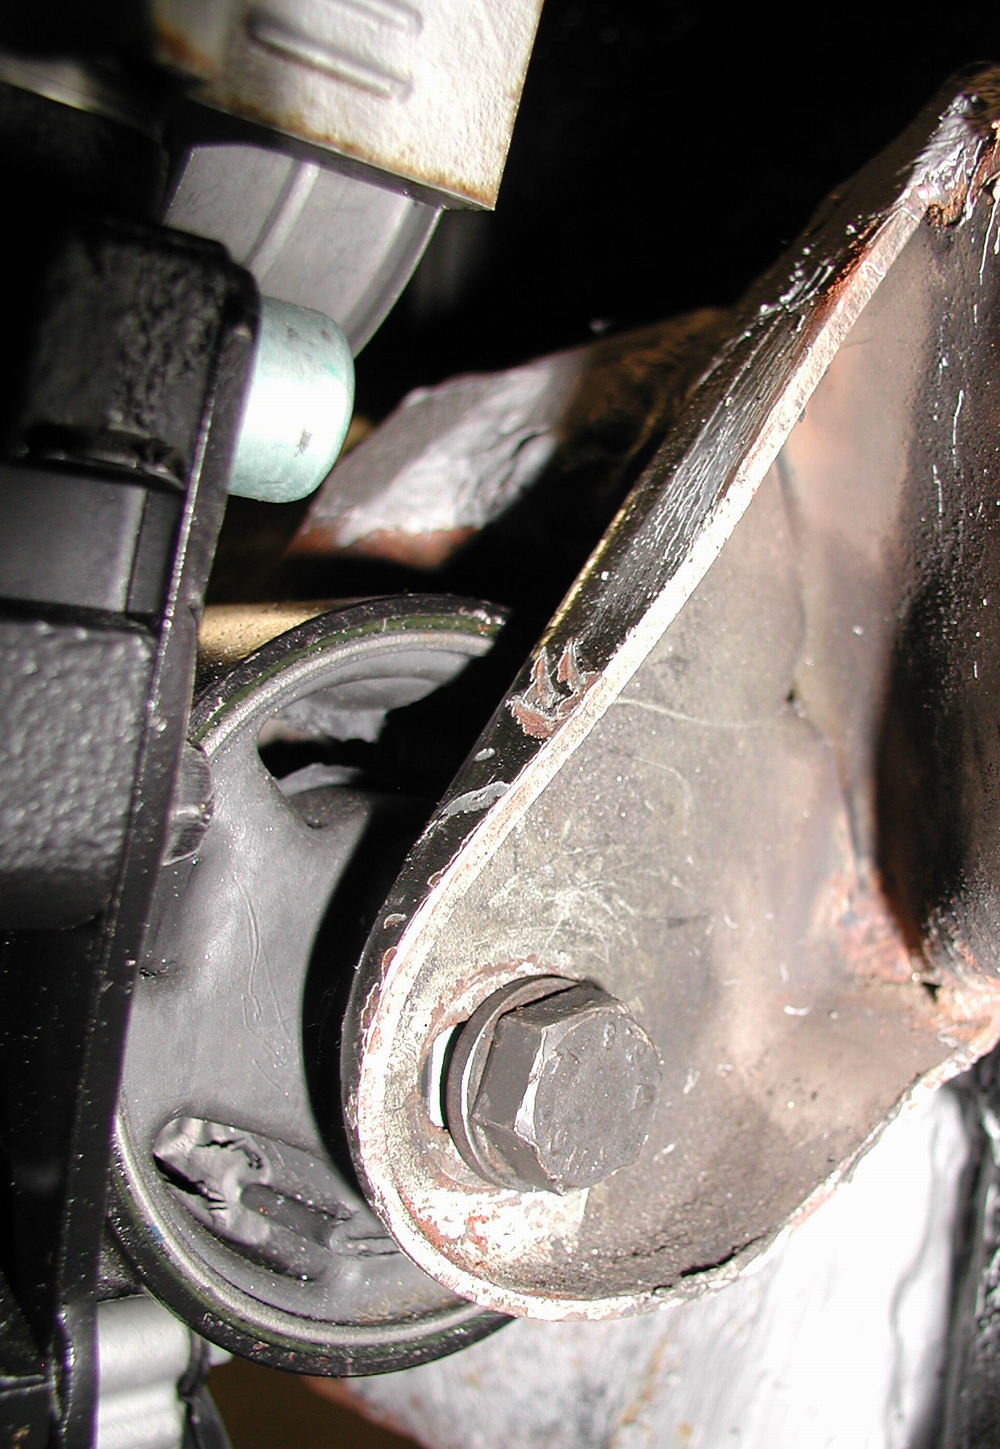
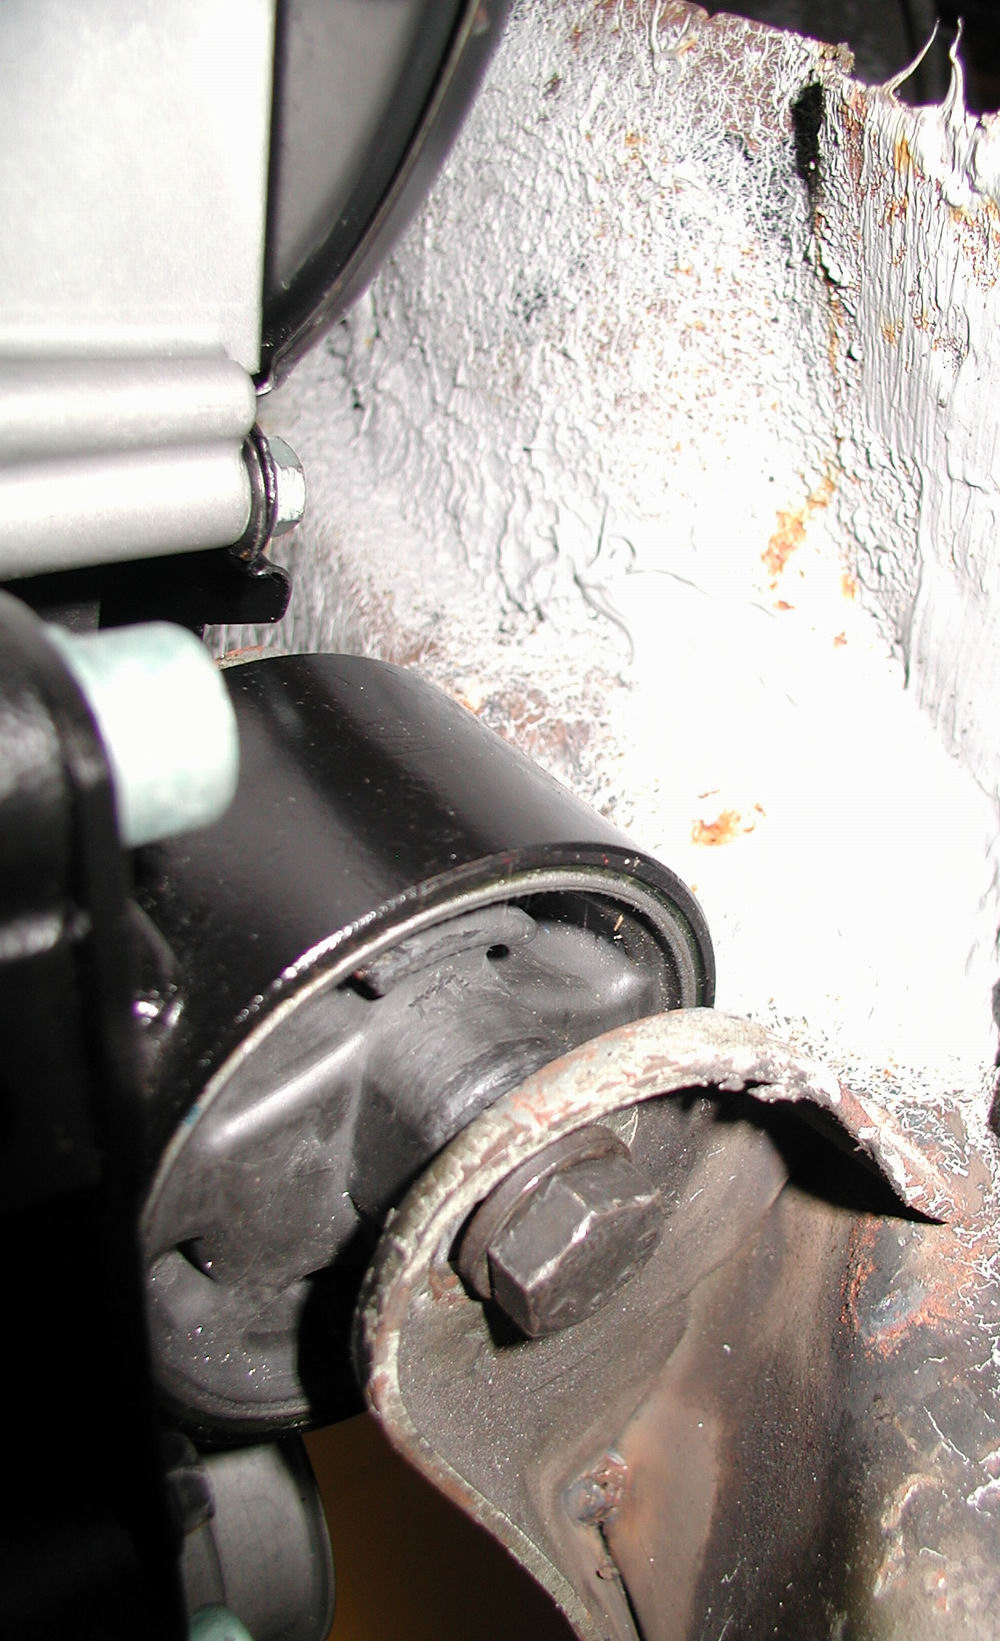
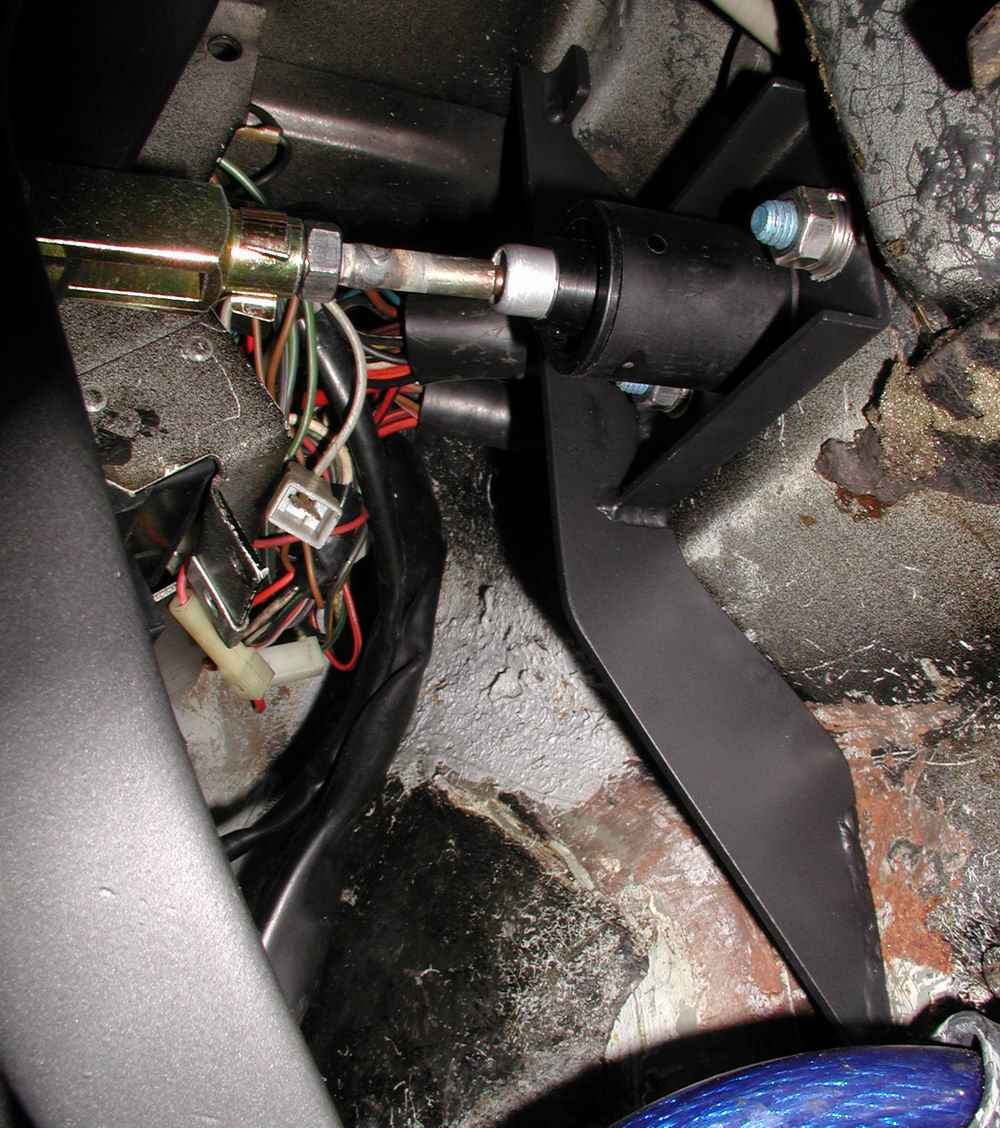
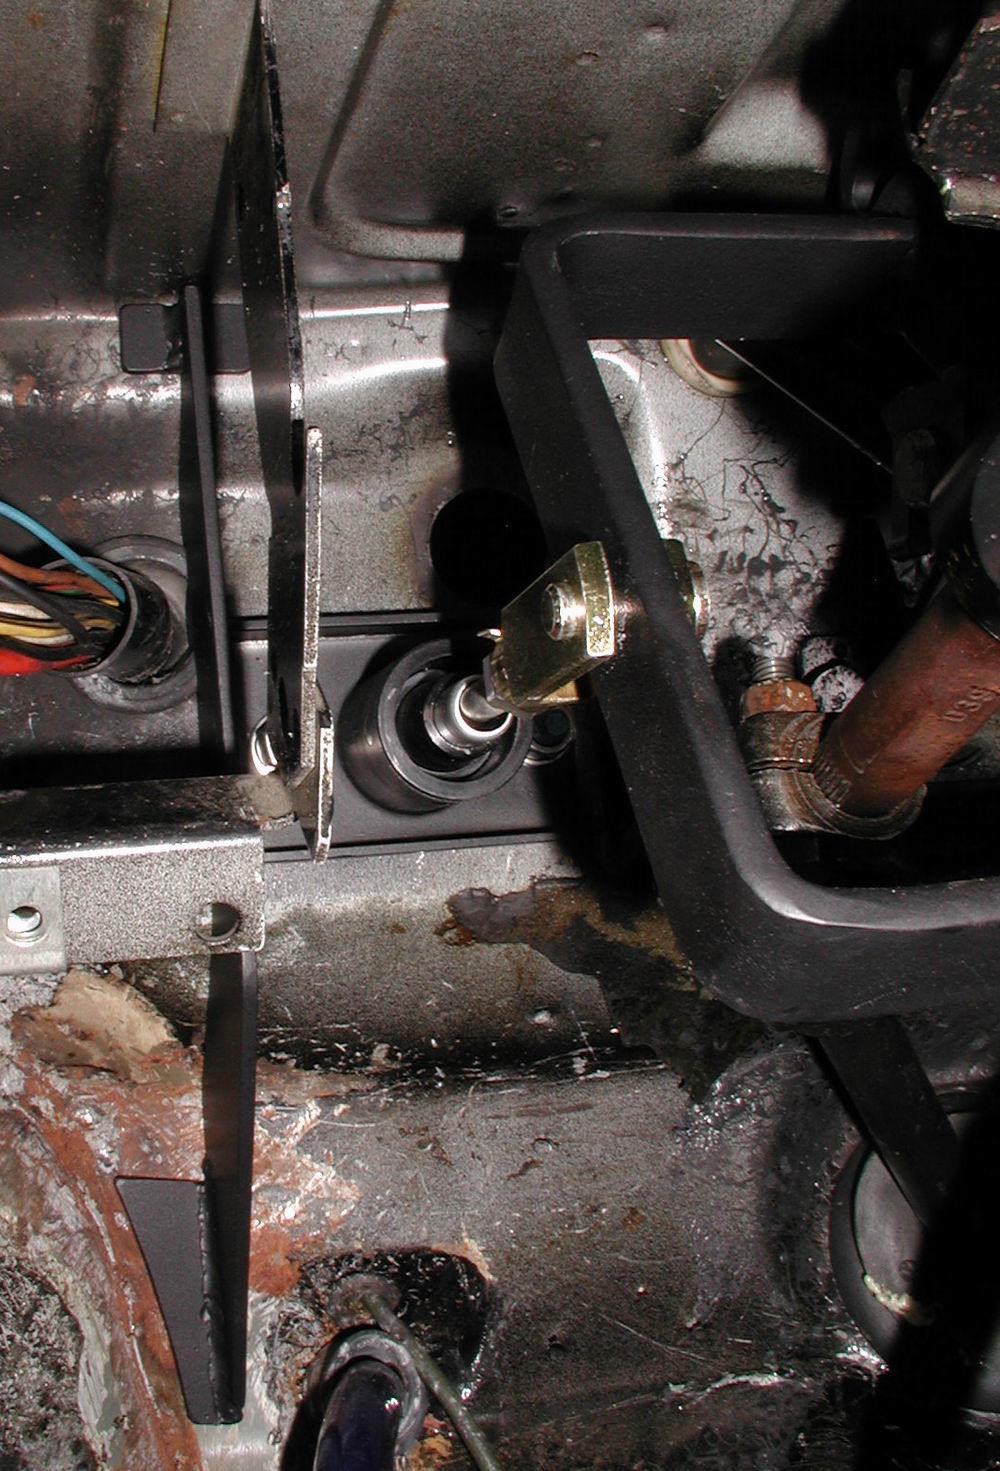
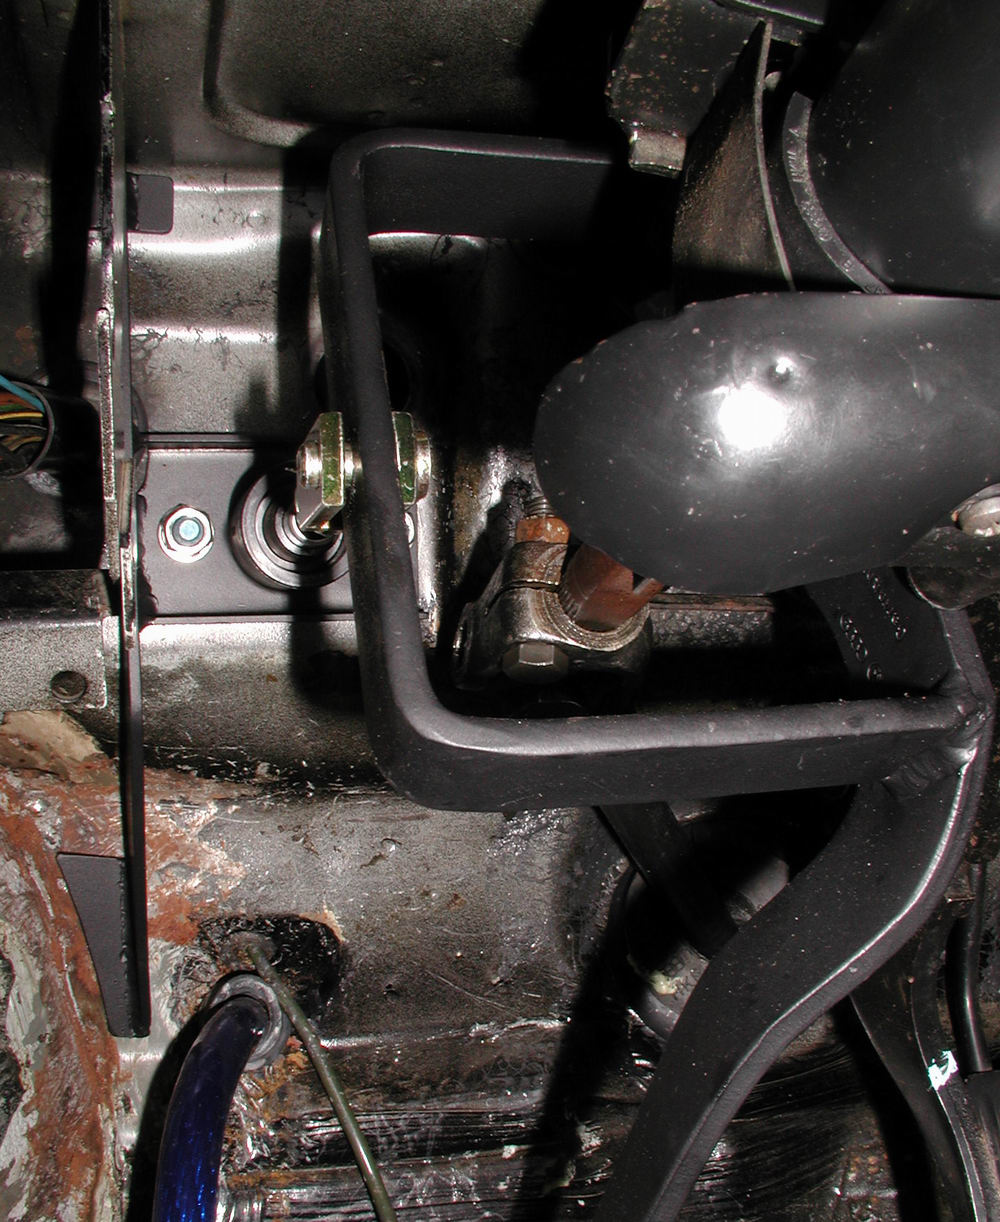
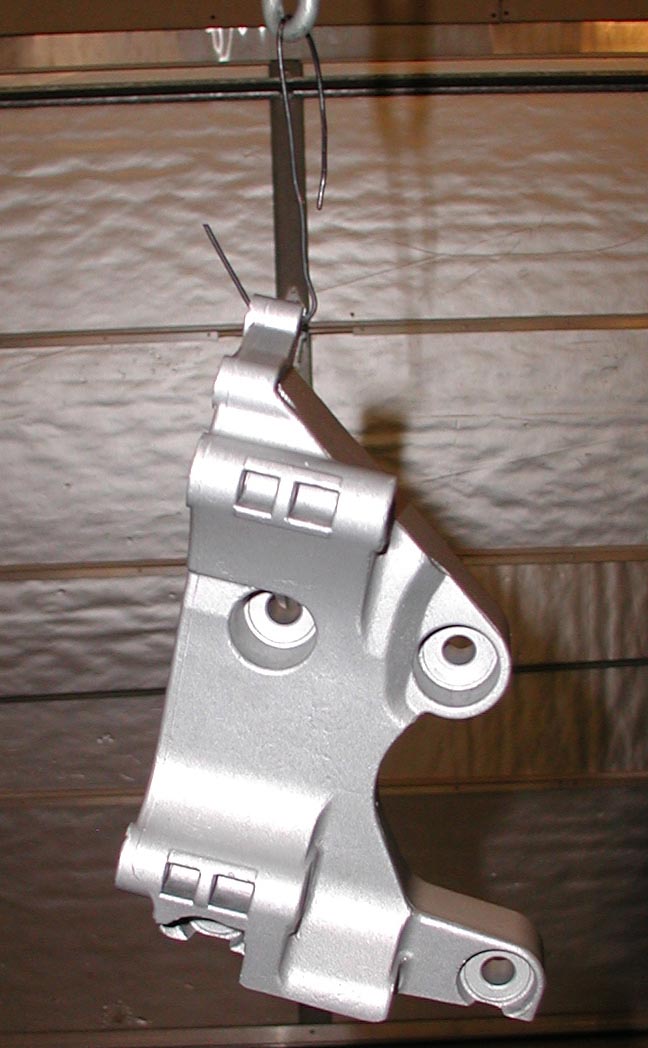
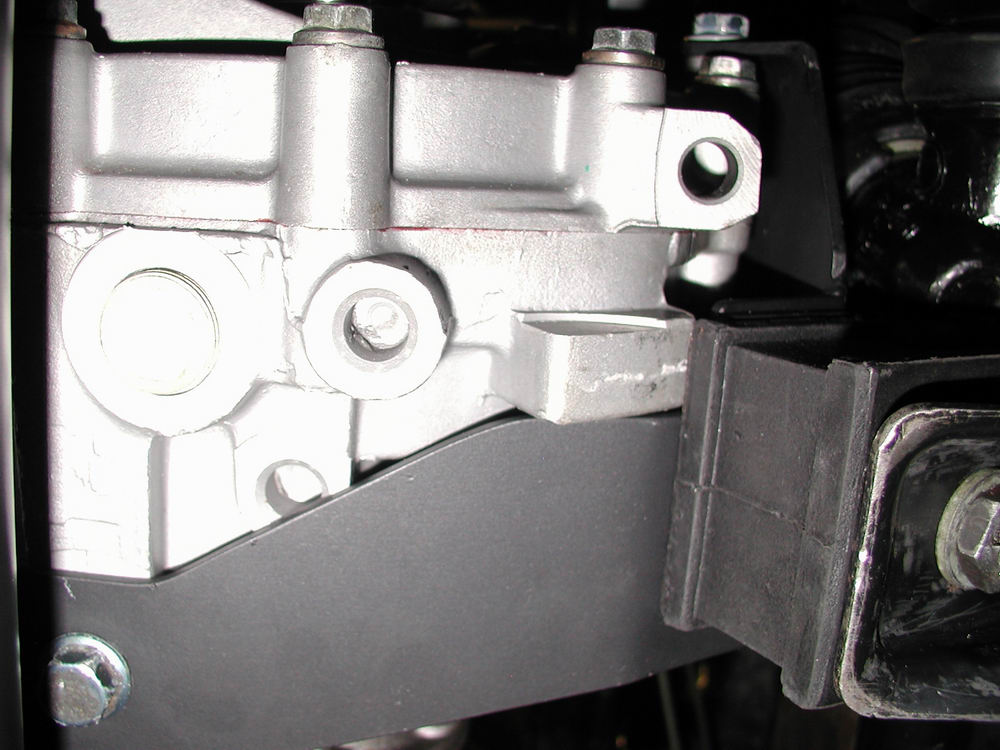
And finally the rear of the 02J is securely mounted as well.

Just to refresh everyone's memory....here is the modified passenger side mount bracket....

swap013 (58K) swap014 (60K)

And the only one of the bunch that actually stays stock in all of this...the front mount.  For my application longer starter bolts were needed to properly fit the mount bracket to the starter.

swap015 (44K) swap016 (43K)

With the mounts out of the way, the next hurdle that would need to be dealt with was the hydraulic clutch issue.  You have two options...either install the required clutch master cylinder, slave cylinder and hydraulic line, or instead get a few european spec OEM parts to convert it to a cable setup.  To do the cable conversion, you would need the following parts - I would like to thank "Scirocco Bosse" for providing me with this information

These are parts from a '94 - '96 VW Passat, European spec.

Part
VW Part Number Notes
Clutch Cable
357 721 335 E
Clutch Cylinder
02A 141 708 A
Dust Cover
02A 141 728
Cable Support
357 721 399 B This part is not really necessary, but it looks fabric made if you use it
Gearbox Support
357 199 356
This is the original support.  This part contains the “presspoint” for the clutch cable.  A good idea is to cut off that part and weld it together with the original A1 gearbox support

To stick with the hydraulic clutch set up you can use the following parts from a '90 - '91 VW Corrado

Part
VW Part Number
Notes
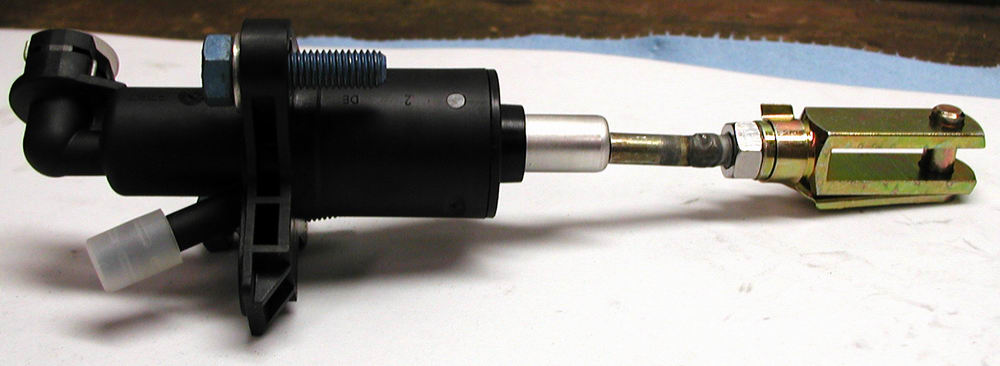
Clutch Master Cylinder
357 721 401 Gasket: 357 721 410
Clutch Slave Cylinder
357 721 261 A
Clutch Hydraulic Hose
357 721 465 A Washer: 431 721 494

The stock clutch pedal will need to be modified so that the end of the clutch master cylinder push rod can attach.

OR.....if you are feeling somewhat adventurous...you can use a master cylinder, slave cylinder, and hydraulic line from a Mk4 Jetta.  Since Dan and I didn't know about the Corrado parts, this is what we did.  This would not be the easy way...as a clevis had to be welded on to the end of the master cylinder push rod so that it could hook to the modified clutch pedal.  If we only known then what we know now.............

For detailed info on the clutch MC mounting and pedal modification, check out my Clutch MC Setup Info page.

We ended up having to modify the setup after it was installed because the clutch would not fully release.  It now has a different pivot point, an angled spacer, and nuts cut at angle and welded to the inside of the mounting bracket for the MC.

Here are some of the pictures of the clutch MC setup...previous to modification....

swap019 (53K)

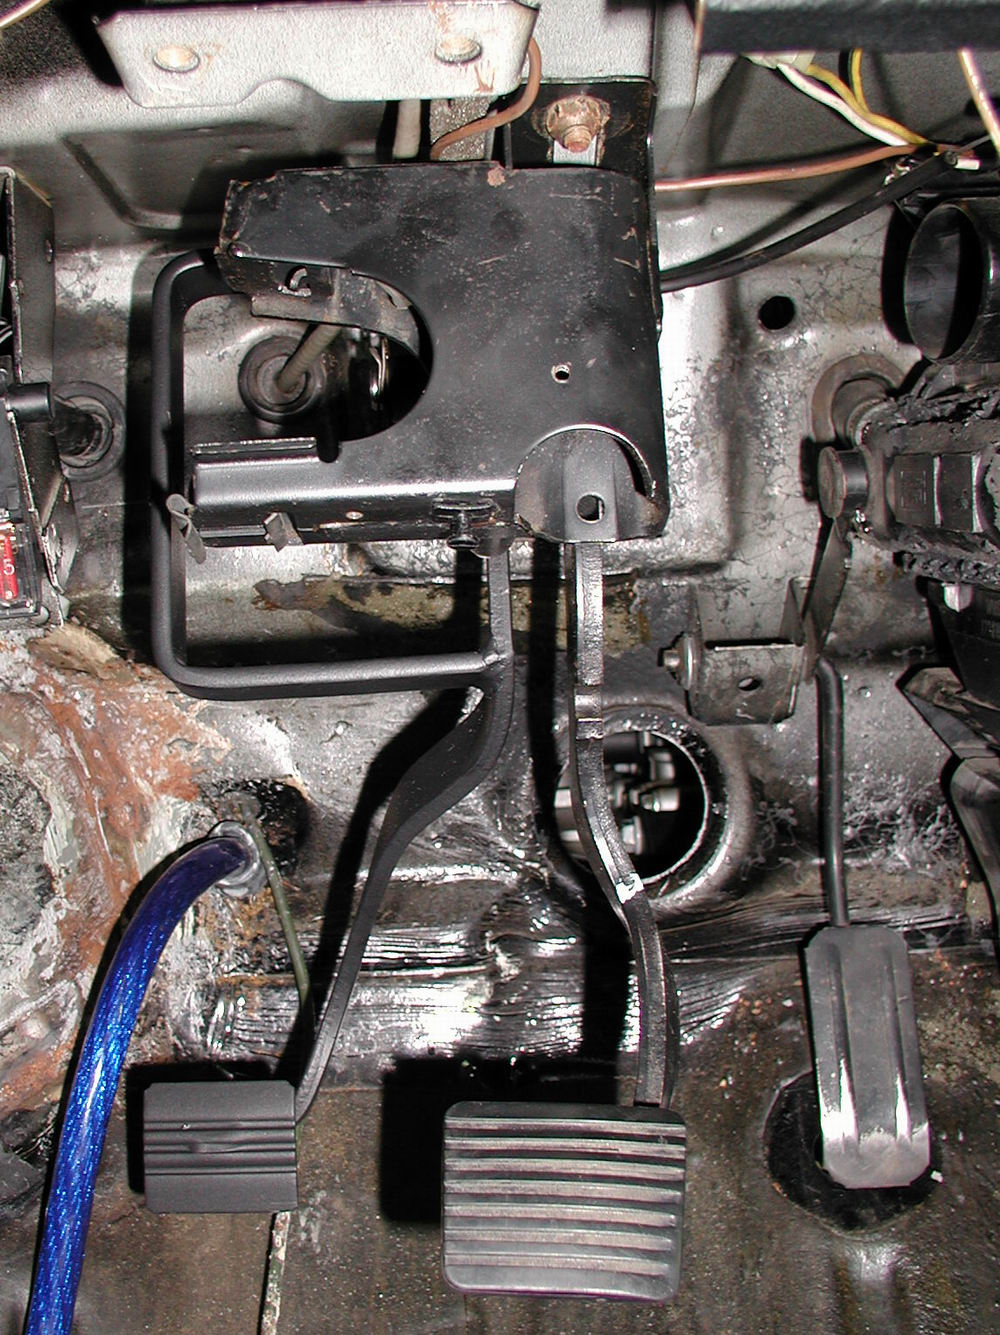
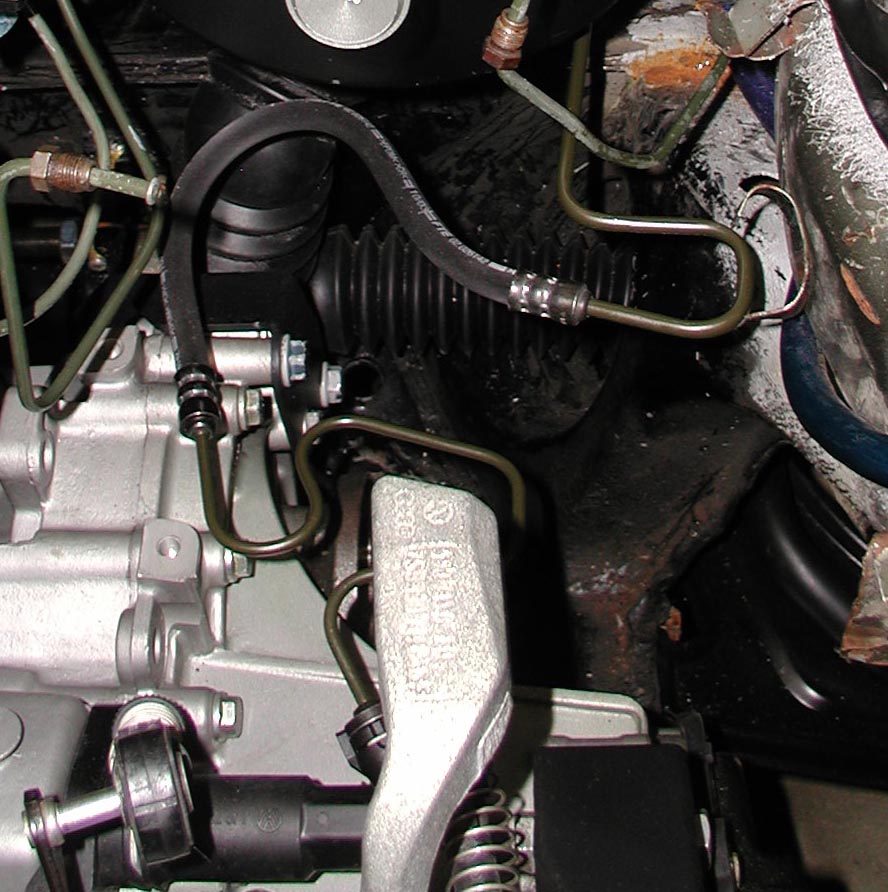
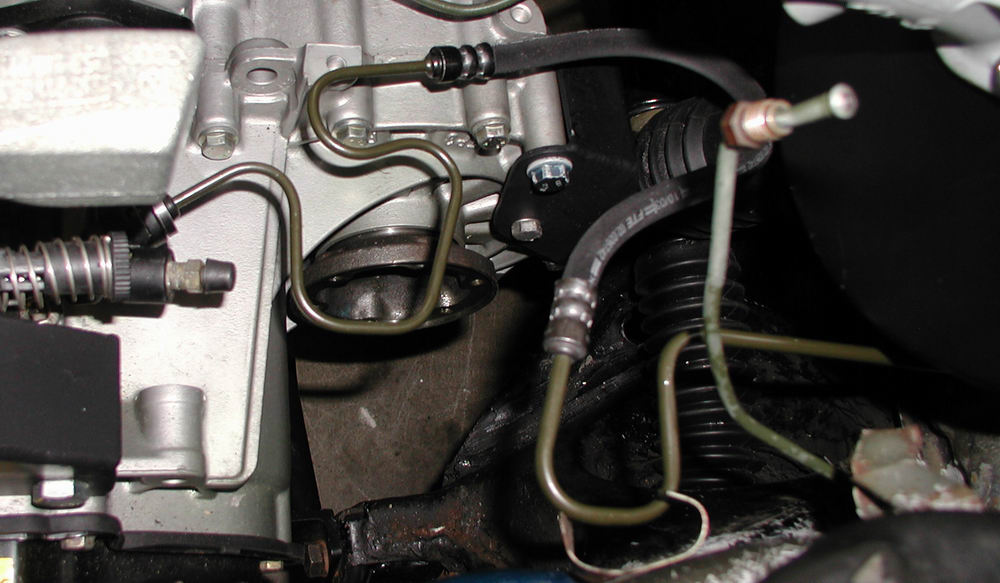
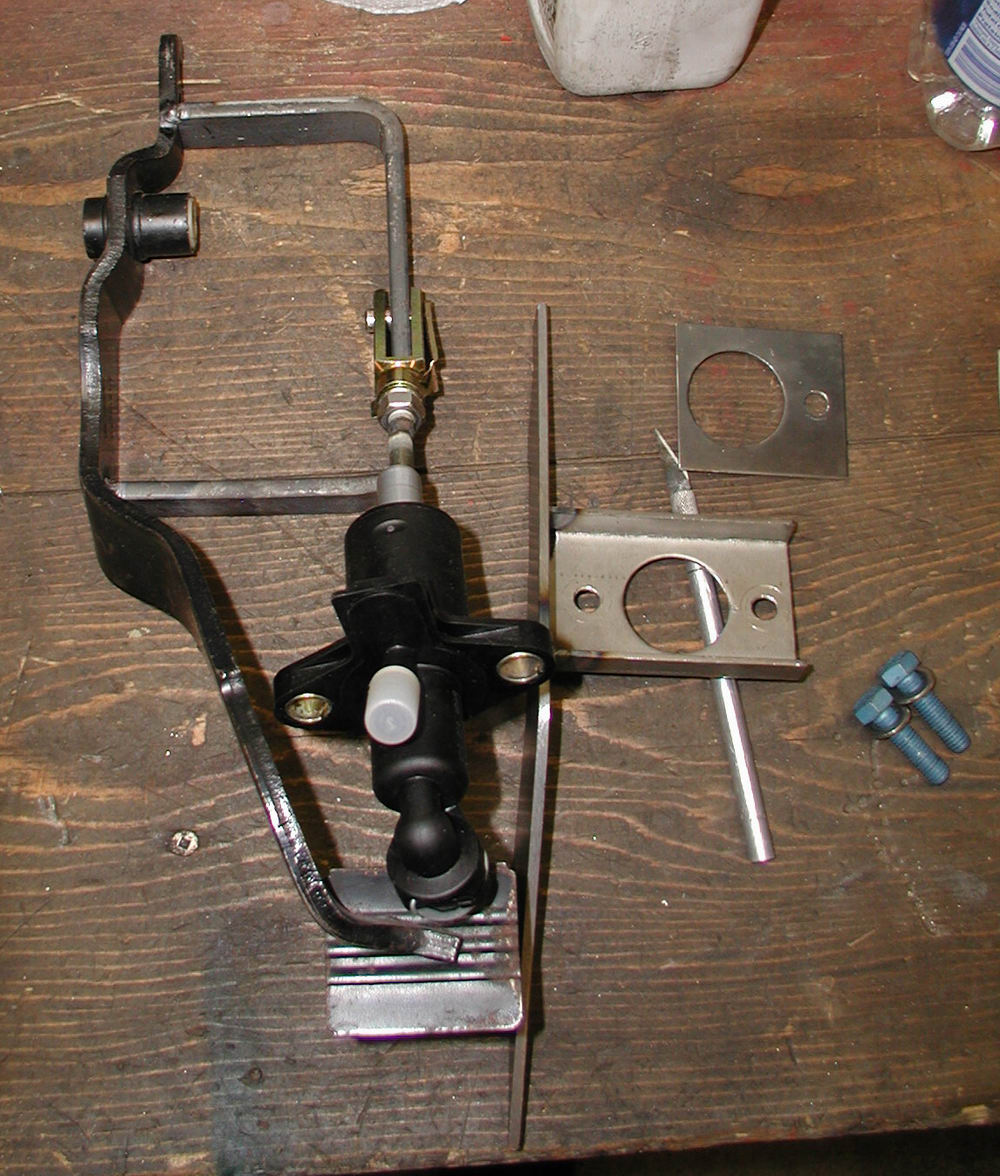
MC attached to clutch pedal with clevis

swap020 (52K)

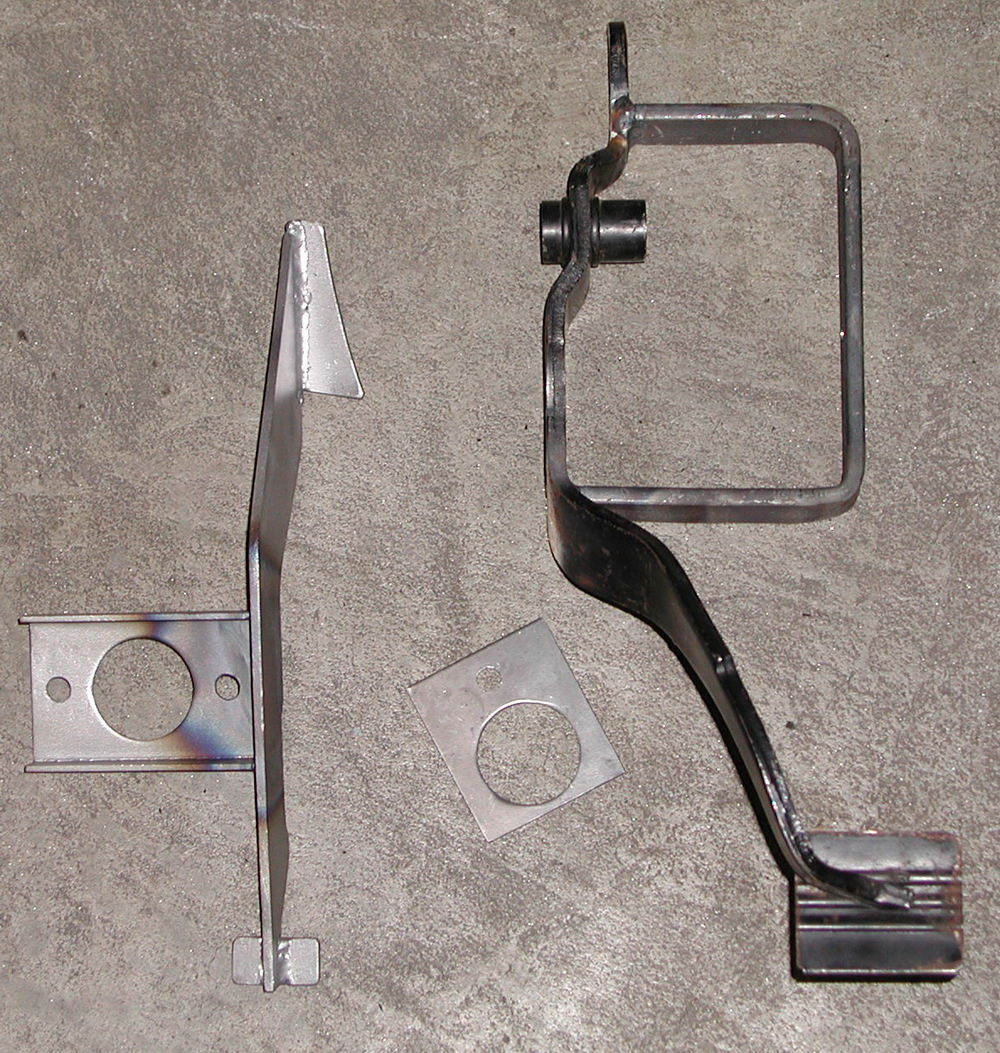
Internal stiffener, spacer, and modified clutch pedal

swap024 (47K)

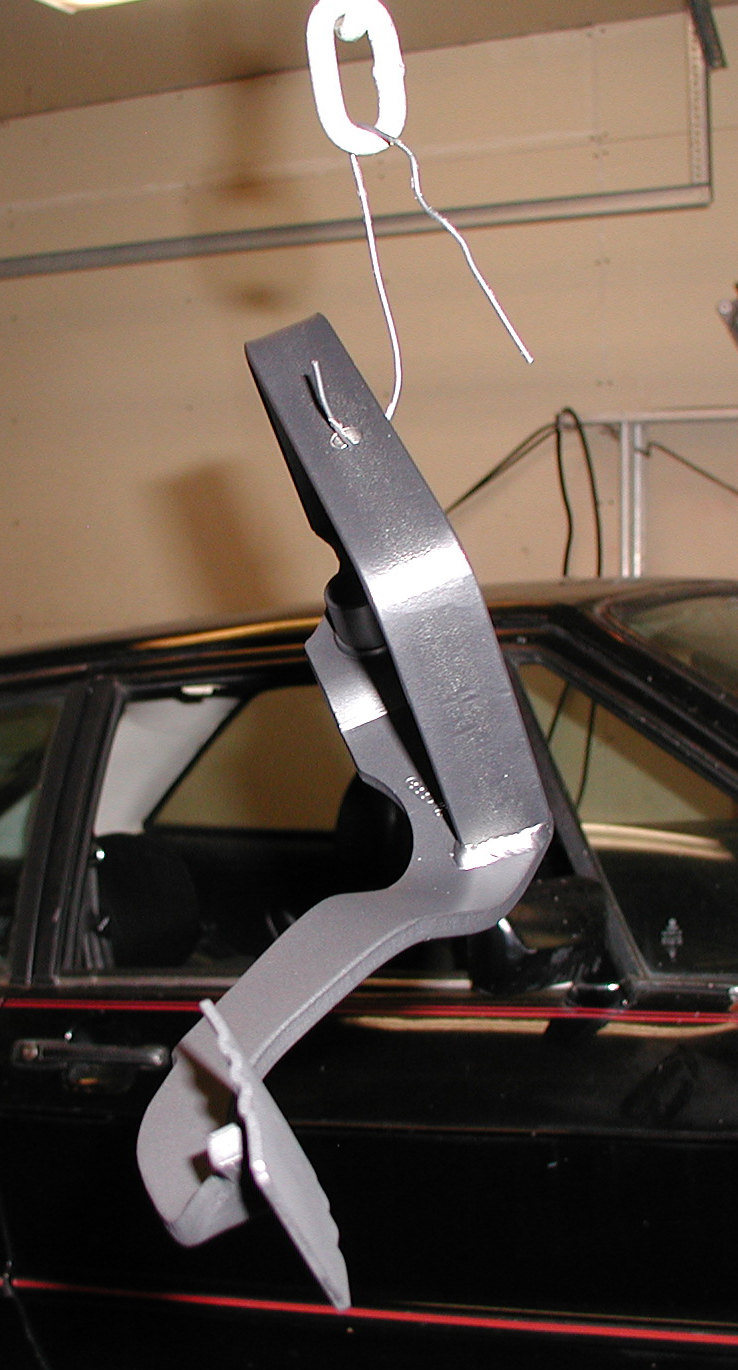
Freshly painted clutch pedal after modification


And of course...far be it from Dan and I to neglect the "making it look pretty" side of things....

swap026 (20K)


swap027 (30K)

swap021 (16K)

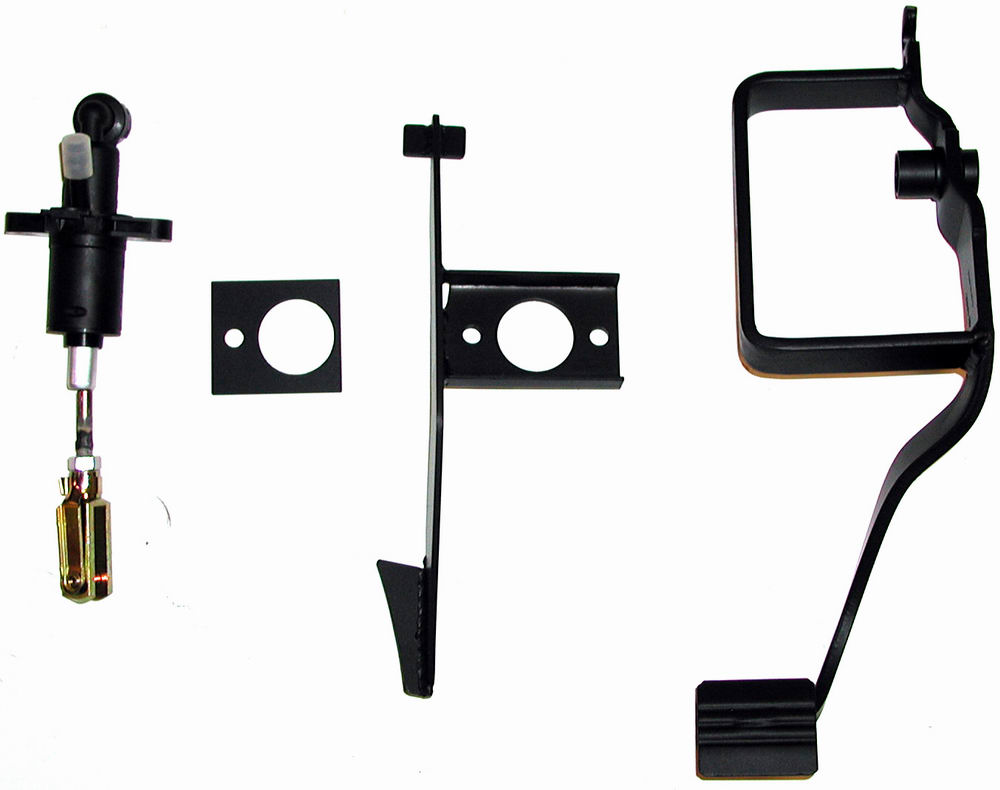
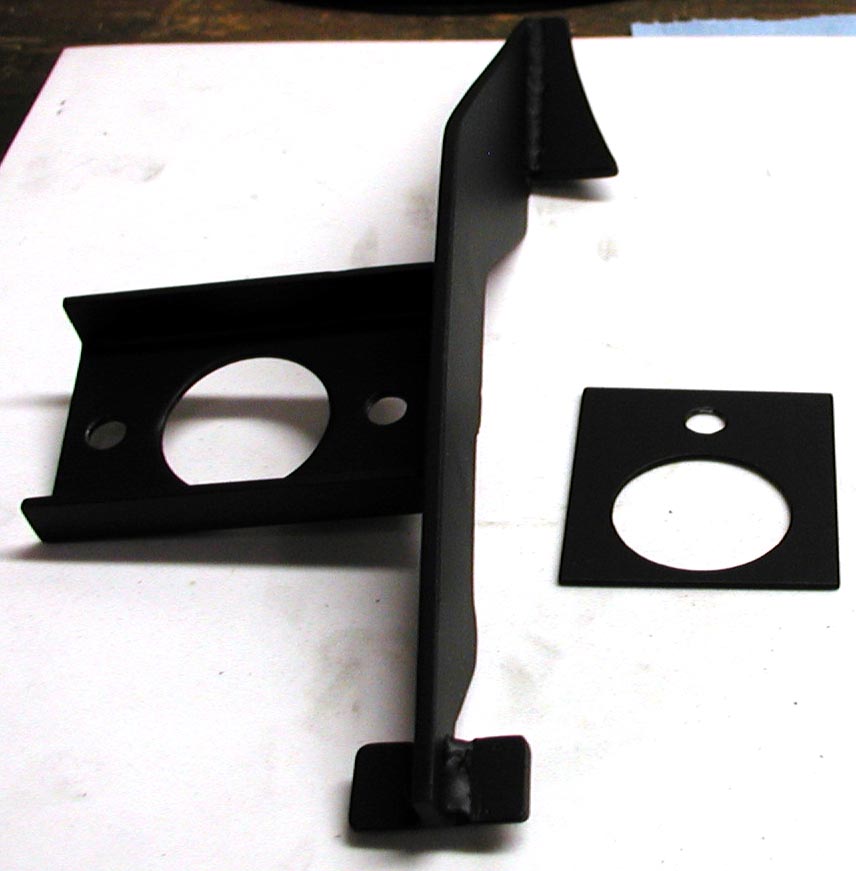
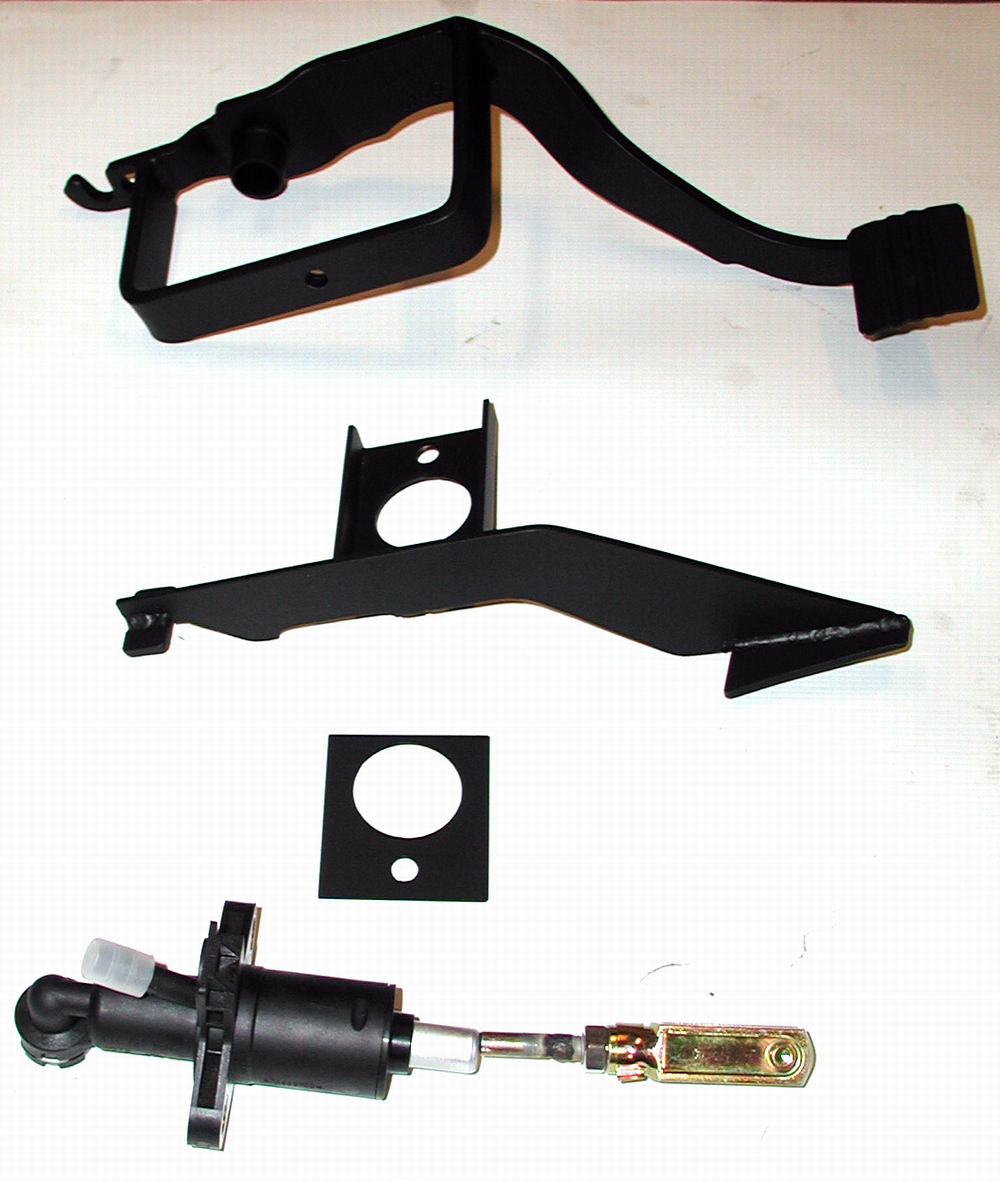
Painted components ready for install and clutch MC


And finally...the actual installation.....In the engine bay...the hole to the right of where the brake booster sits is where the clutch MC is going to go...right underneath where the speedo cable is now.  Inside the passenger compartment you can see where the modified clutch pedal has been installed.

swap028 (59K)

swap029 (74K)

Clutch MC now installed on the engine bay side....on the passenger compartment side the clevis attaches to the modified clutch pedal and the stiffening brace and mounting bracket attach to the other side of the MC.

swap031 (31K) swap032 (30K)
swap030 (68K)
swap033 (55K)
swap037 (62K) swap038 (52K)

Finally, the clutch hydraulic line is installed going from the clutch MC to the slave cylinder


swap035 (30K)

One of the key players in the "what in the hell am I going to do about THIS" game was how to make the 100 mm axles work with the 02J.  The 02J flanges are 108 mm and the axles that I got for Shocky are 100 mm.  After much research, it was found that the 02J drive axle flanges from a TDI or 2.0L application happen to be 100 mm.  The part number is: 02A 409 355D.....witch came on the following tranny codes: DQY, DZQ, EBJ, EMS, EKG, EKH, EBP, FBV, EGT, EZK, EGR.

swap039 (22K)

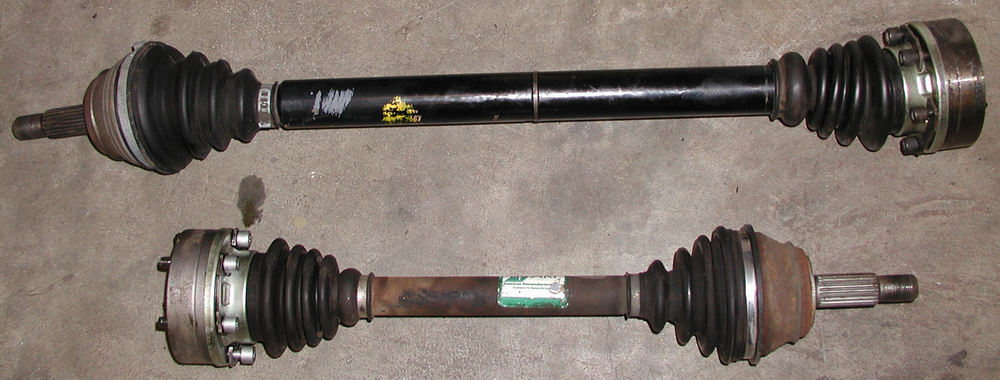
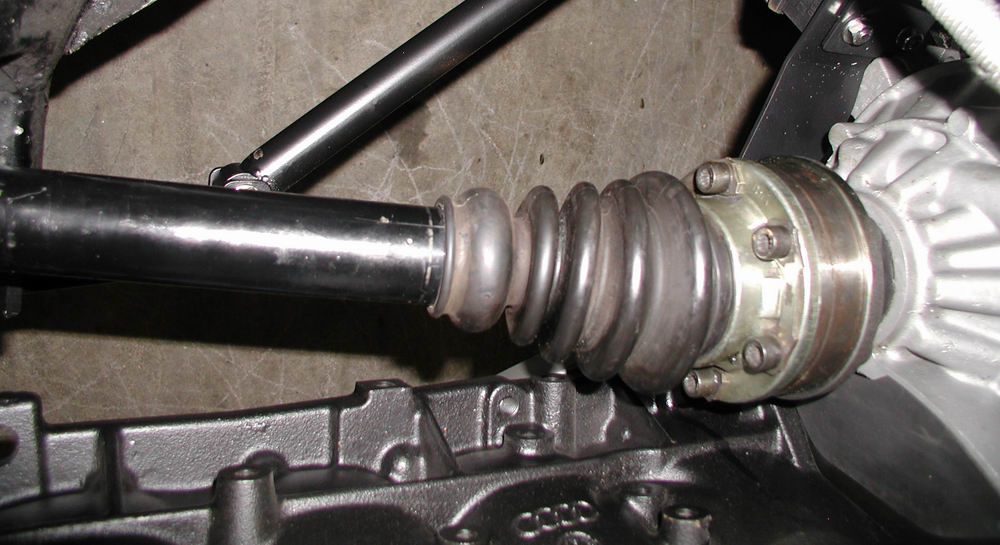
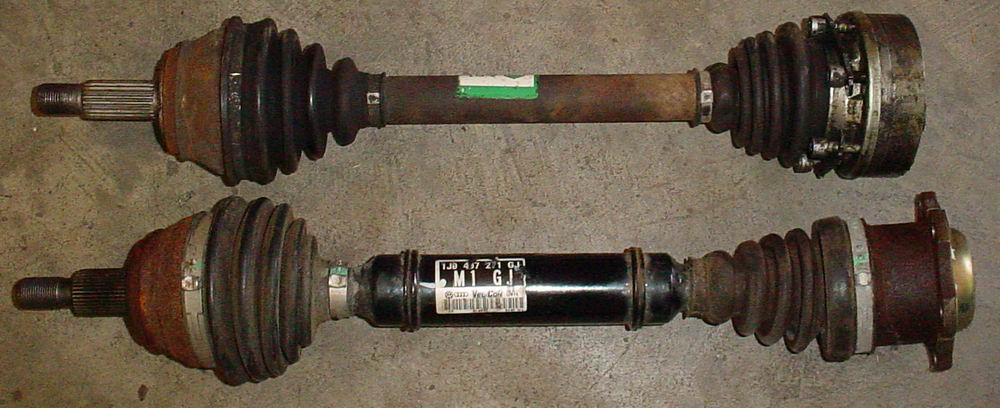
Jetta axle and 100 mm axle from 16V.  The Jetta axle is shown on the bottom side.
swap041 (47K)

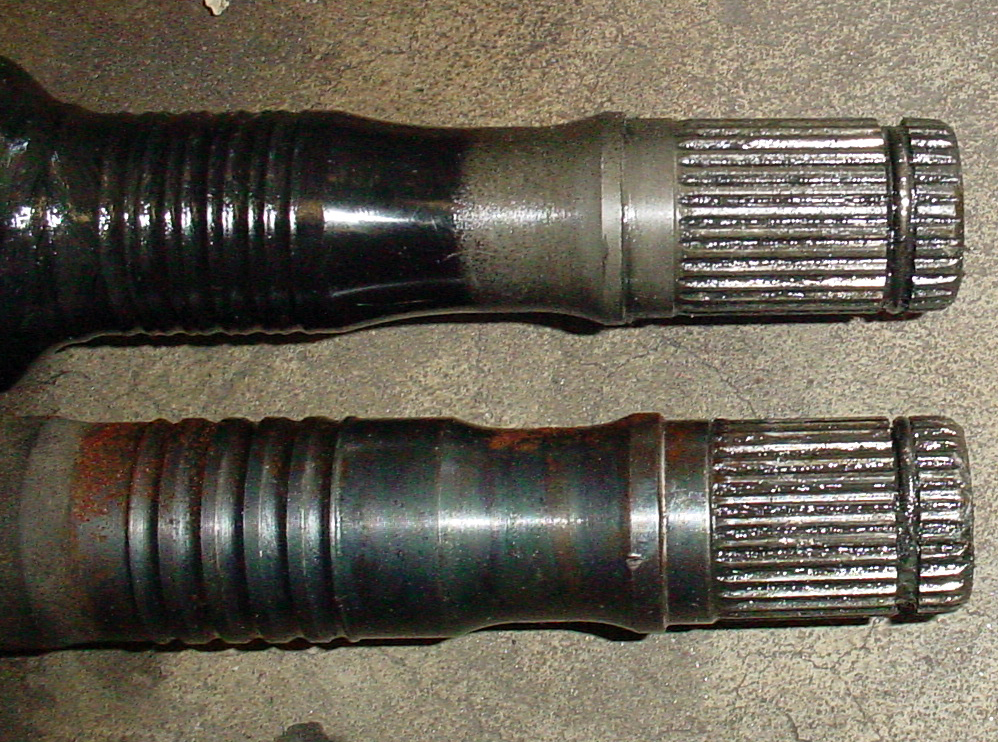
Difference in length of splines that mate to hub.  Jetta is shown in the upper side.

swap040 (43K)

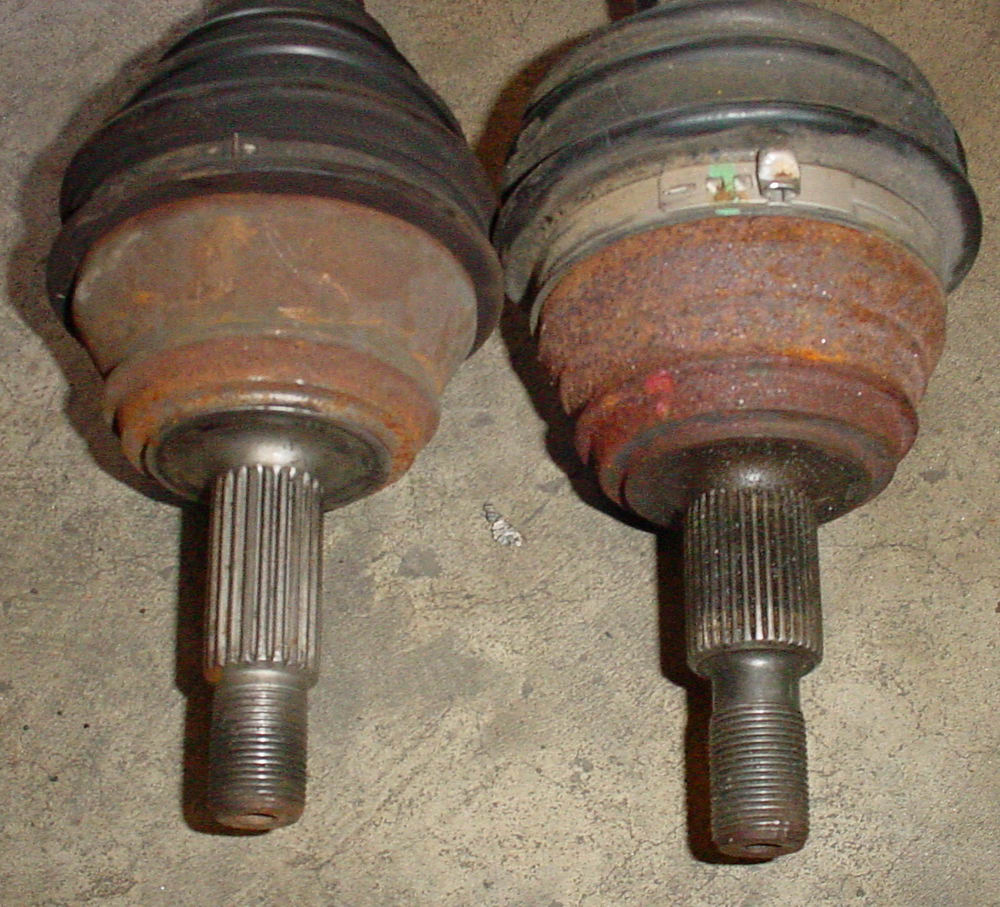
Length of splines for outer CV.  Joint will fit, but the splines on the Jetta axle (on right hand side of picture) are longer.
swap042 (44K)

Inner CV/Tripod joints.  Jetta is shown on left-hand side of the picture.
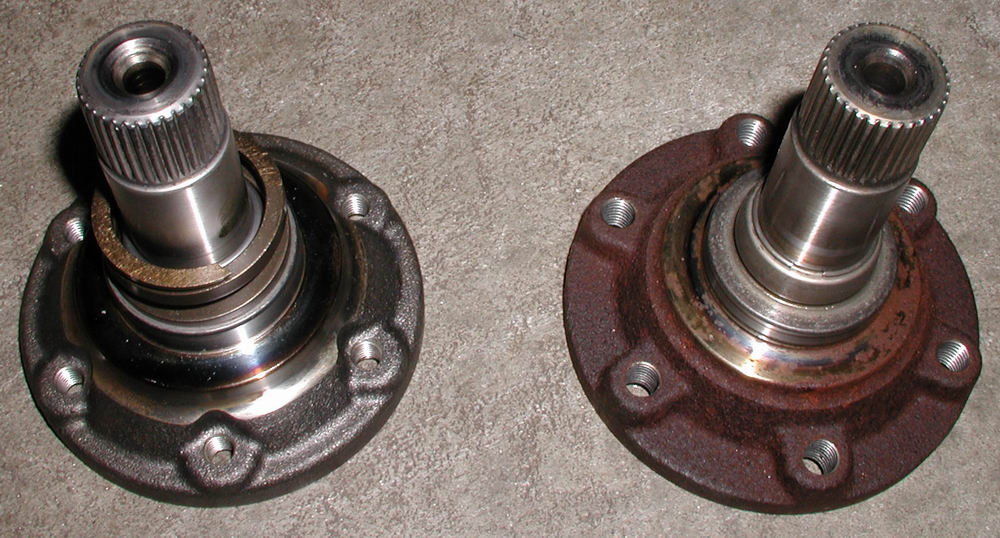
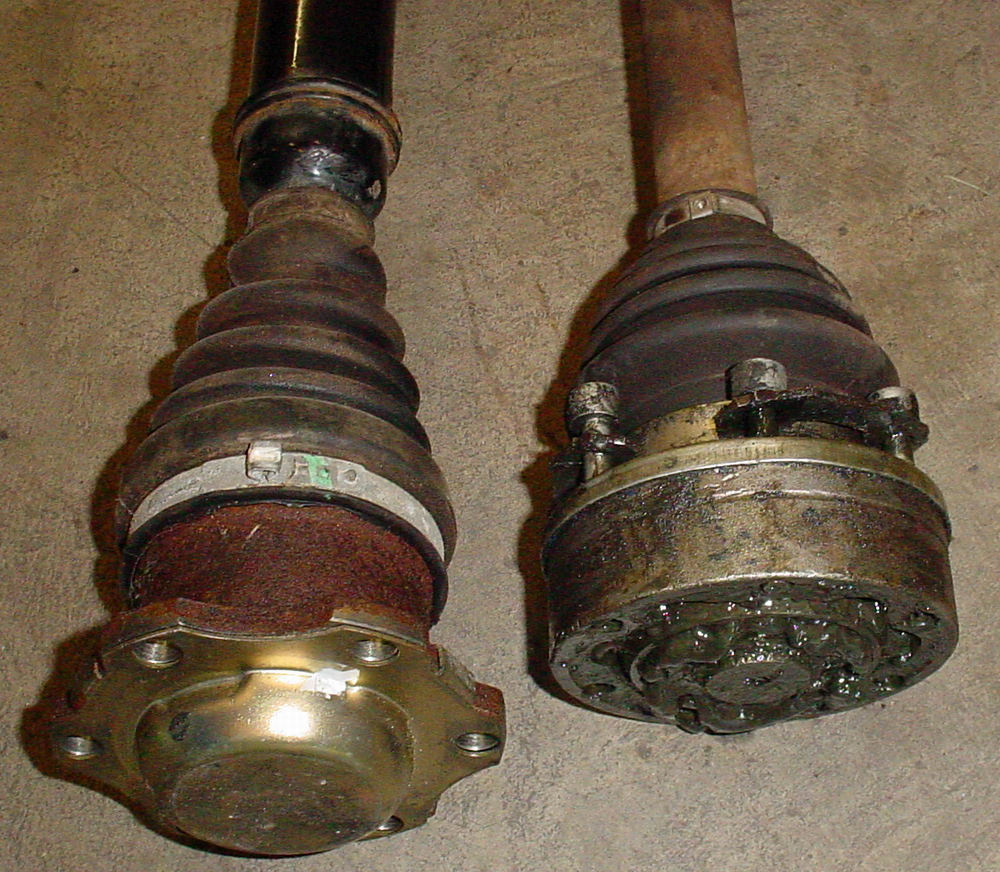
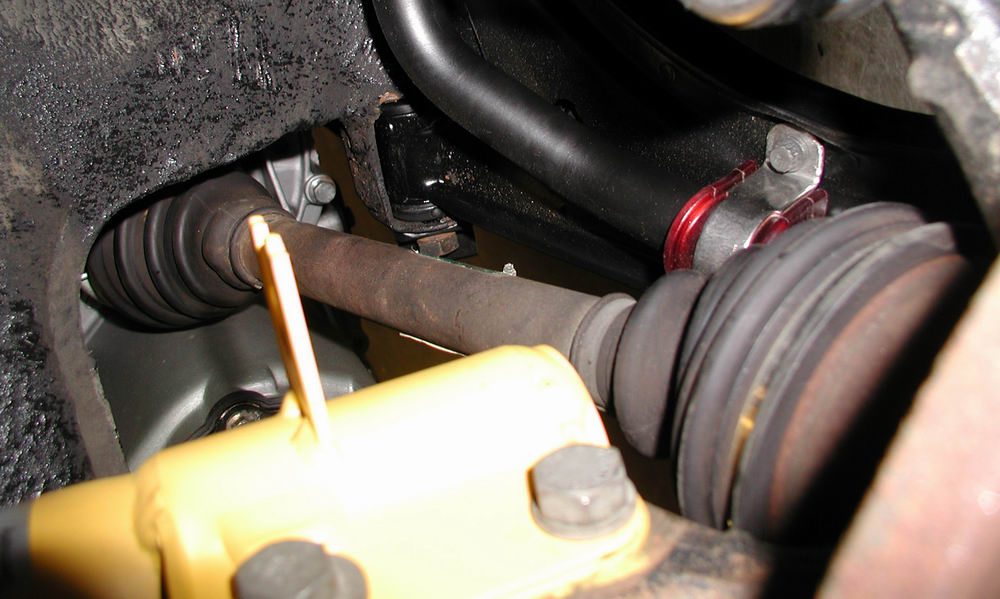

So a pair of these flanges were purchased to allow for the 100 mm axles to be fitted to the 02J tranny.  Here is the 100 mm flange (on left) next to the 108 mm flange.

swap044 (32K) 100 mm vs. 108 mm

With that roadblock out of the way, we forged ahead and installed the flanges.....

swap043 (60K) 
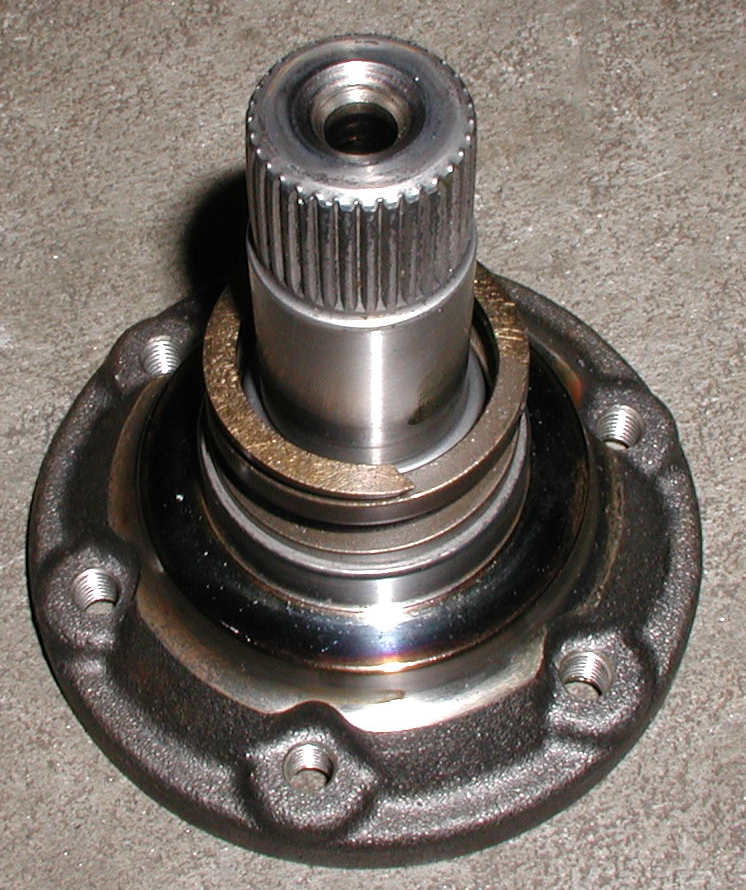
100 mm Drive Axle Flange....
swap046 (46K) swap045 (41K)

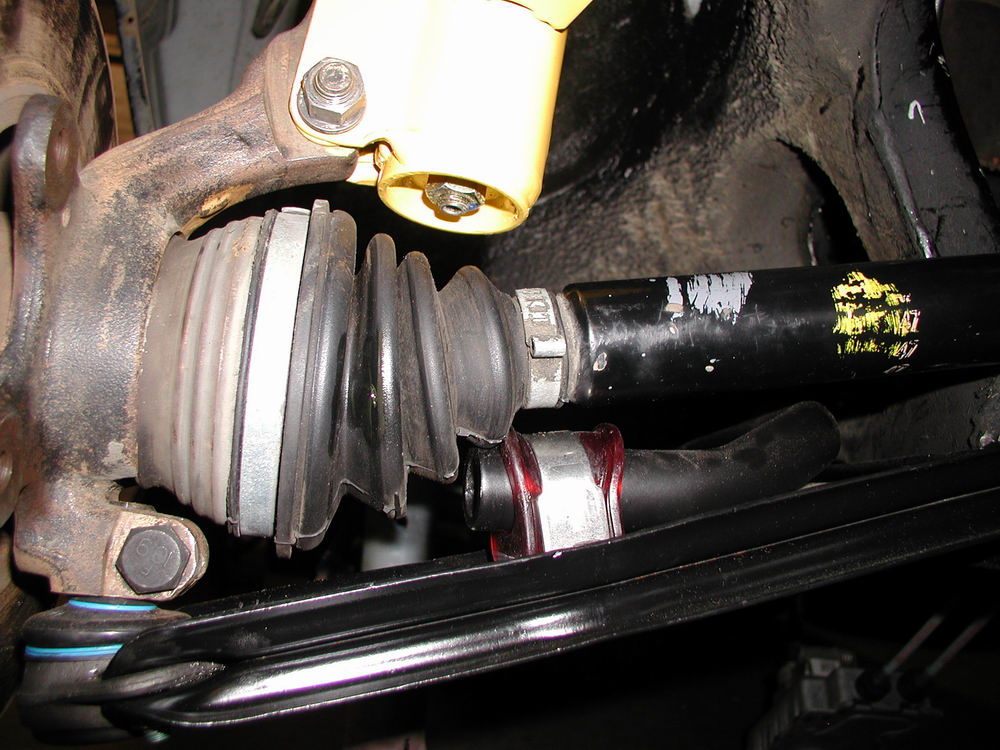
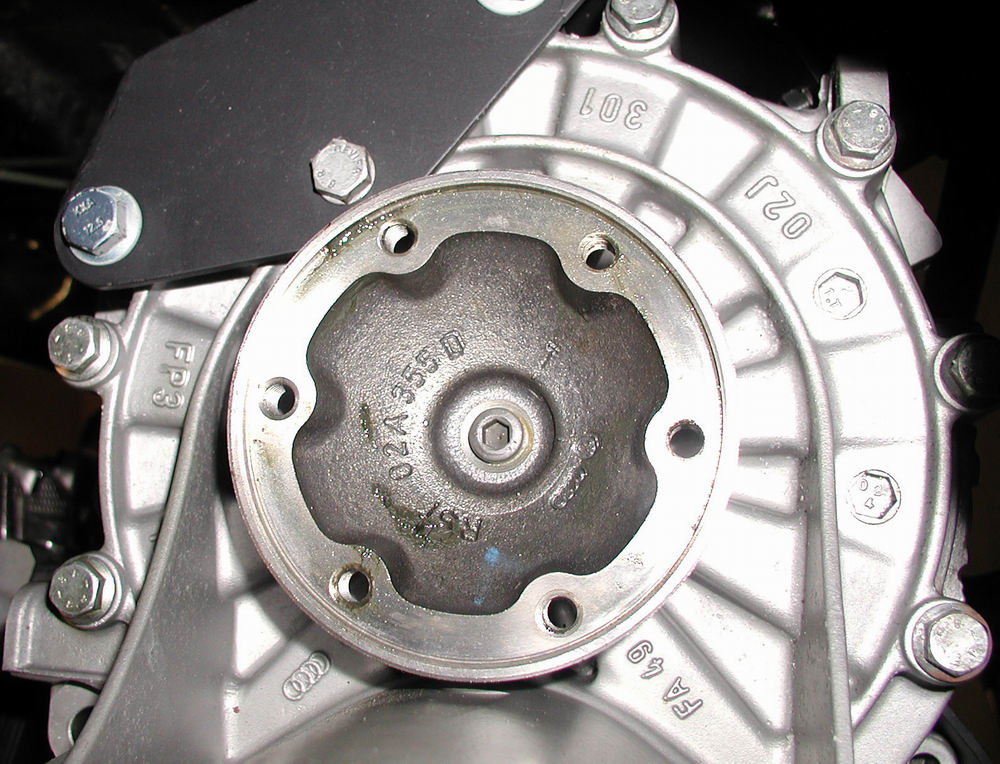
...Living happily with 02J

....followed by the drive axles......nothing too exciting...just the standard routine....

swap047 (19K)

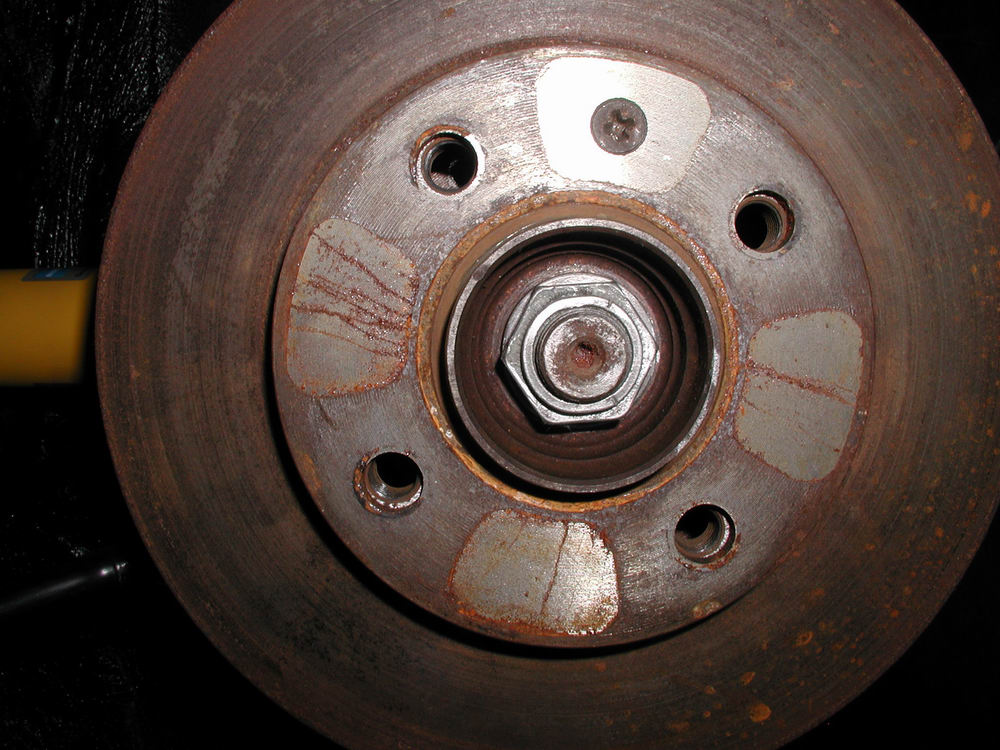
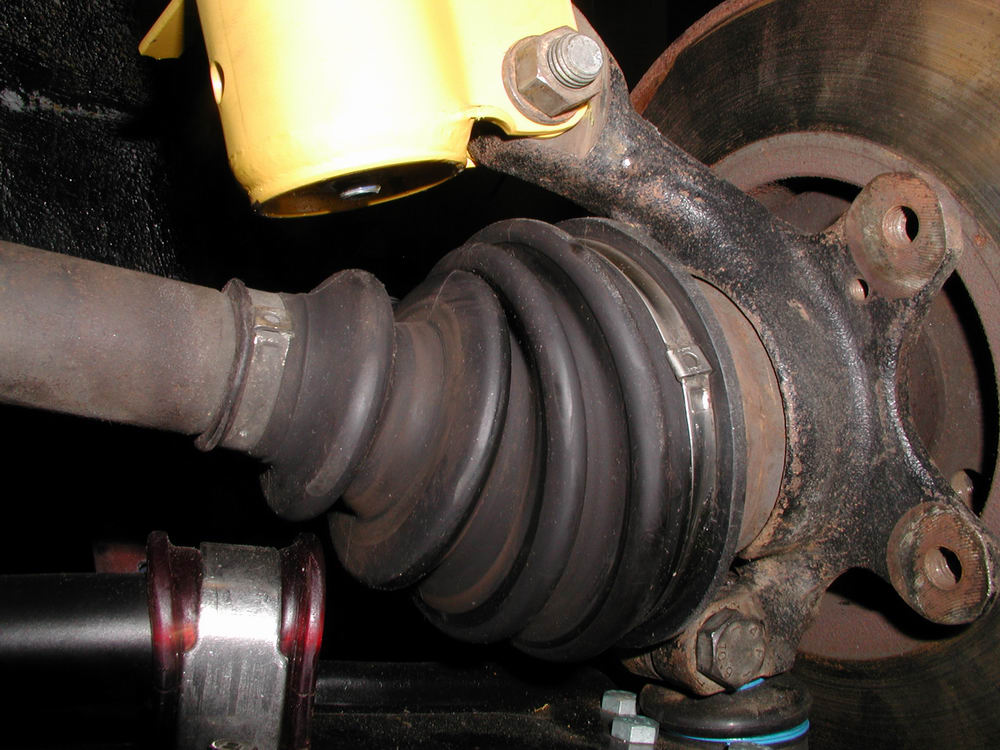
Shocky's "new" 100 mm axles....


Frickin rust!  I hate it all!!!
swap050 (34K)
swap052 (46K) swap051 (29K)

swap049 (30K)
swap053 (35K) swap055 (40K)

Before the final engine assembly could begin, a couple of key components needed to be cleaned up and "refurbished".  Amongst those were the alternator, cam cover, oil filter housing bracket, and ribbed belt tensioner.

The alternator, as was the case with most items on the engine, was absolutely corroded beyond belief.  Now...most people would just try and clean the outside with a wire brush....but that is most people.  Dan and I on the other hand...well....we like to make things as difficult as possible.....sooo, what better way to do that than take apart the alternator so the outside shell could be bead blasted?

swap056 (55K) swap057 (35K)

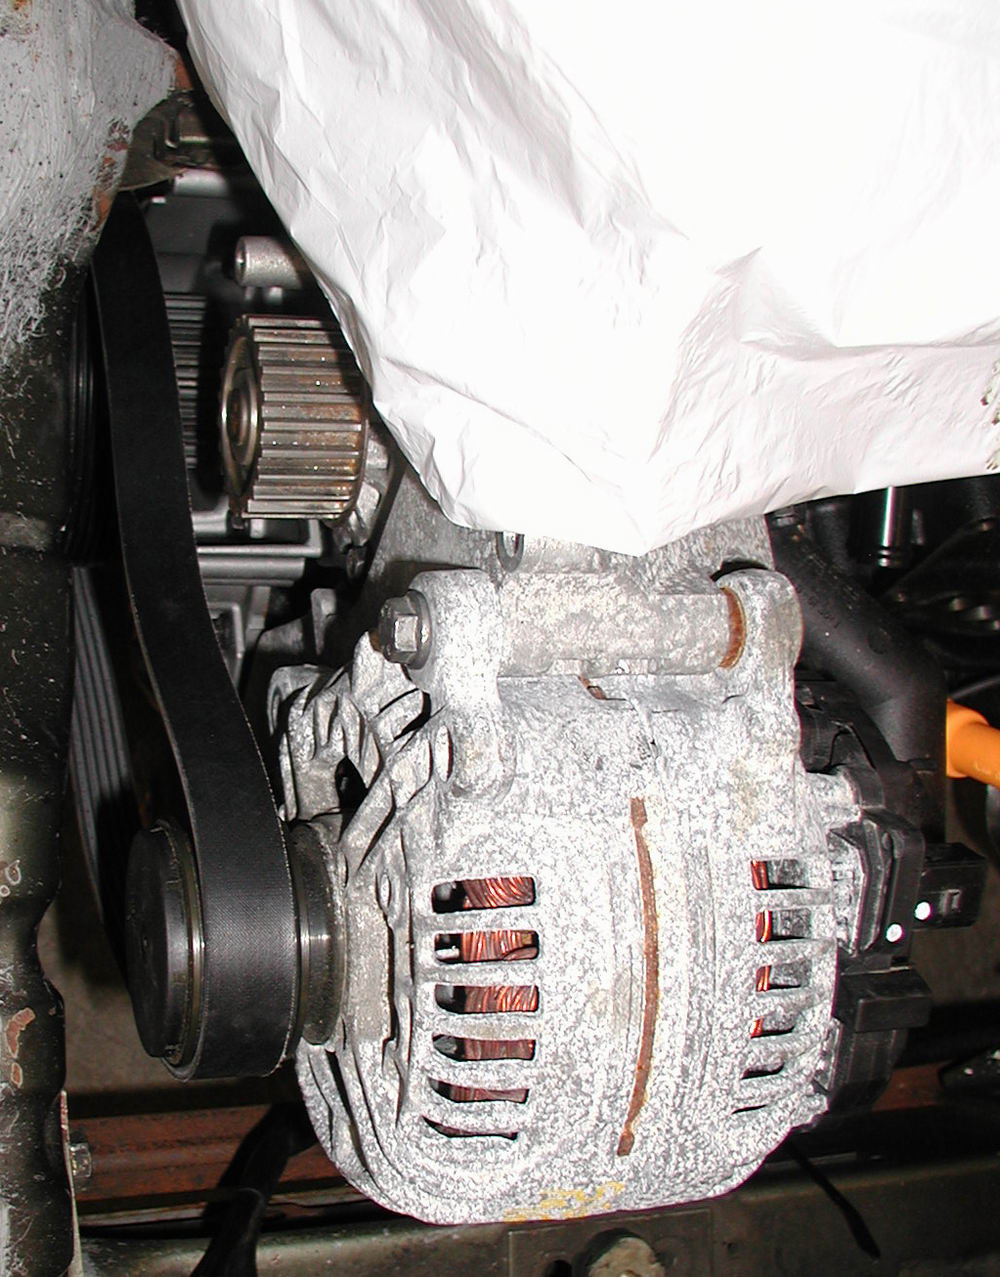
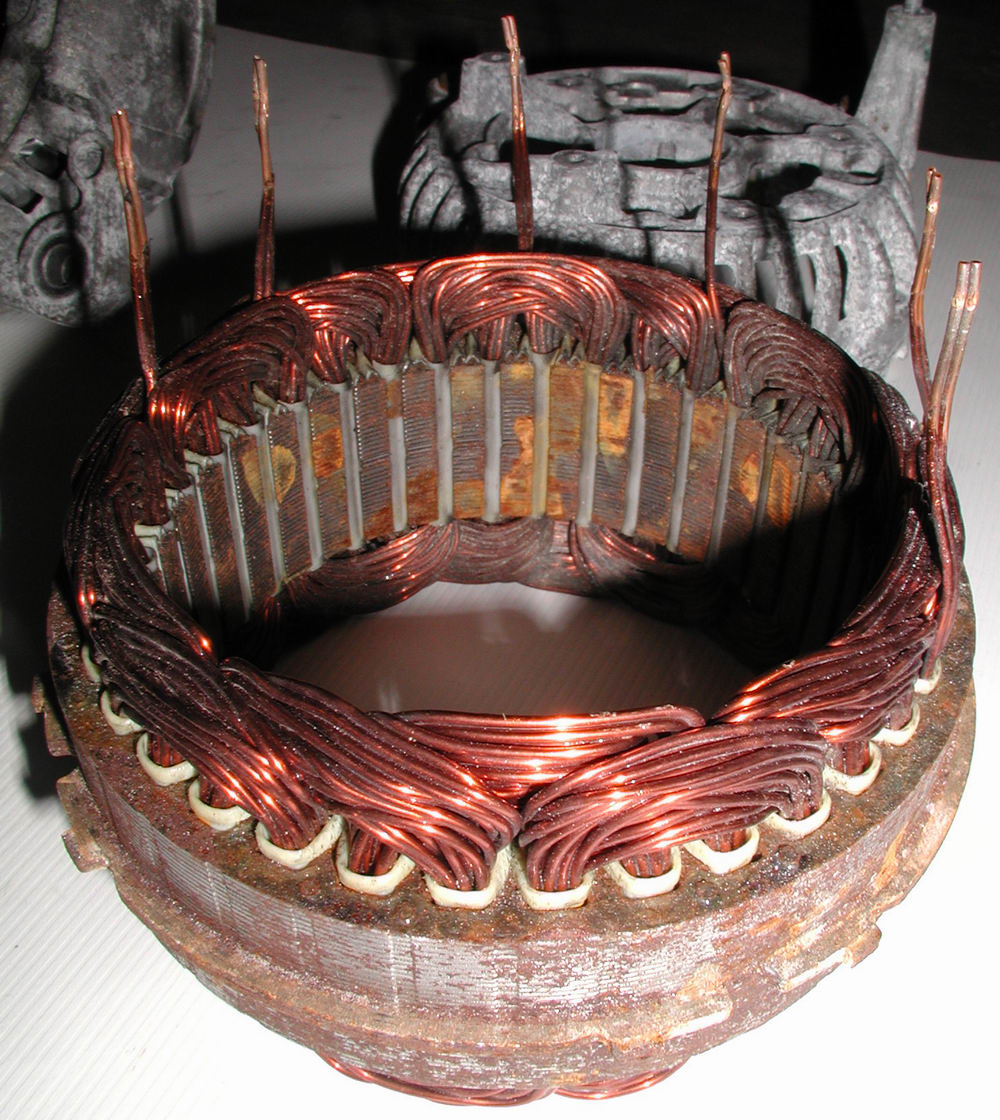
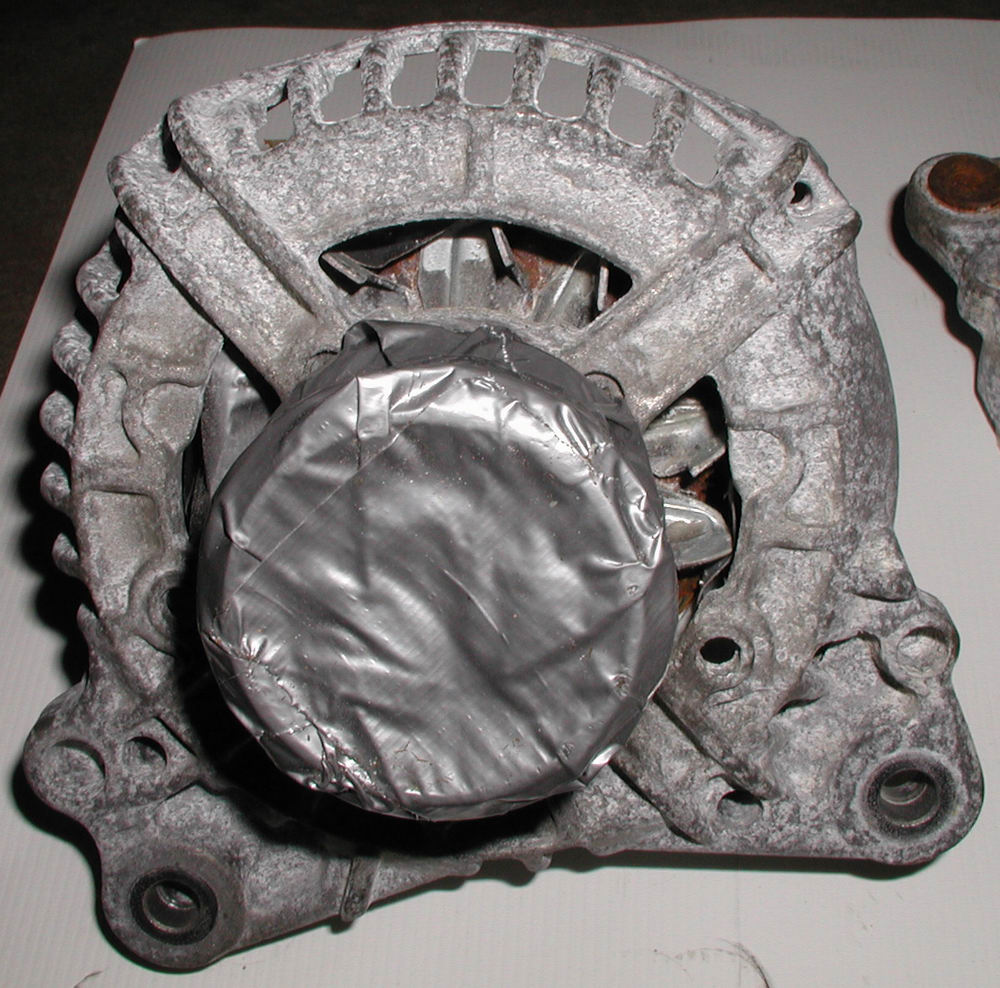
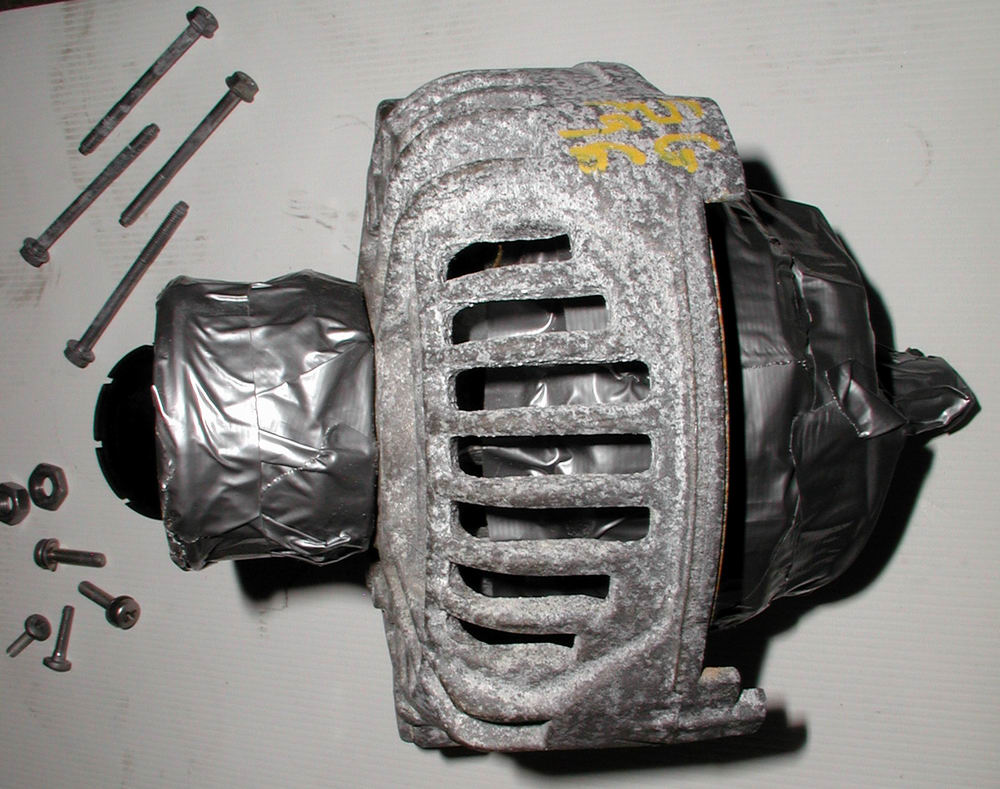
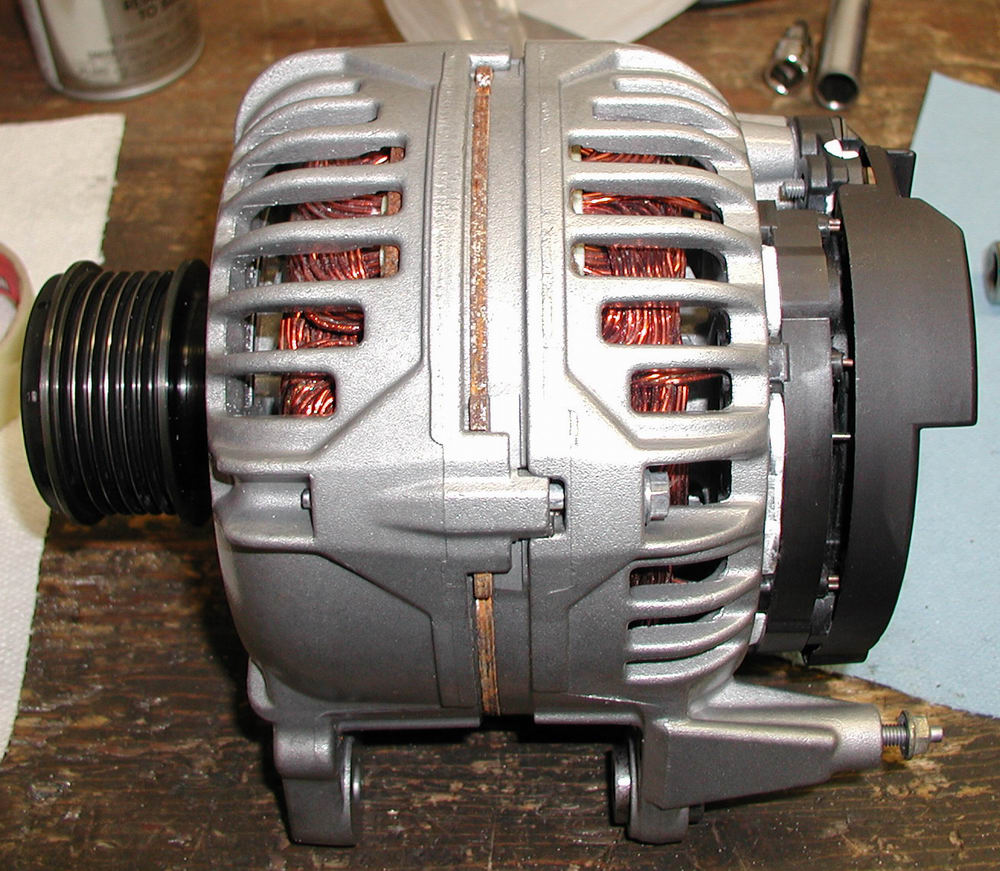
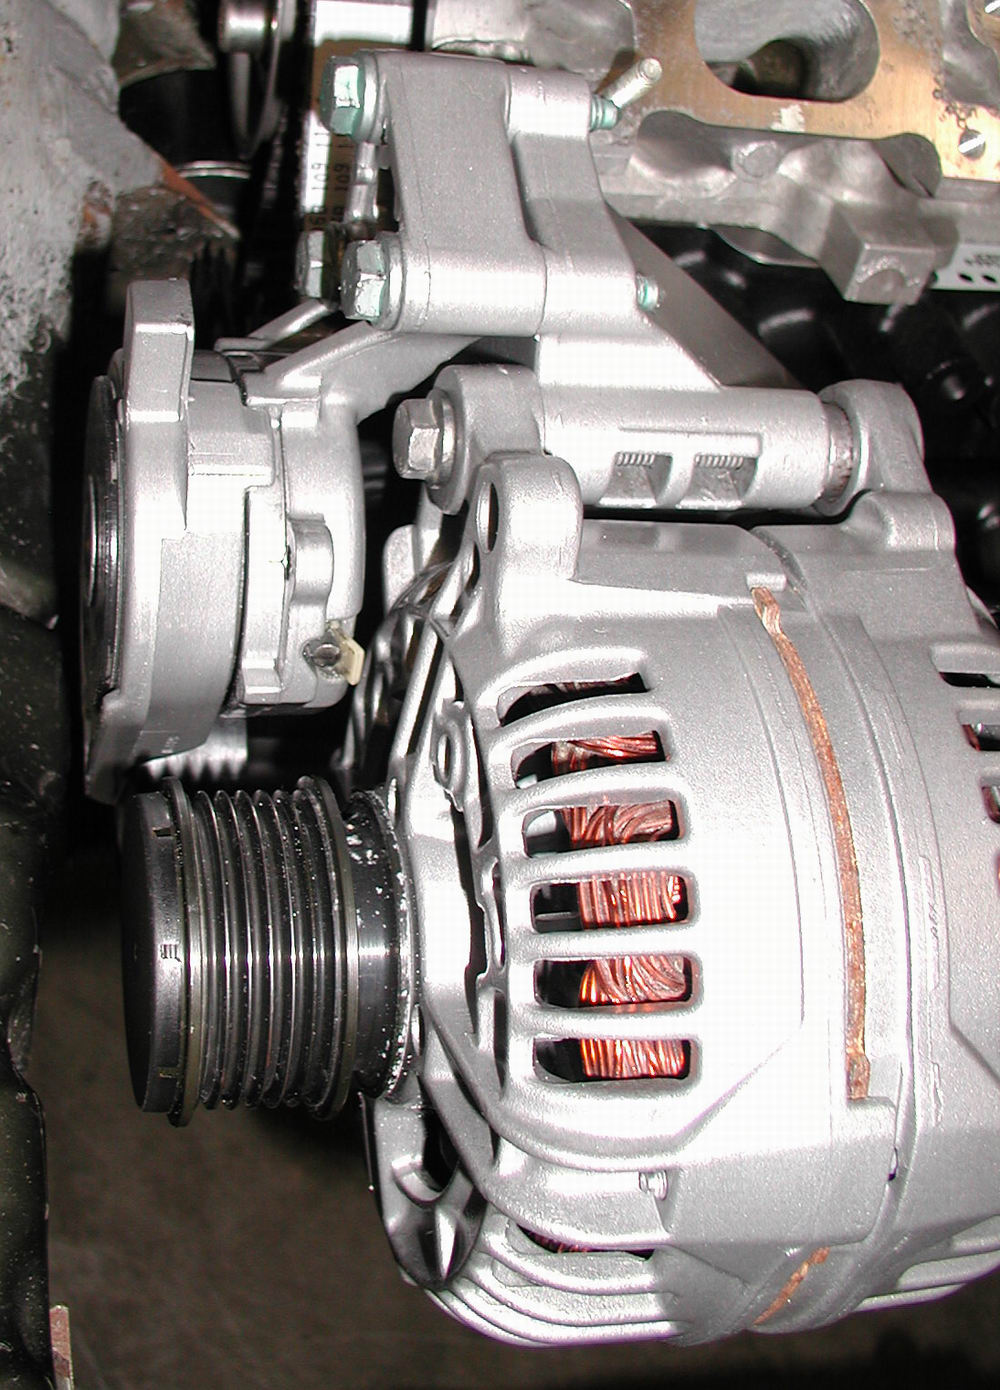
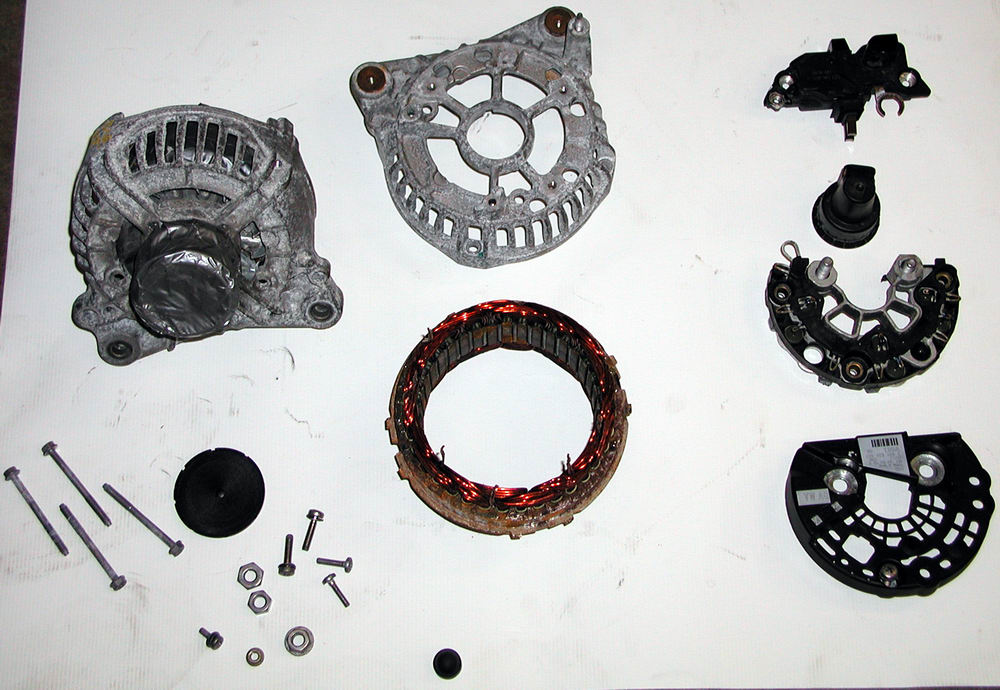
Betcha never seen the internals of a 120 amp alternator......


Holy corrosion batman!


swap059 (47K) swap058 (37K)

I would attempt to identify these parts...but I have no idea what they are...specifically.  These pictures are here for all of those people who have ever wondered what the internals of an alternator look like.  Alternator Porn!
swap061 (59K) swap060 (48K)
swap063 (45K) swap062 (39K)

But all good things must come to an end and finally, after being bead blasted and then clear coated with engine enamel, the alternator is reassembled.....

swap066 (53K) swap067 (54K)
swap065 (47K)
Finally all reassembled...and much better....although...as a perfect example of the evil side to bead blasters....you can see all the pieces of media that are residing by the pulley.

Next up?  The oil filter bracket and ribbed belt tensioner......

swap068 (33K) swap069 (27K)

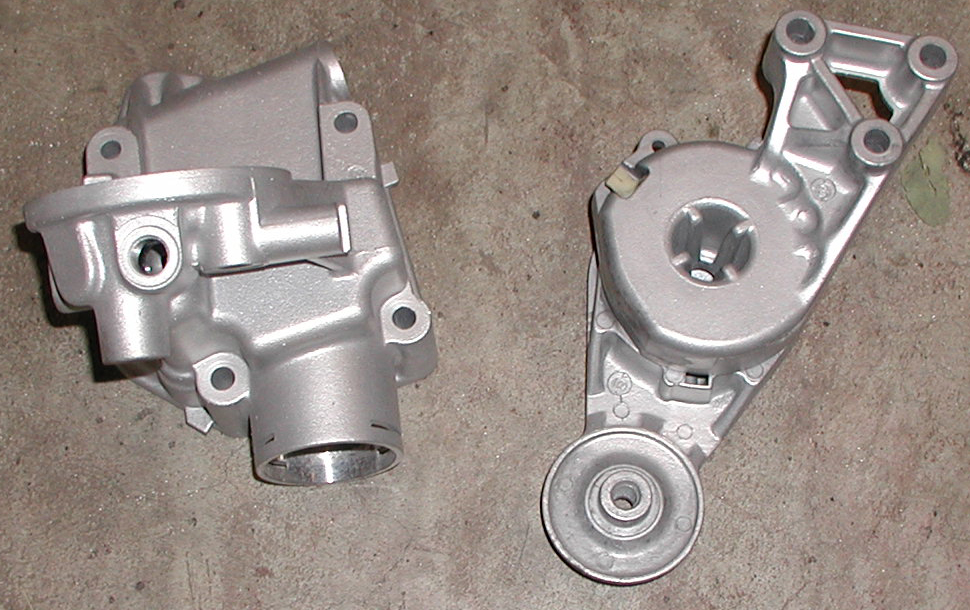
Freshly bead blasted and clear coated oil filter bracket and tensioning device for ribbed belt

swap070 (52K) swap071 (53K)

Since I was not going to be keeping the AWP's air conditioning and power steering, this bracket was labeled a nuisance and sent to the chopping block for alteration.  The good thing here is that the alternator is the top resident of the three items so modifying the bracket was simply cutting off the lower half of unused part.

swap072 (64K)
swap073 (45K)

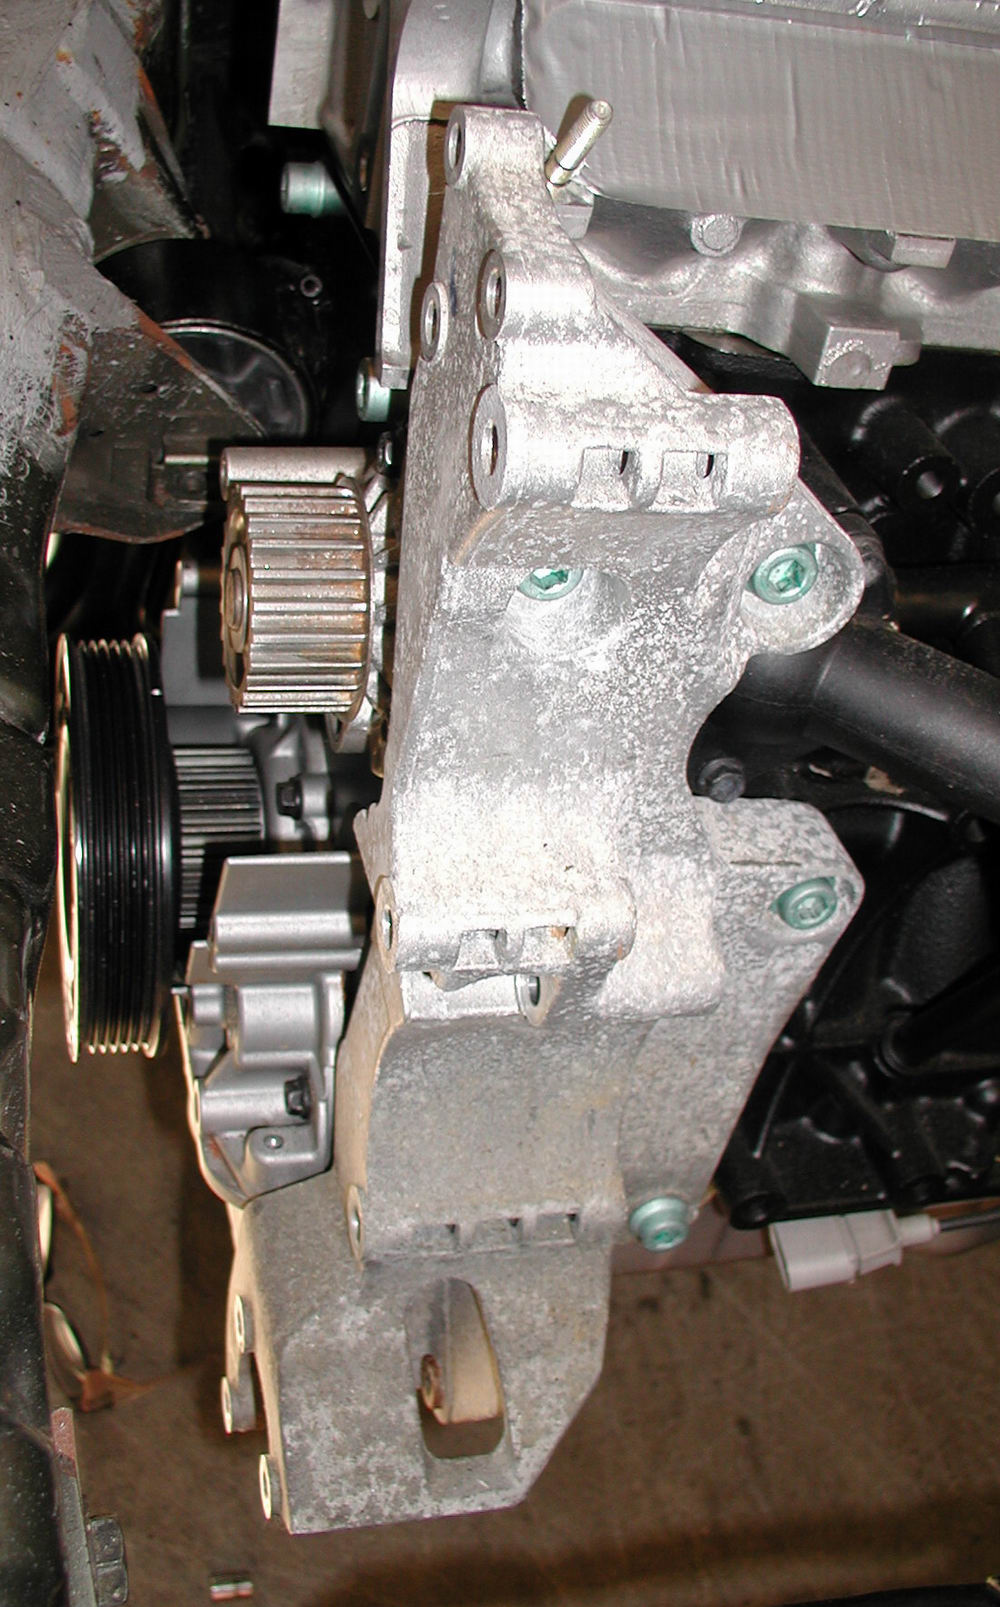
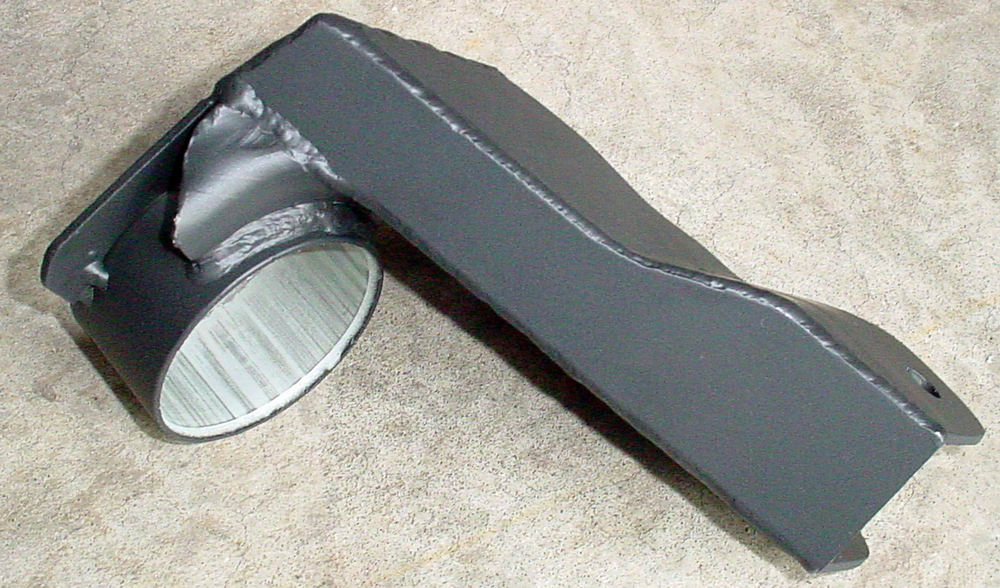
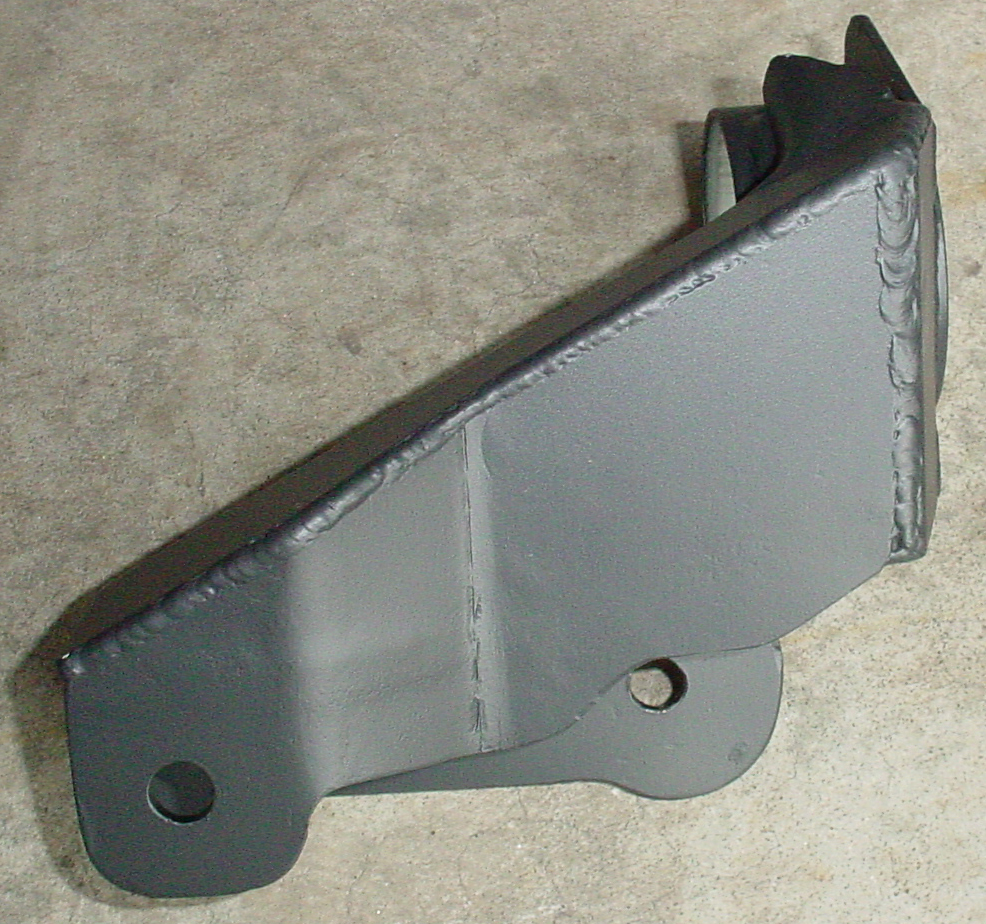
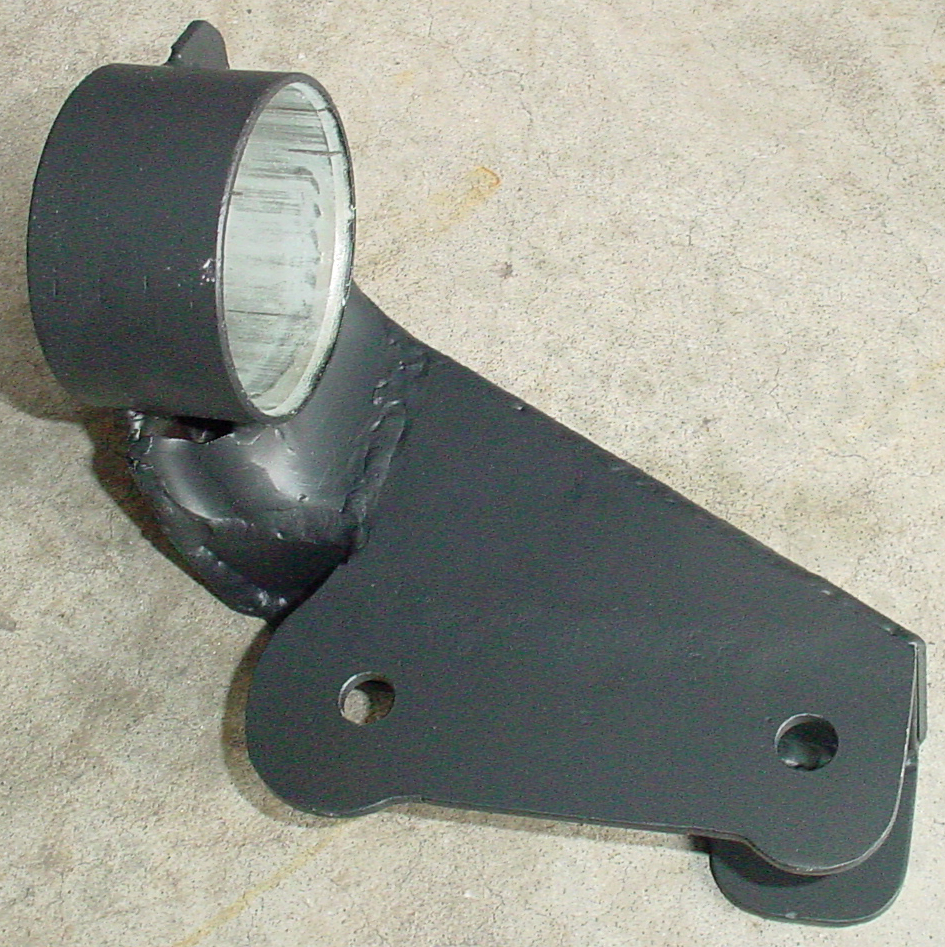
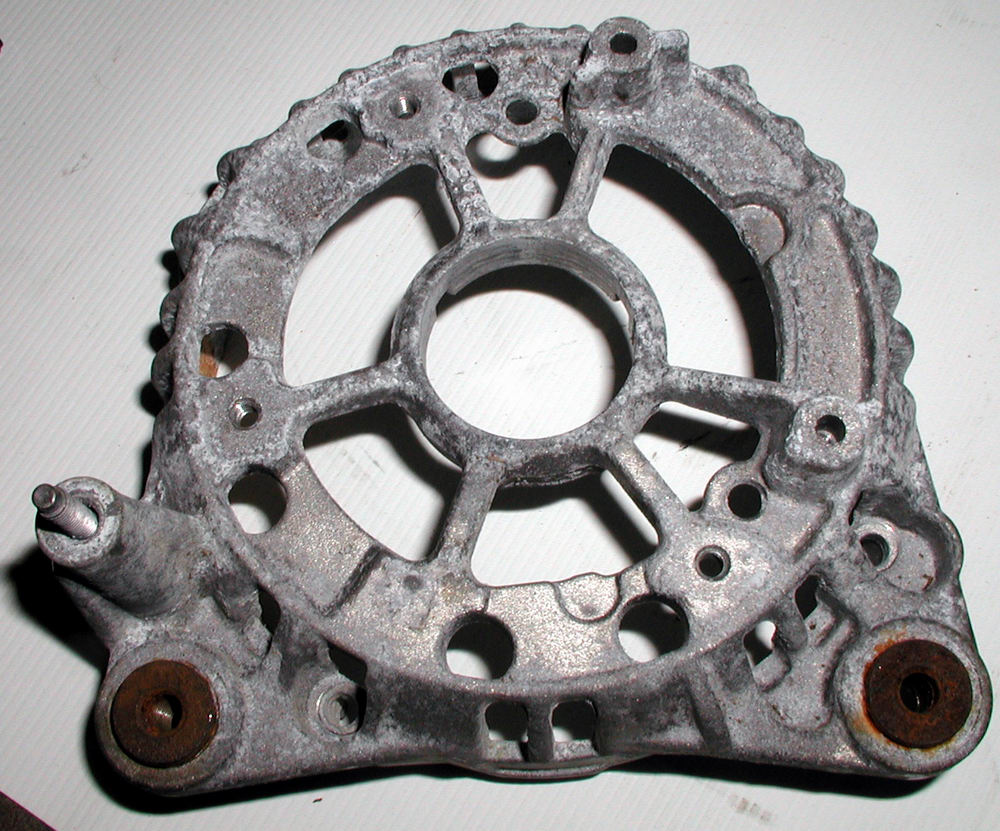
Accessory bracket.......a.k.a. big ol' bulky piece o' aluminum...corroded and icky......this guy houses the alternator, air conditioner compressor, and power steering pump.
swap074 (28K)
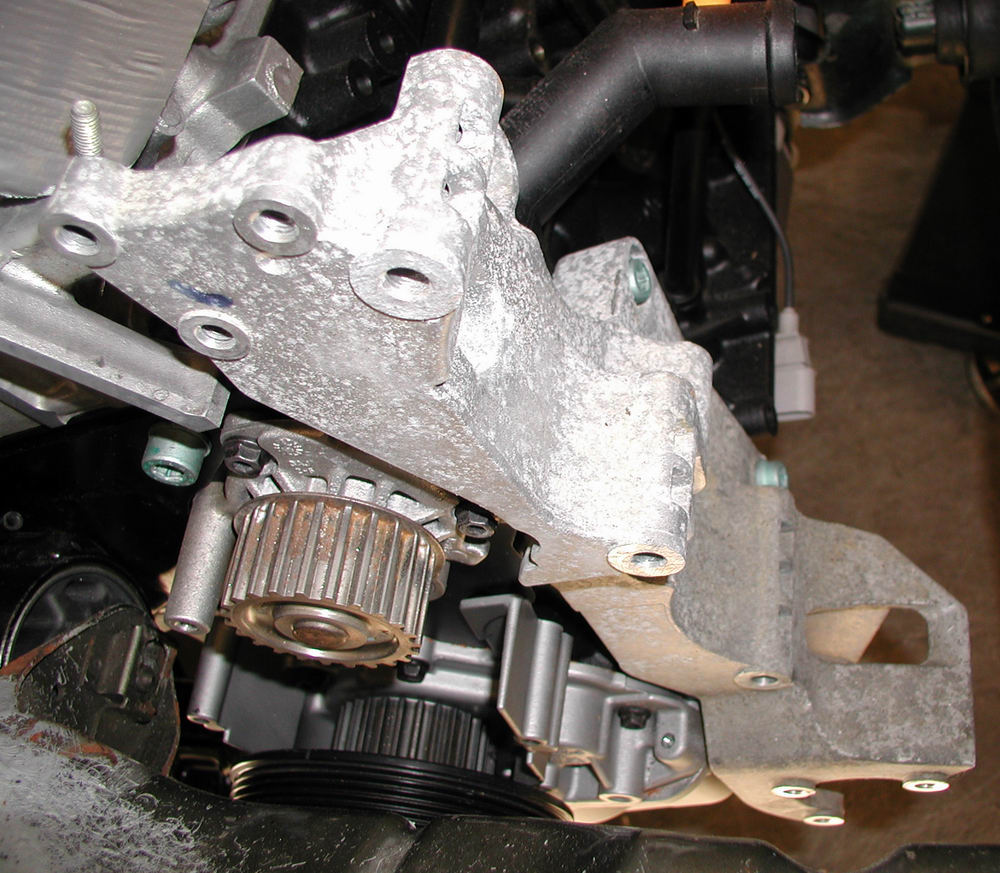
Extraneous weight is bad weight....and therefore...since Shocky had opted to be sans air conditioning and power steering...to the chopping block it went...
swap075 (43K)

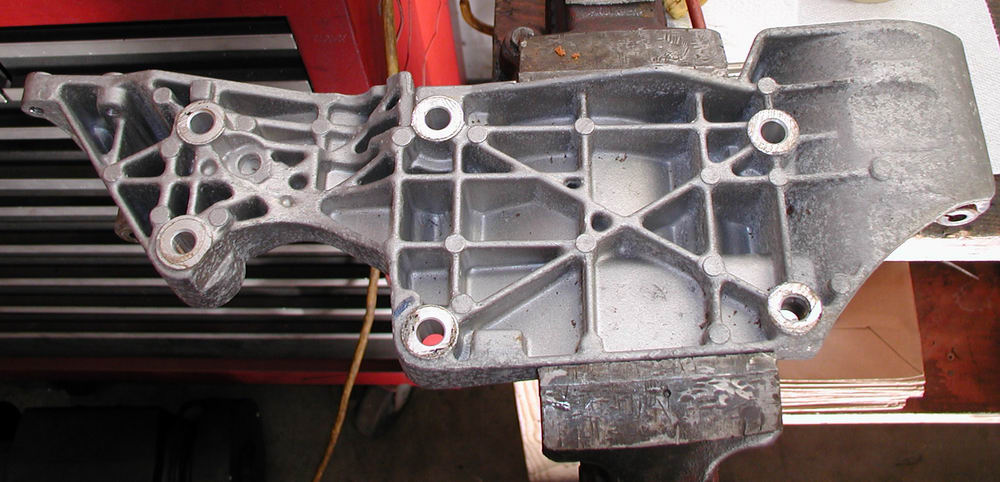
The remains.....

Freshly bead blasted and clear coated stub

Here is the cam cover after it has been properly bead blasted......came out yummy for the most part...with the exception of those scratches...hmmm.........still better than it started out looking...

swap077 (31K)
swap080 (35K)
swap078 (23K) swap079 (26K)
swap081 (50K)
Did I mention how glad I am that Dan has a media blaster?  No?  Well.....with the exception of the little bits of media getting everywhere...I would have to say that it is wonderful beyond belief.  It can save you so much time....

And of course...I couldn't resist getting some shots of the gorgeous head in all of its 20V glory.....

swap082 (48K) swap083 (33K)


swap086 (40K)
swap085 (28K) swap084 (36K)

With all the components finally cleaned up and ready to go, the time for engine assembly was finally upon us.  Up until now, any pics you have seen of the engine assembled have been with the various components just resting in place, held on by one or two bolts.  So, we gathered the parts for the final assembly and laid them out so they'd be at the ready.

swap095 (44K) 
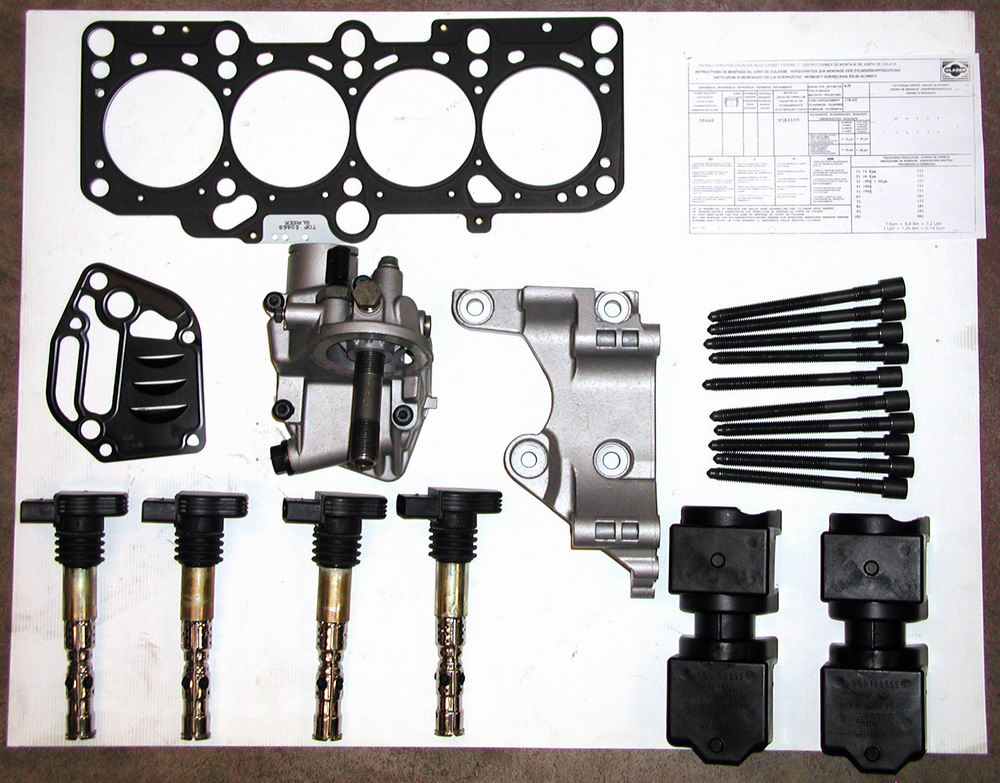
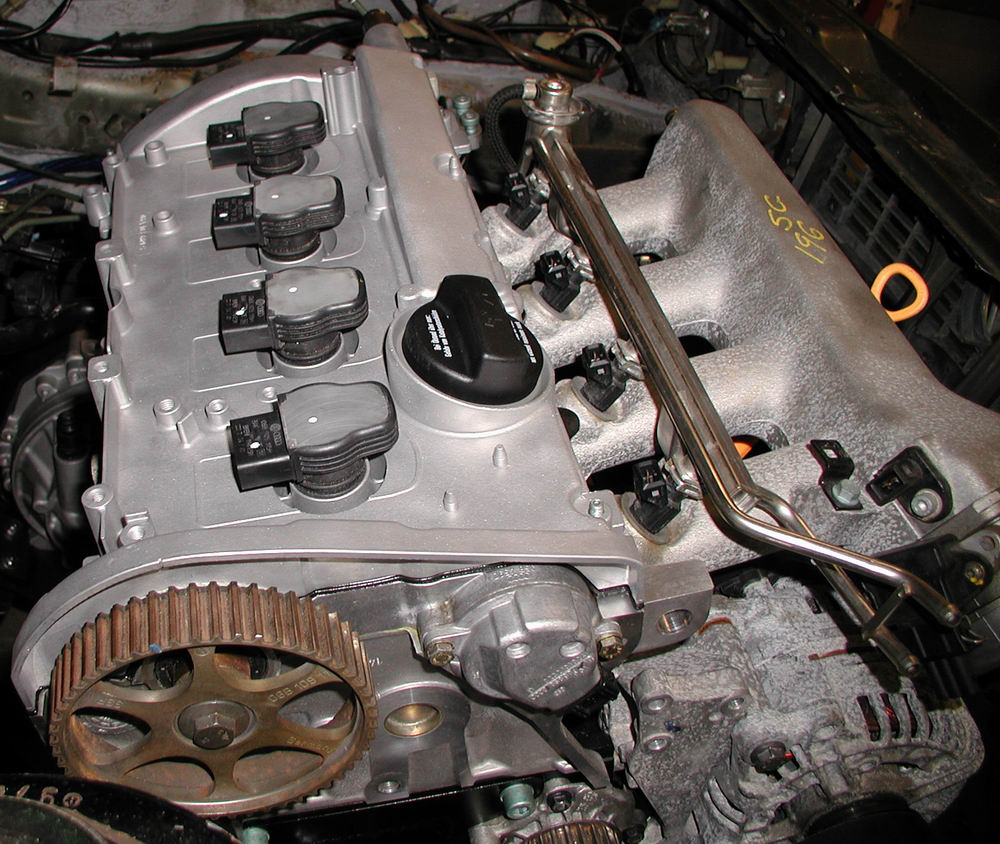
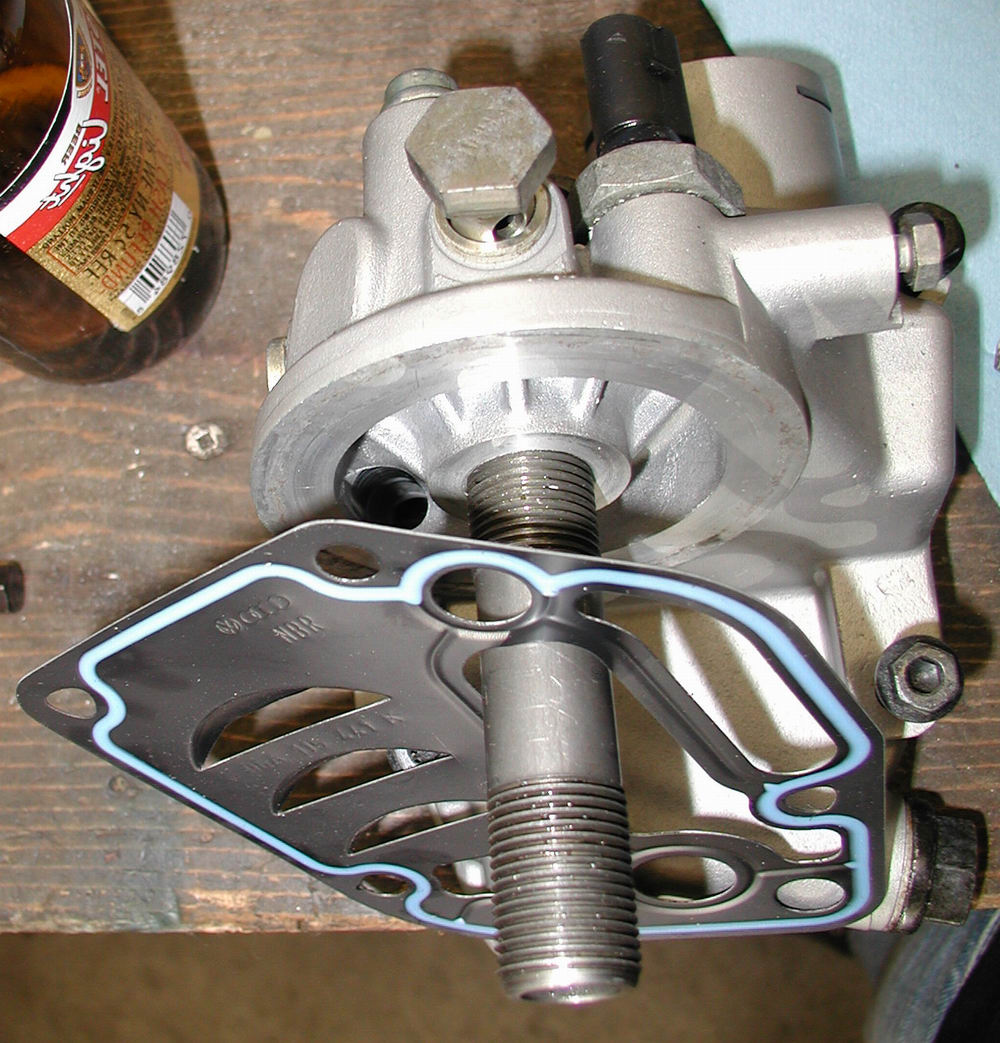
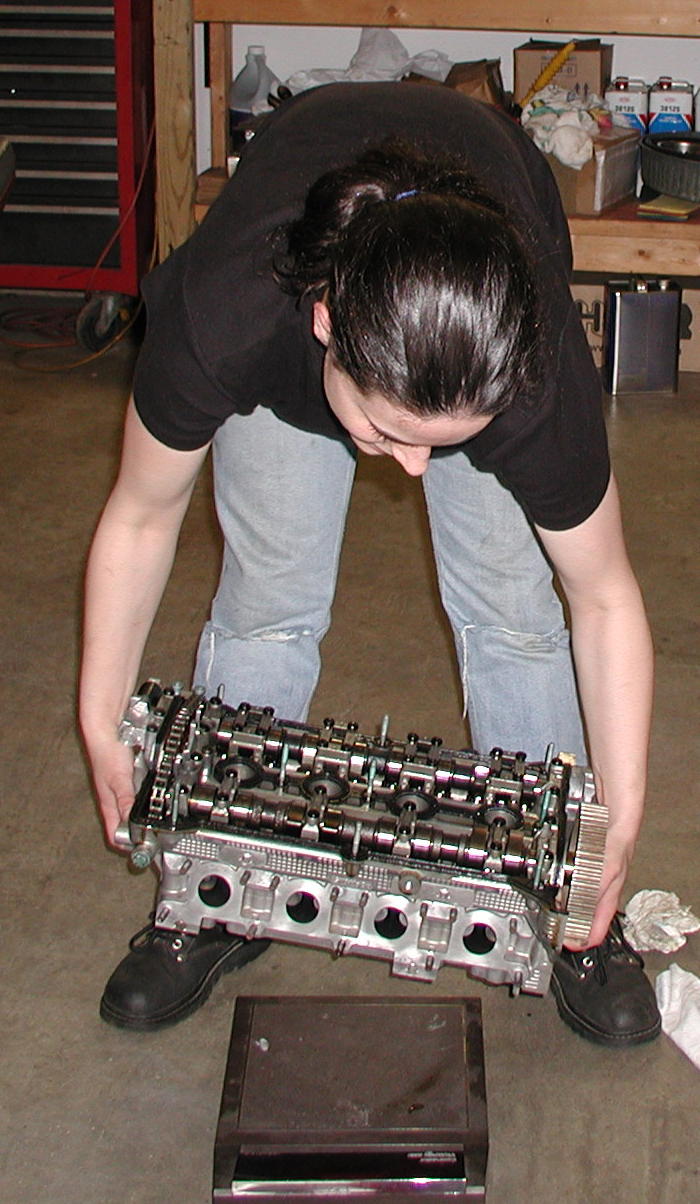
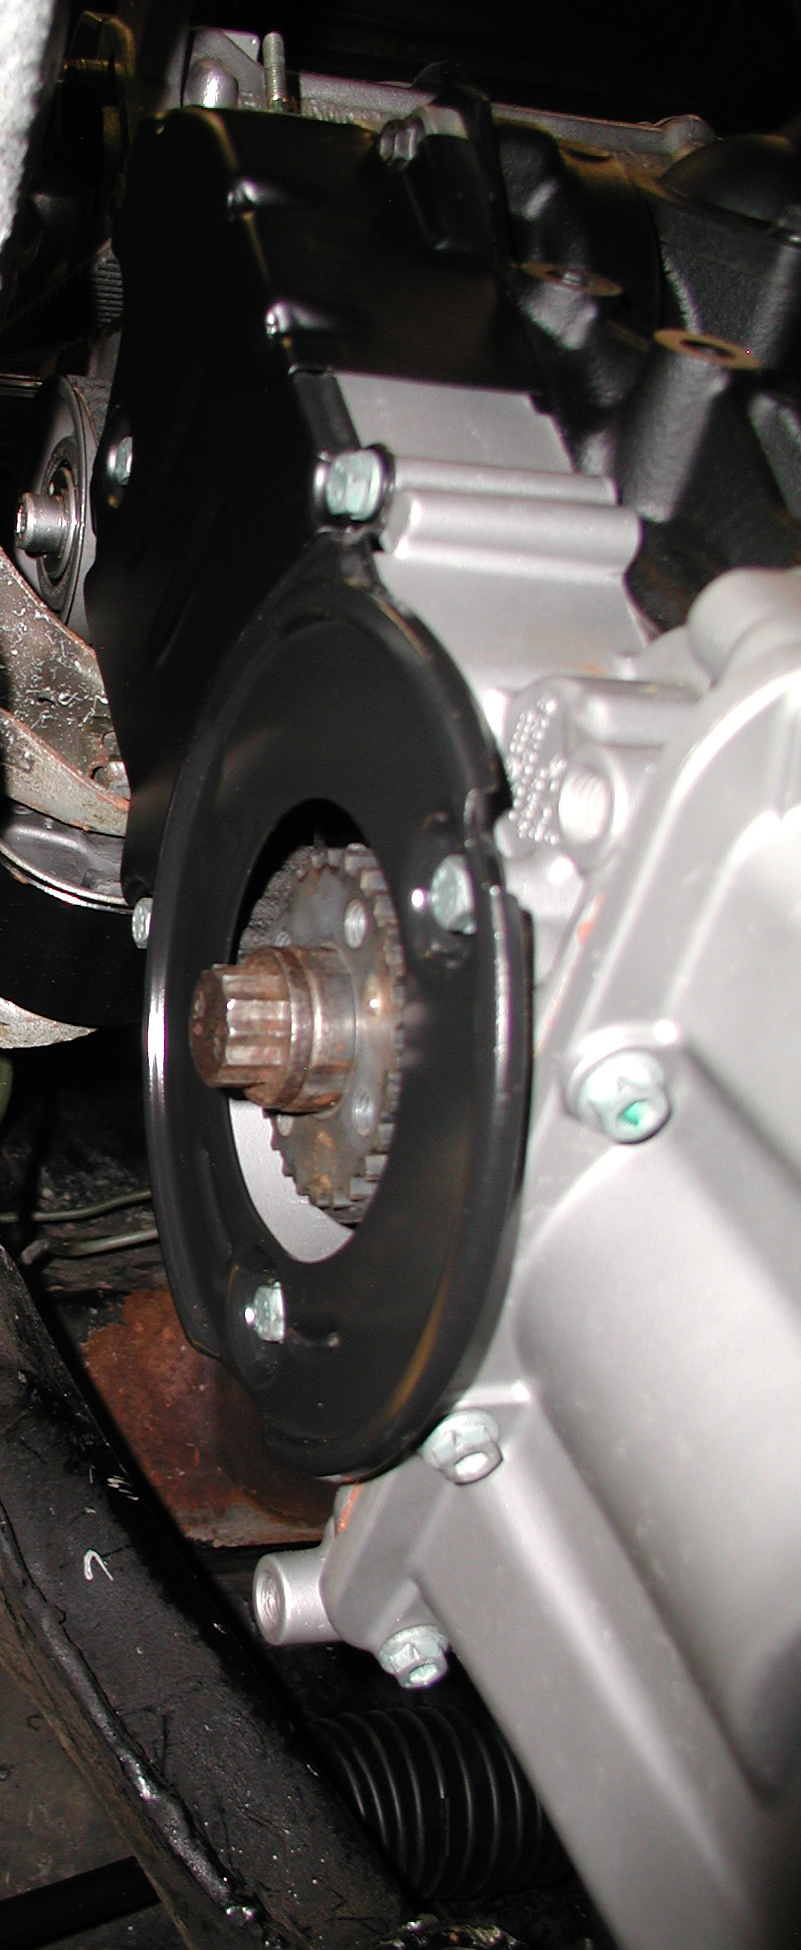
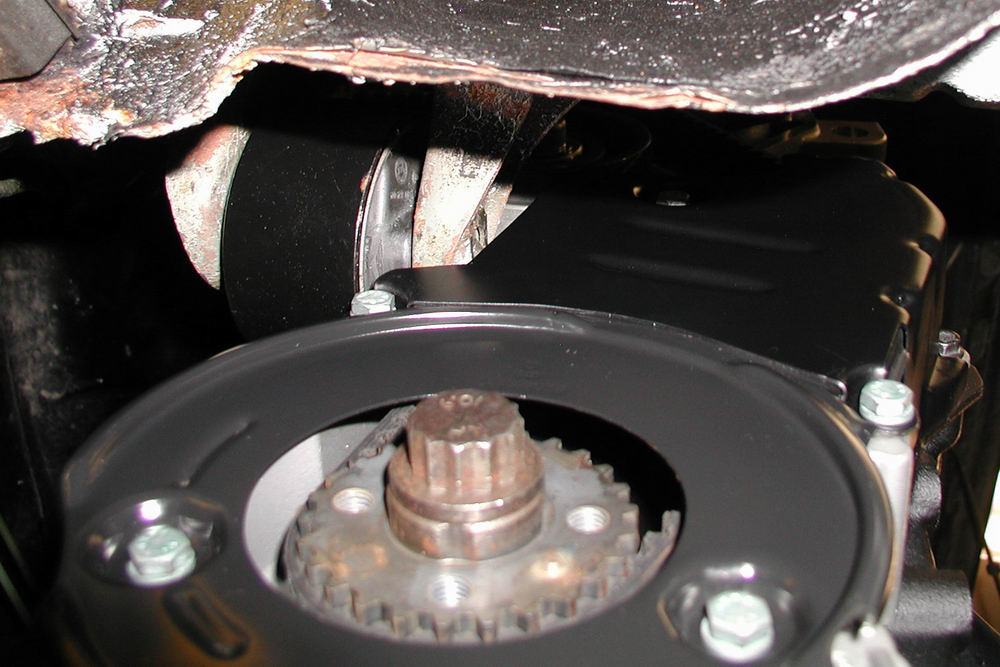
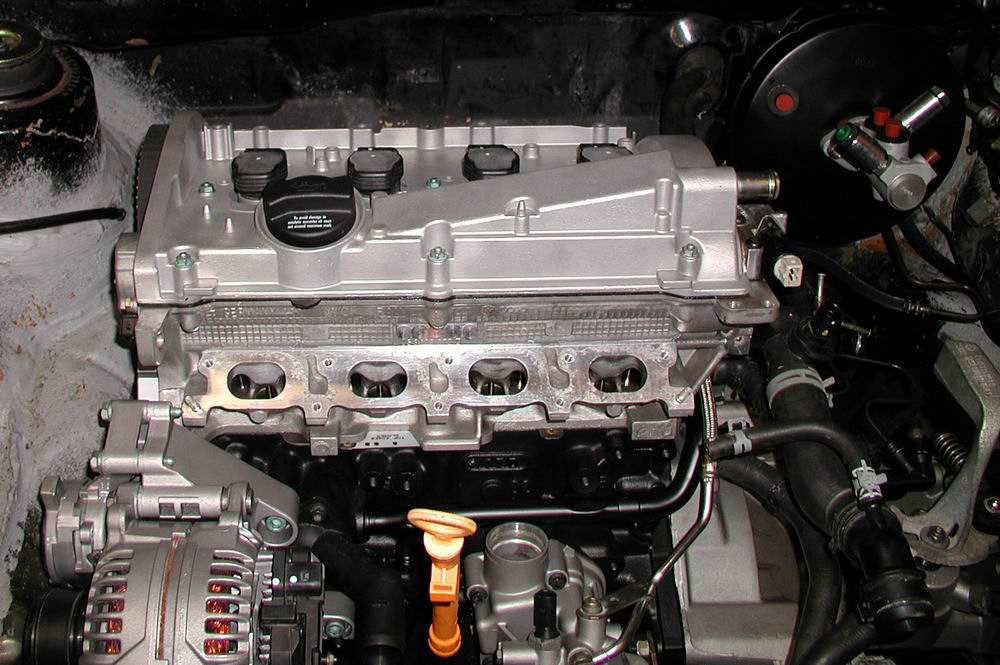
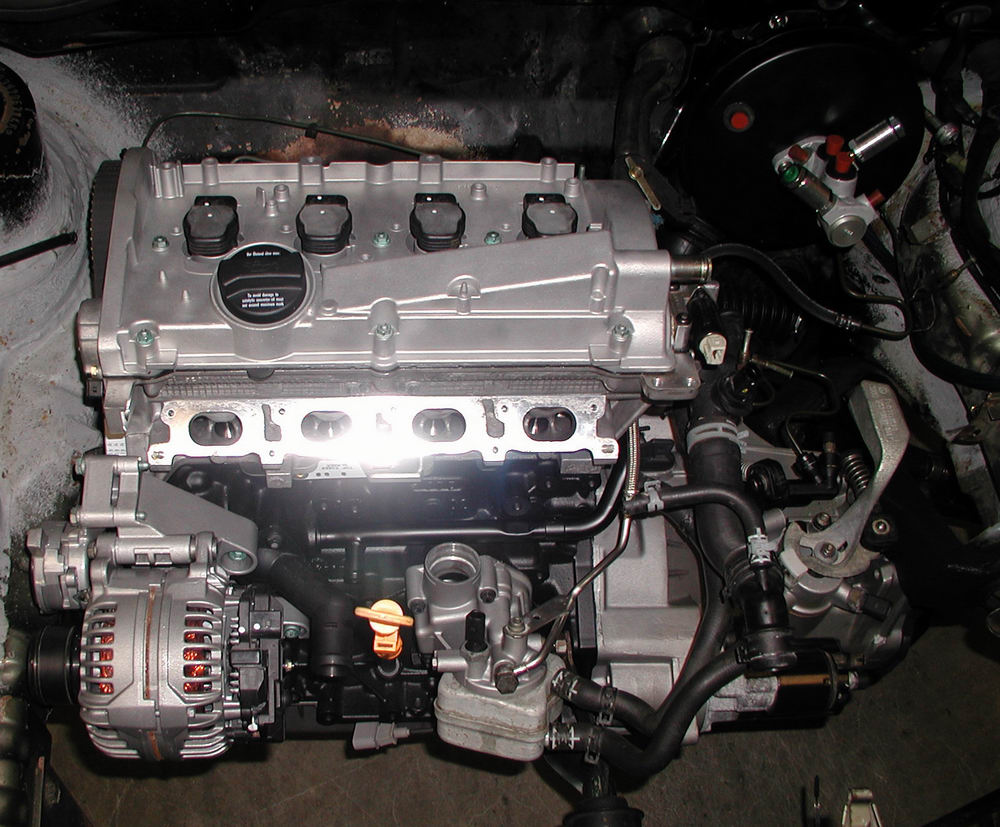
The key players in the final engine assembly......
swap088 (53K)

swap089 (15K)
swap087 (40K)

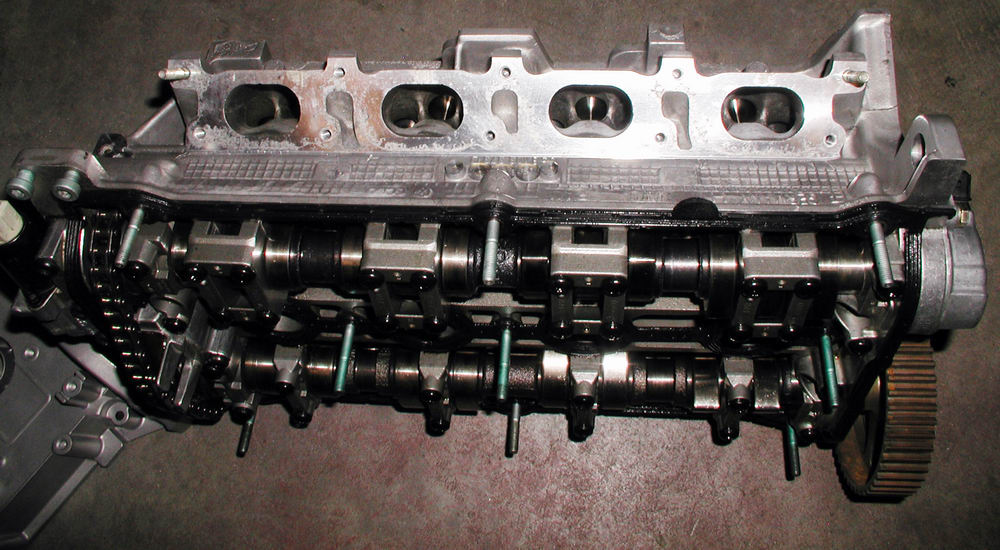
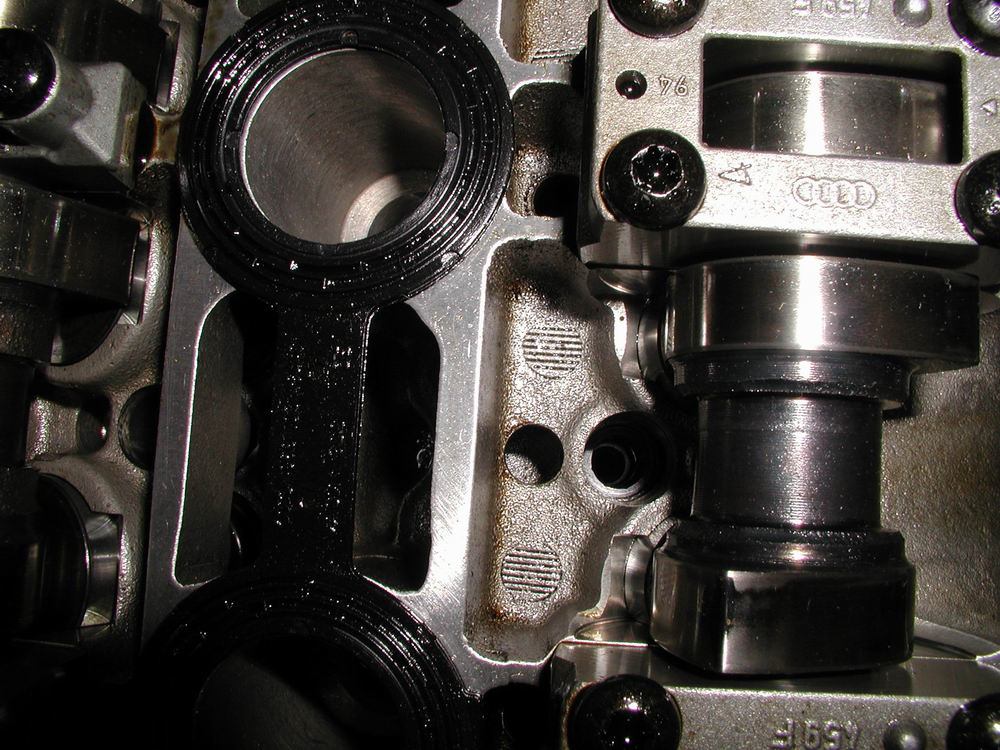
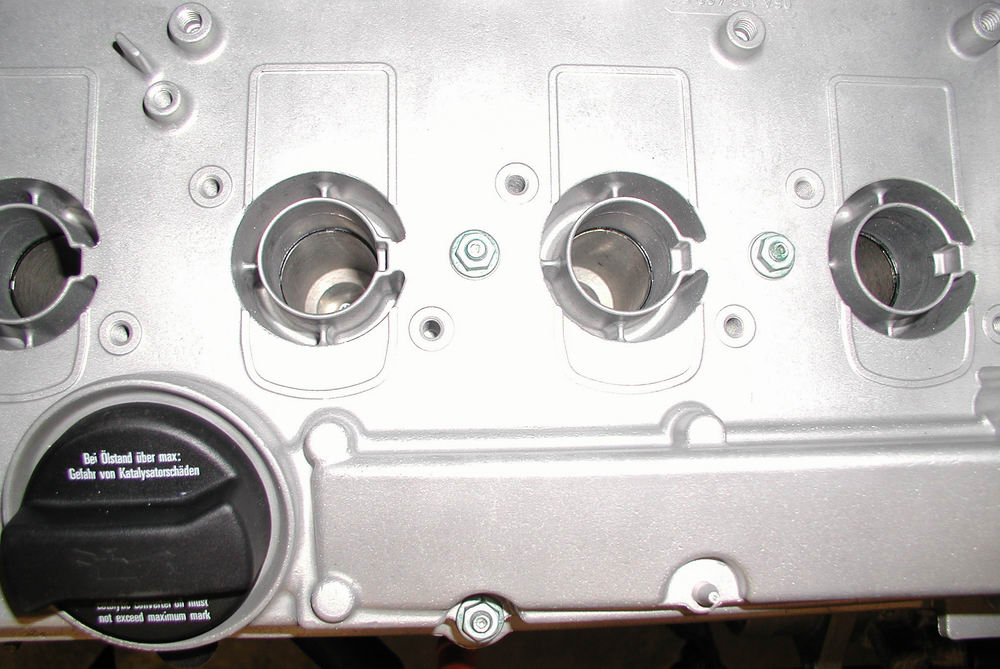
Oil deflectors - these guys go above the intake camshaft


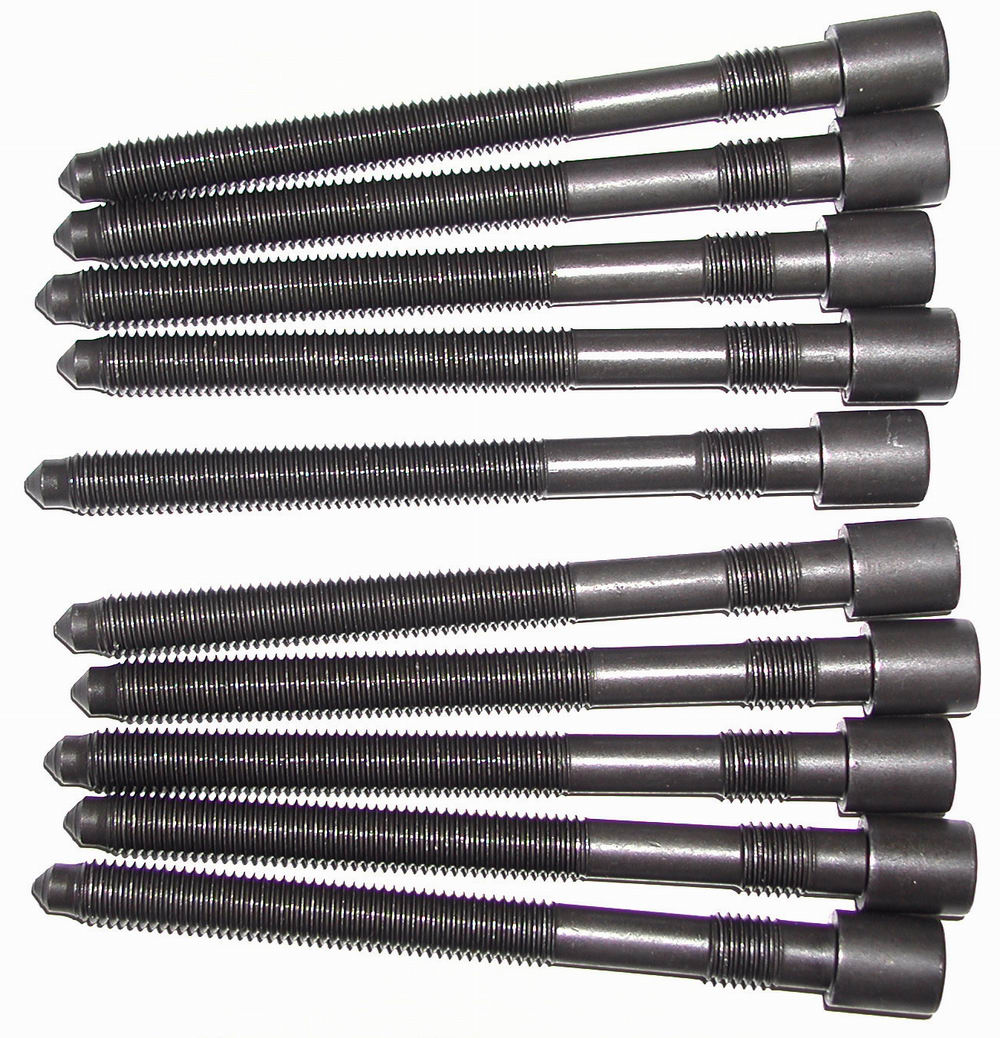
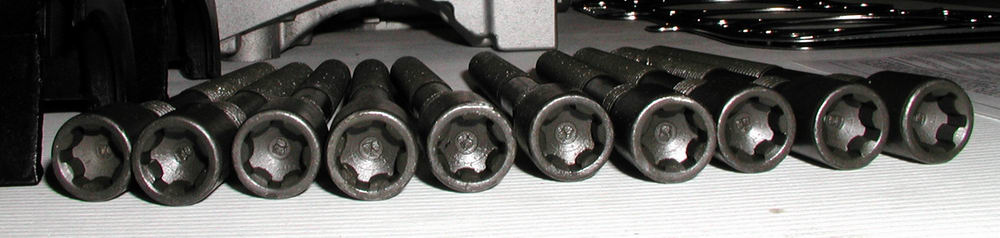
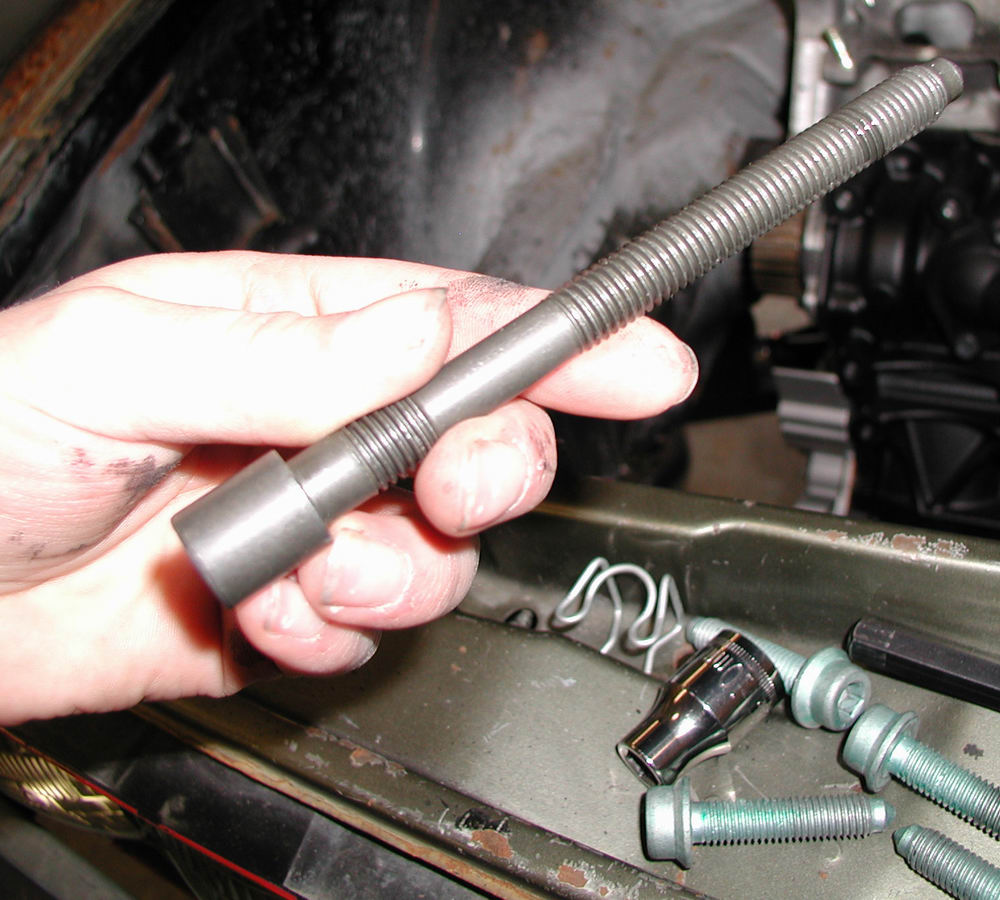
 Cylinder head bolts......
swap092 (24K)

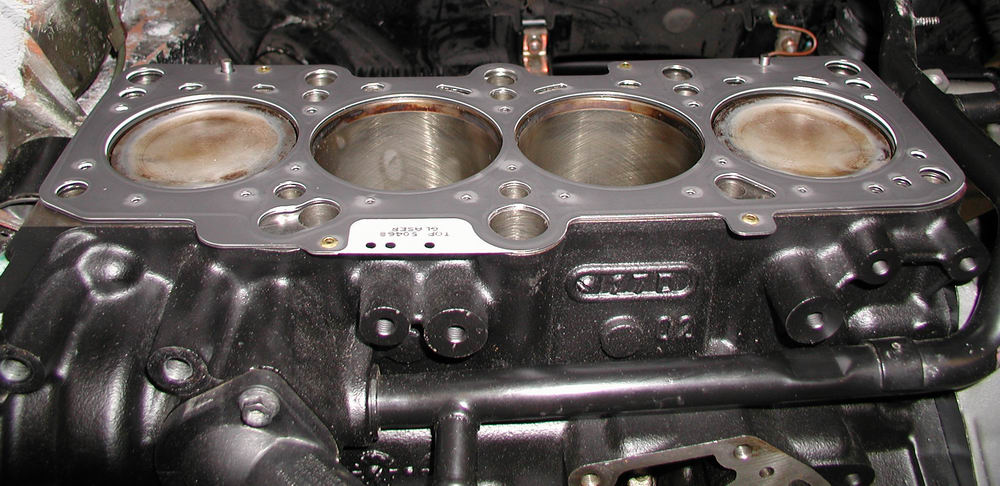
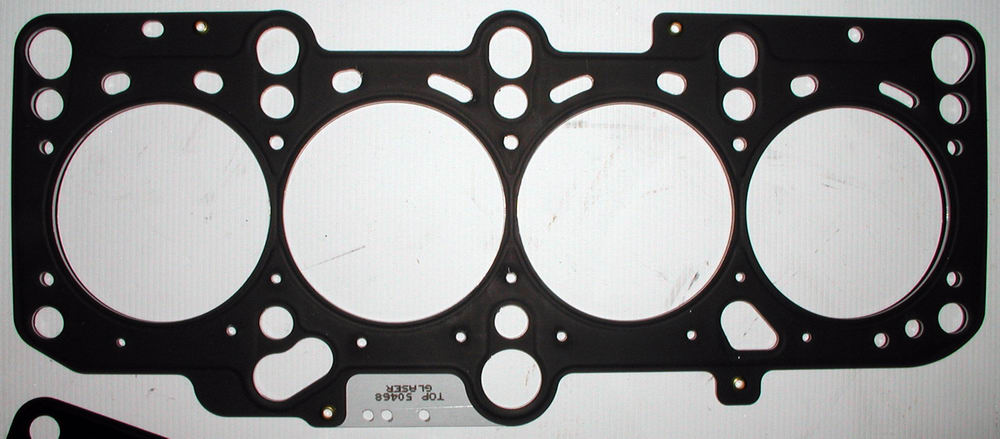
Nifty neato multi-layered, super-cool guy head gasket....

swap090 (30K)

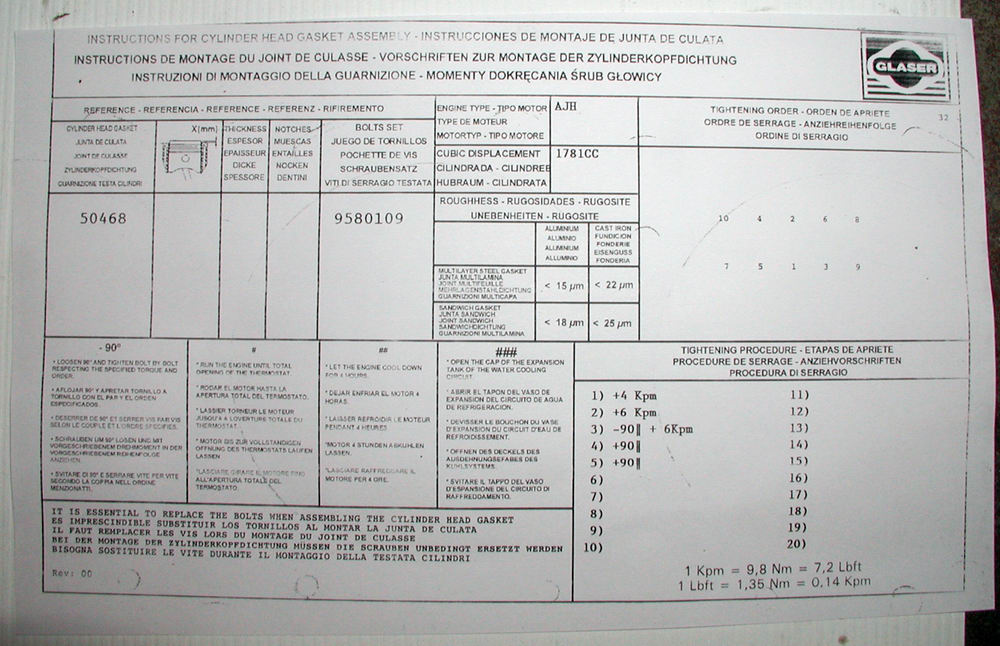
Multi-lingual instructions on how to bolt down cylinder head...came with the aforementioned gasket...

swap091 (28K)

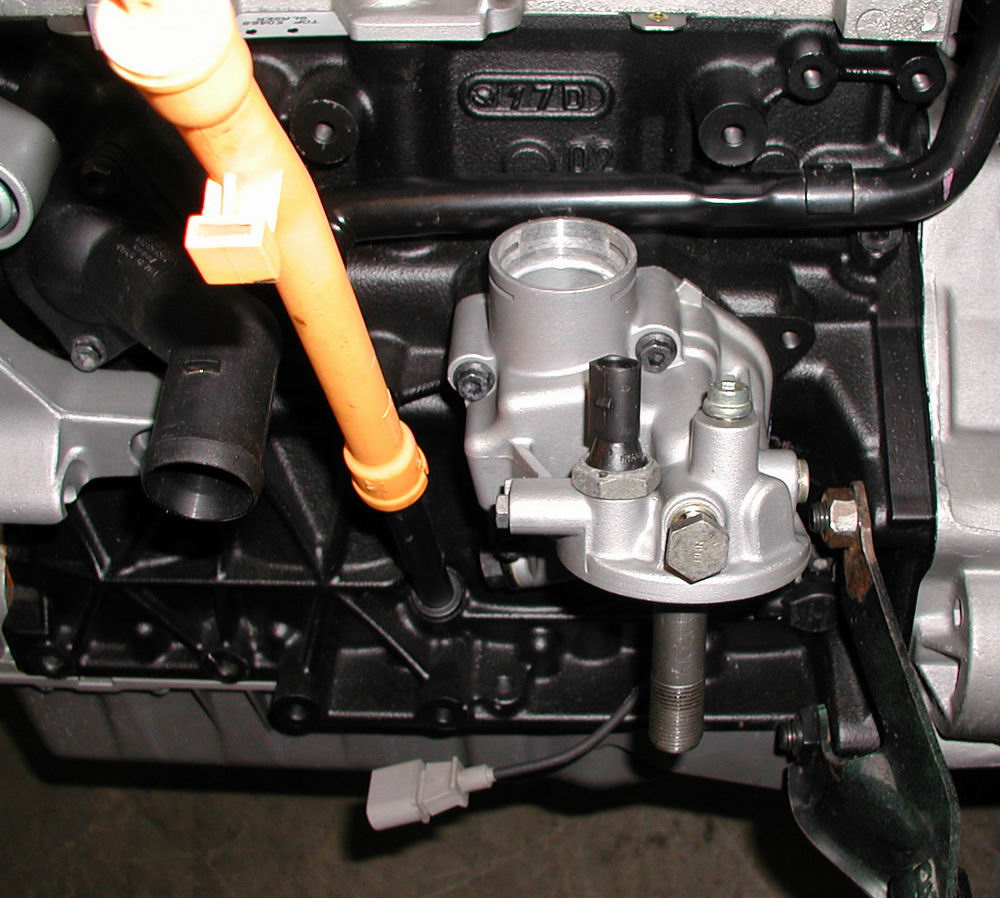
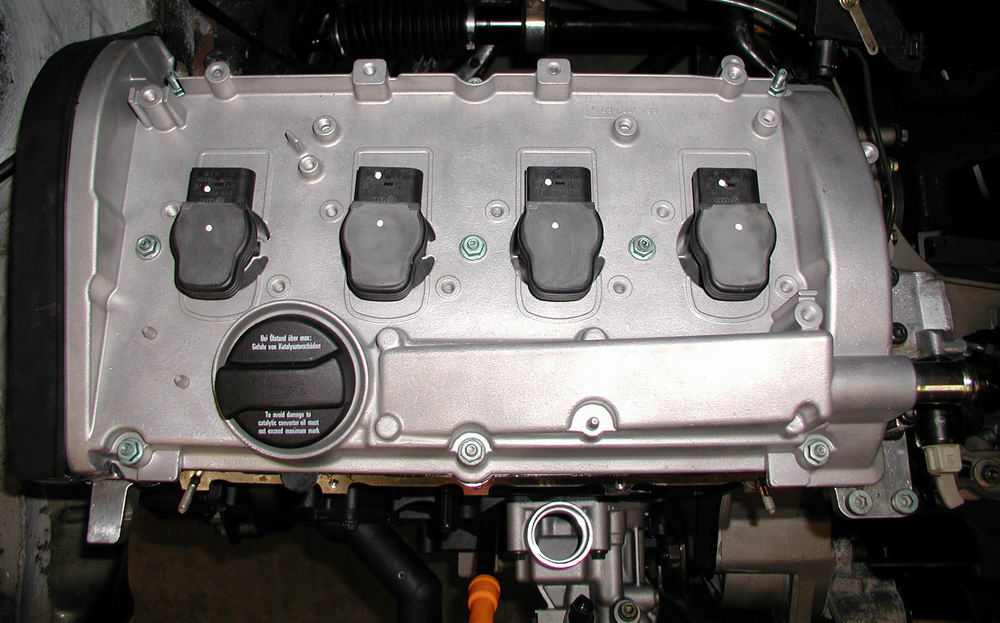
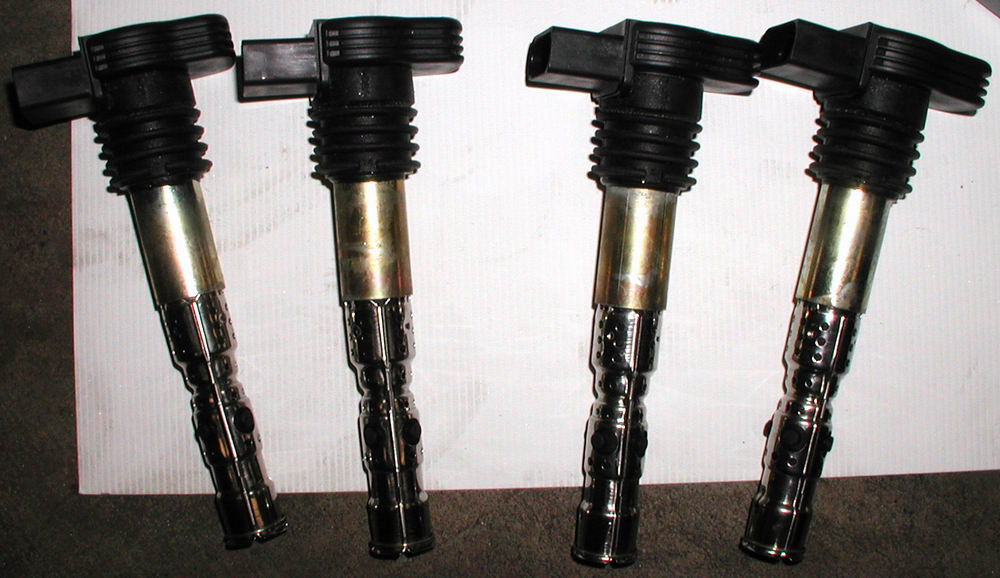
The nefarious coil on plug players....
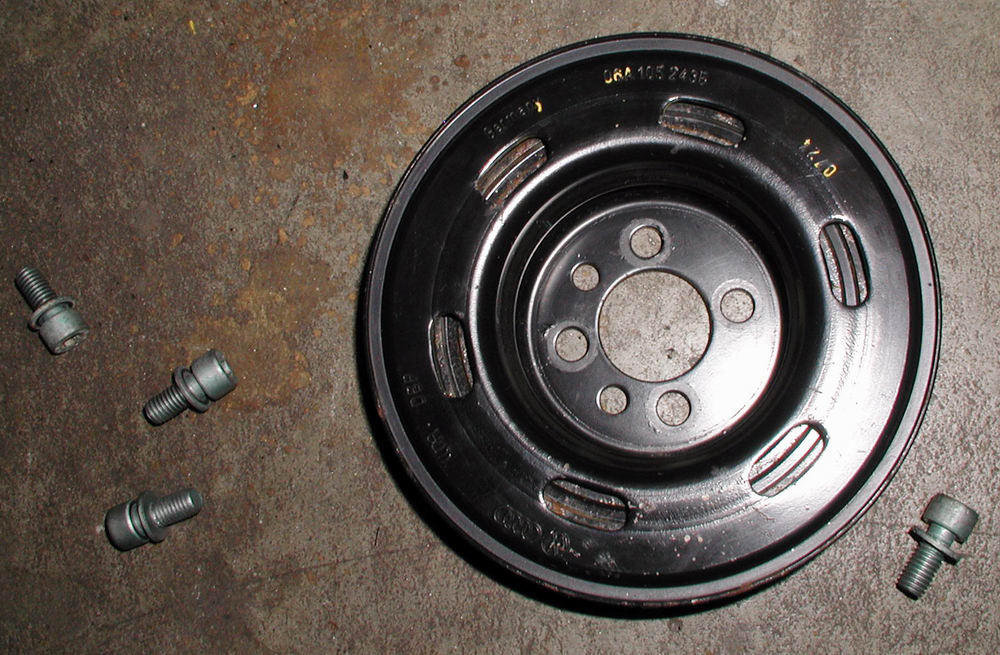
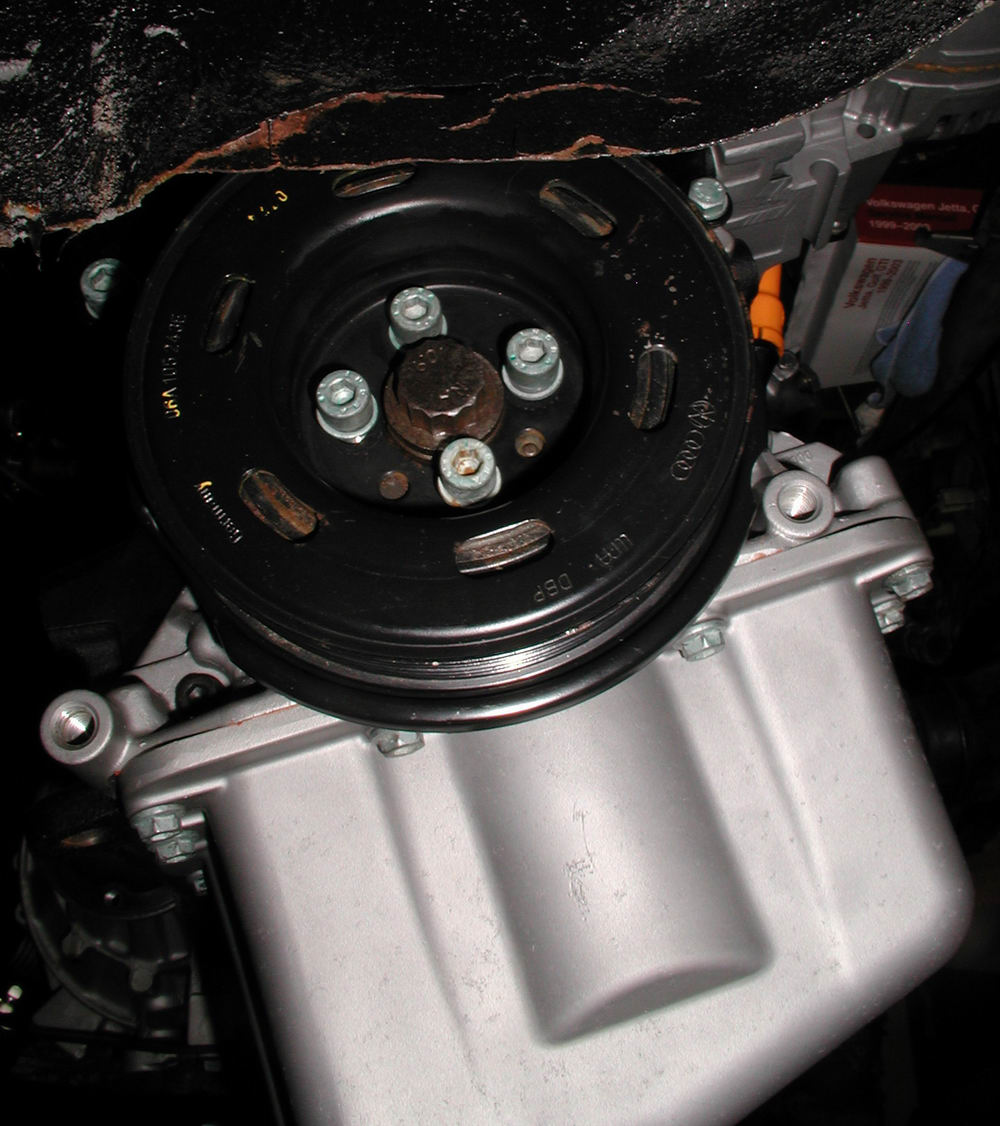
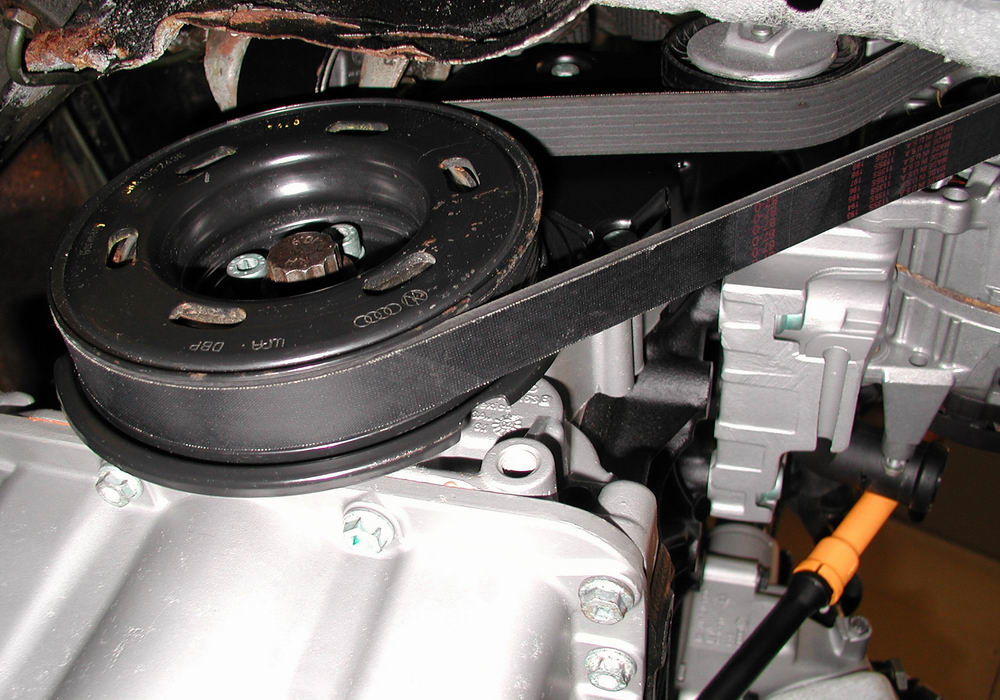


swap096 (38K)

Ribbed belt pulley
swap097 (20K)

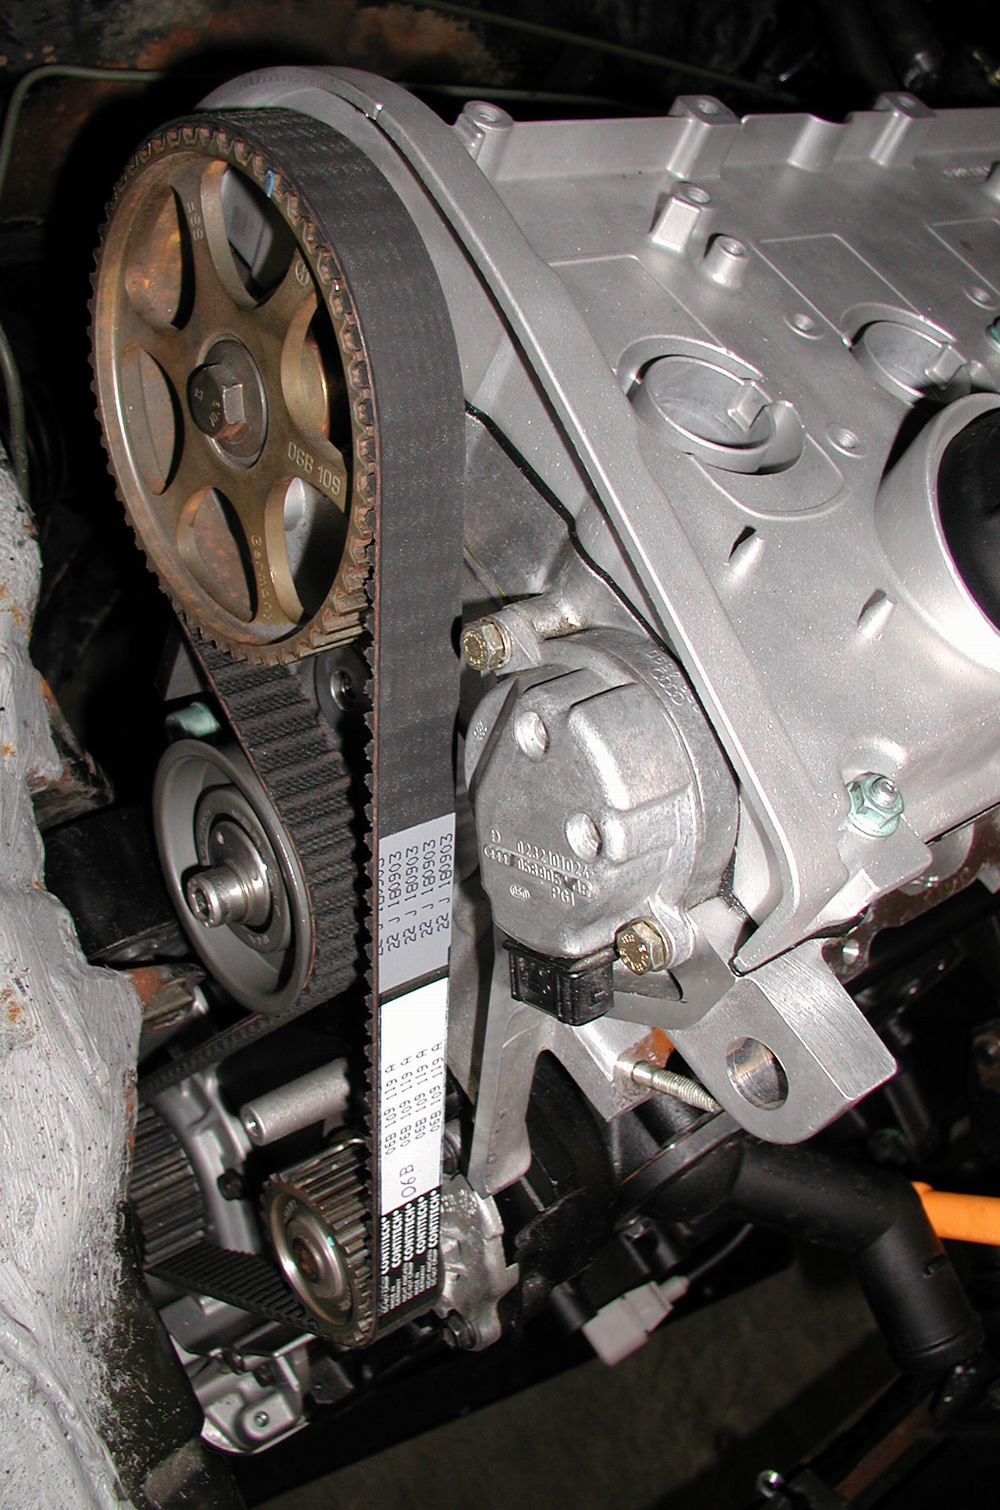
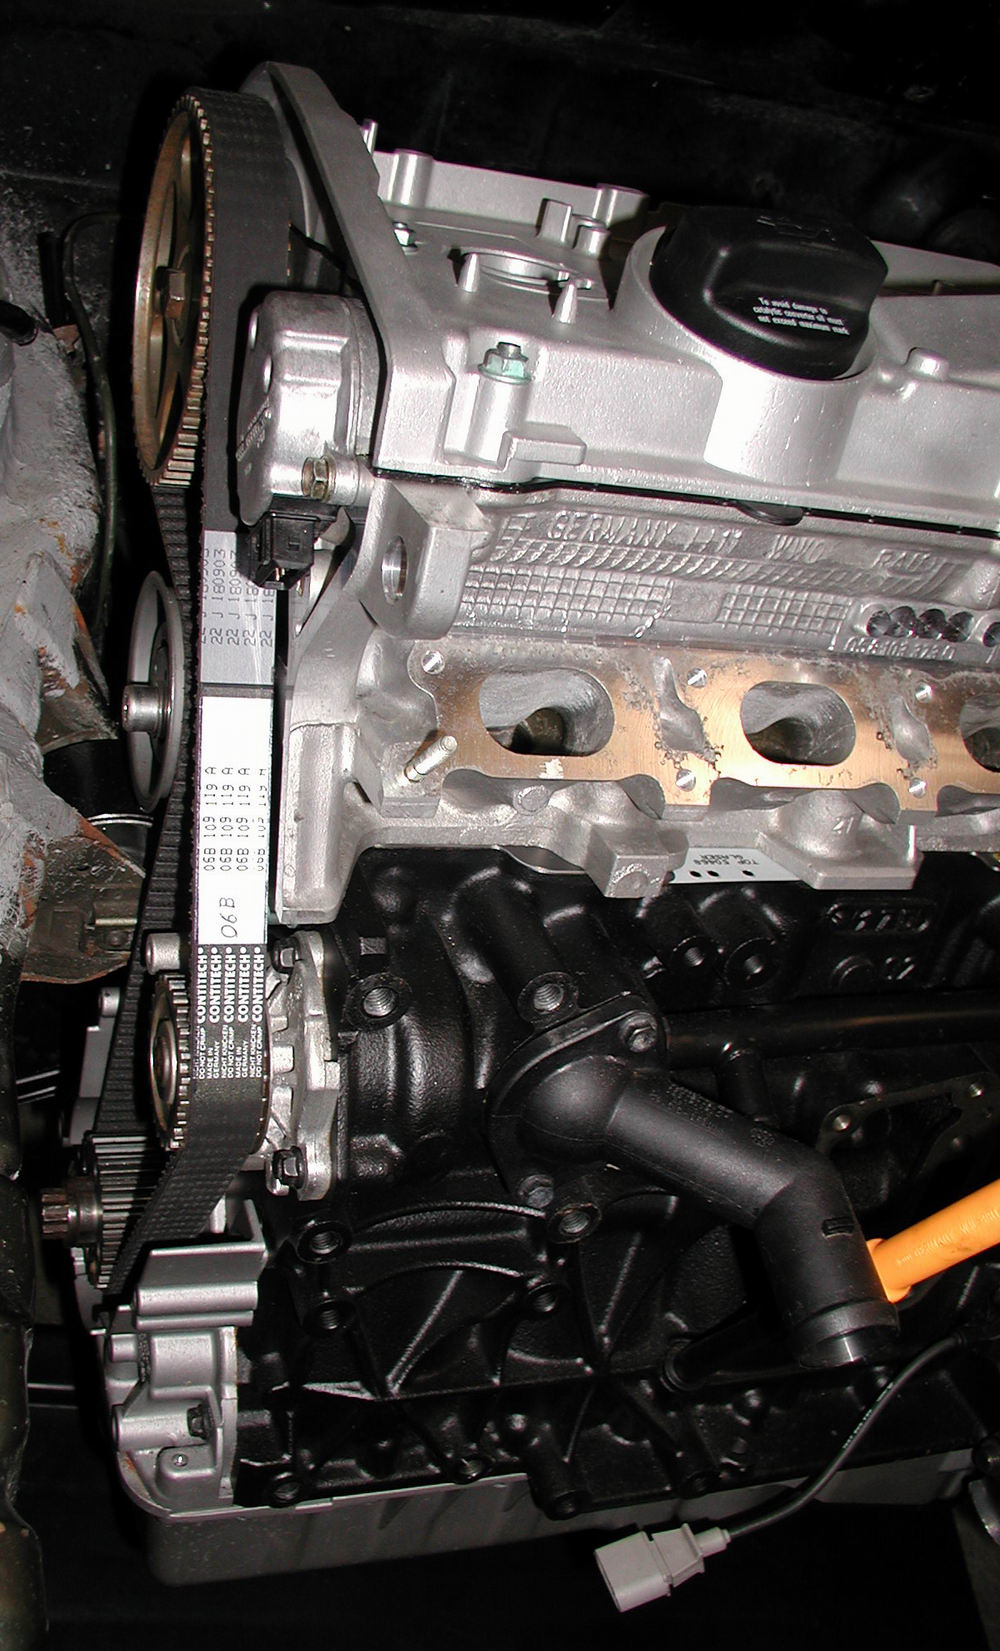
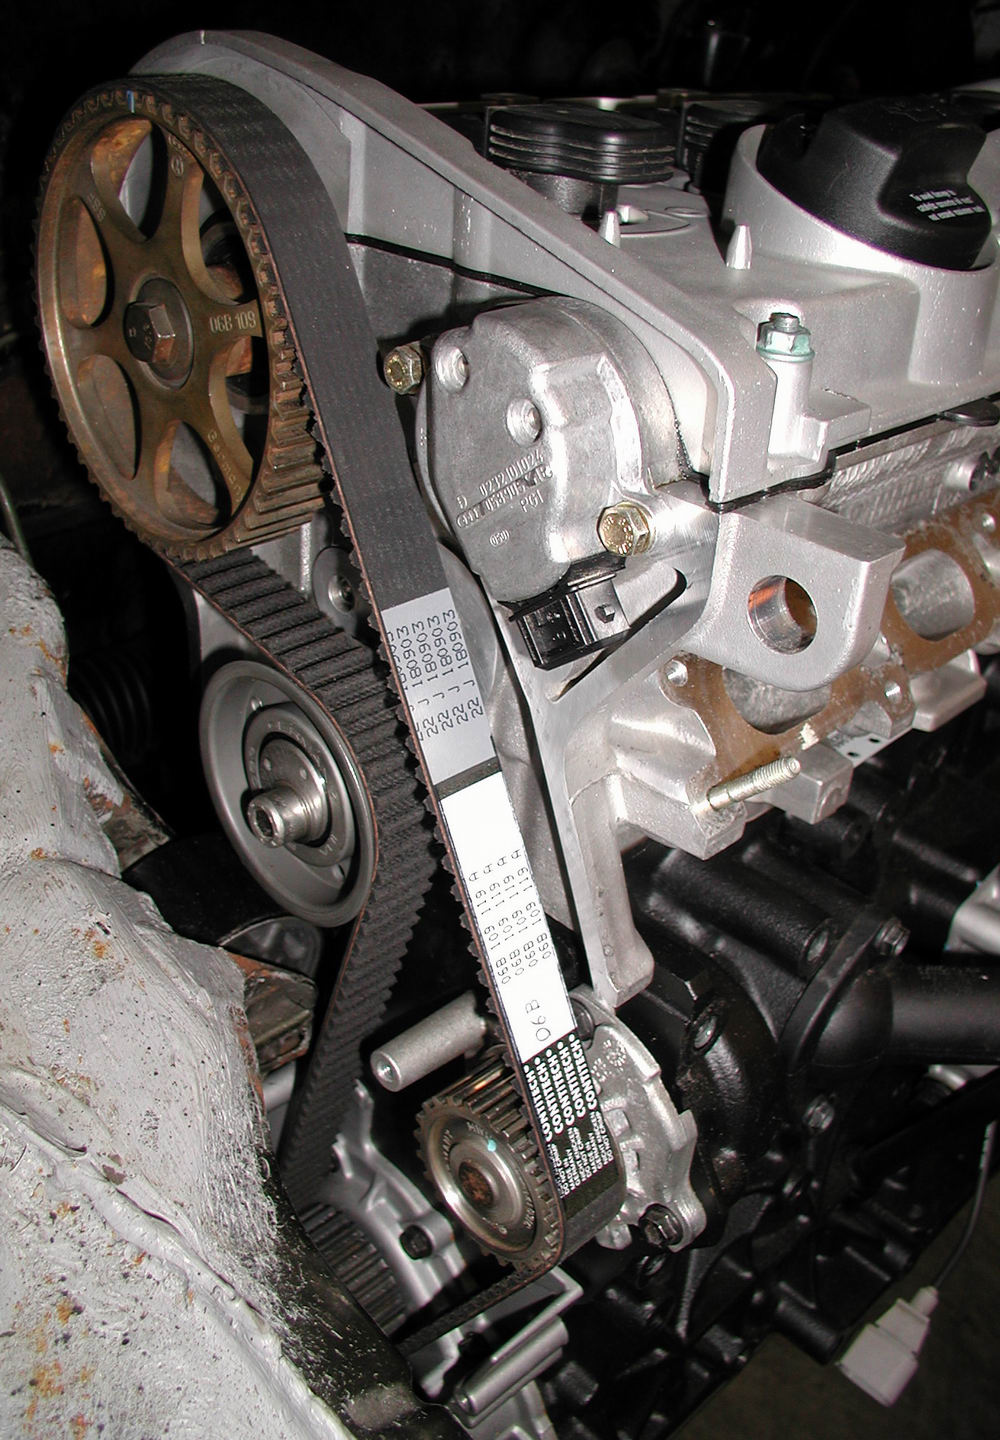
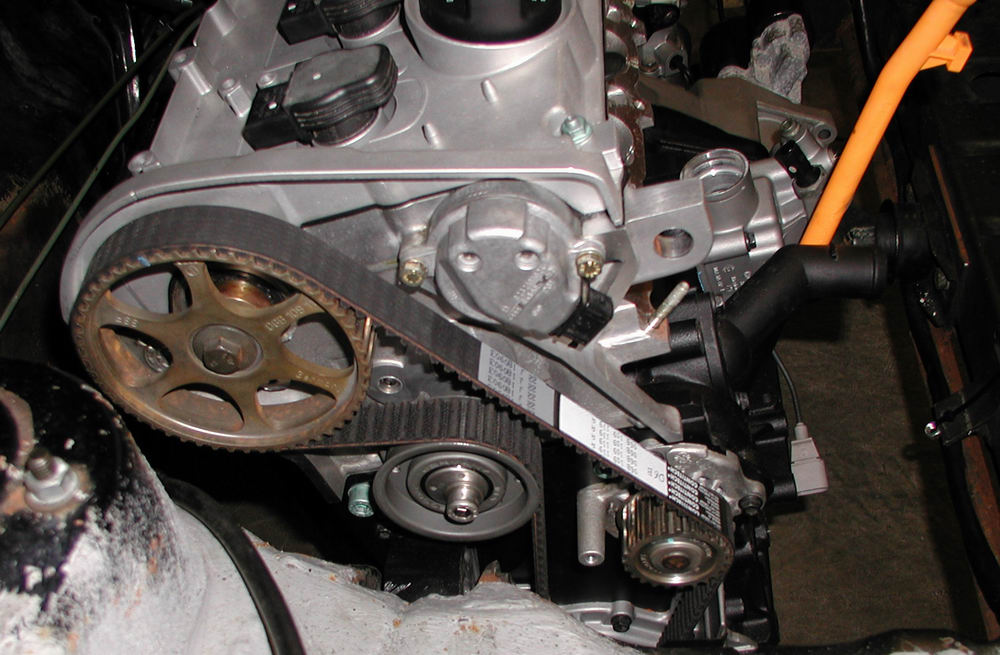
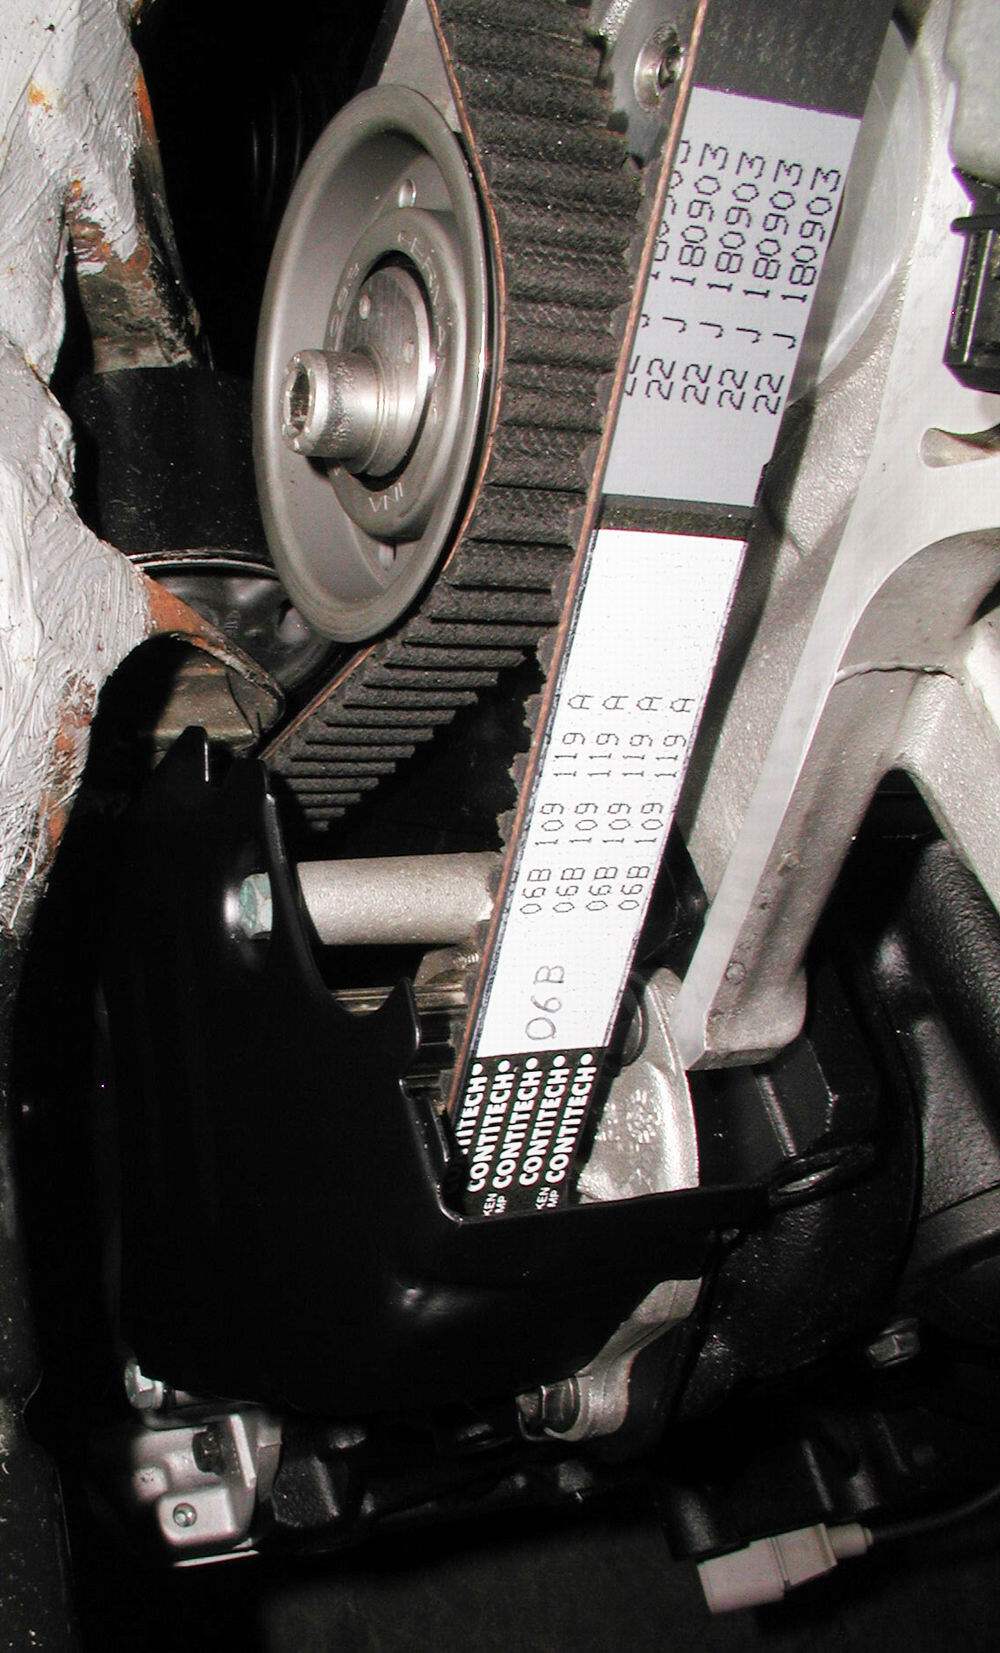
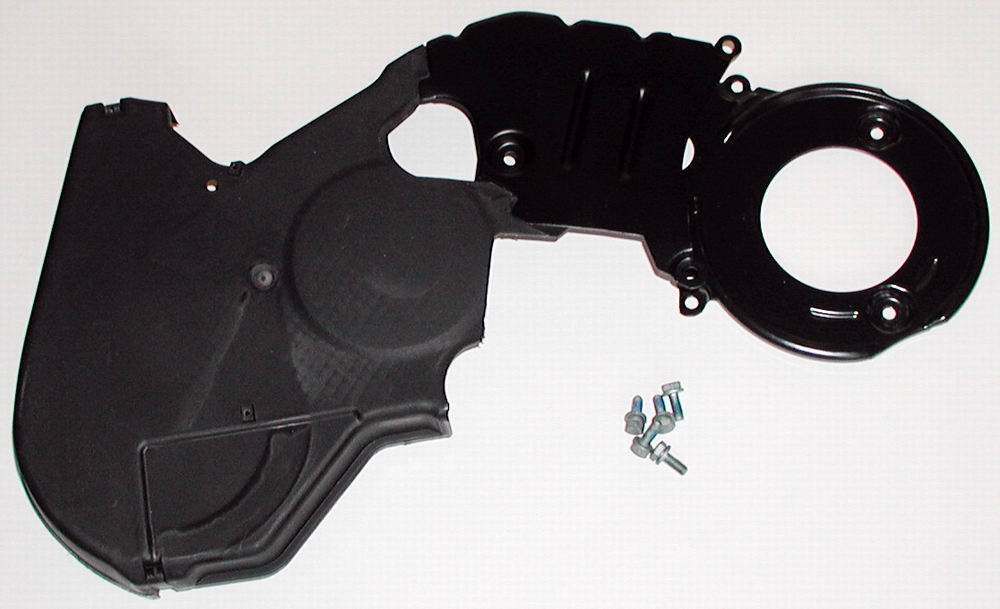
Timing belt cover - this is actually three sections pieced together...

swap100 (31K)

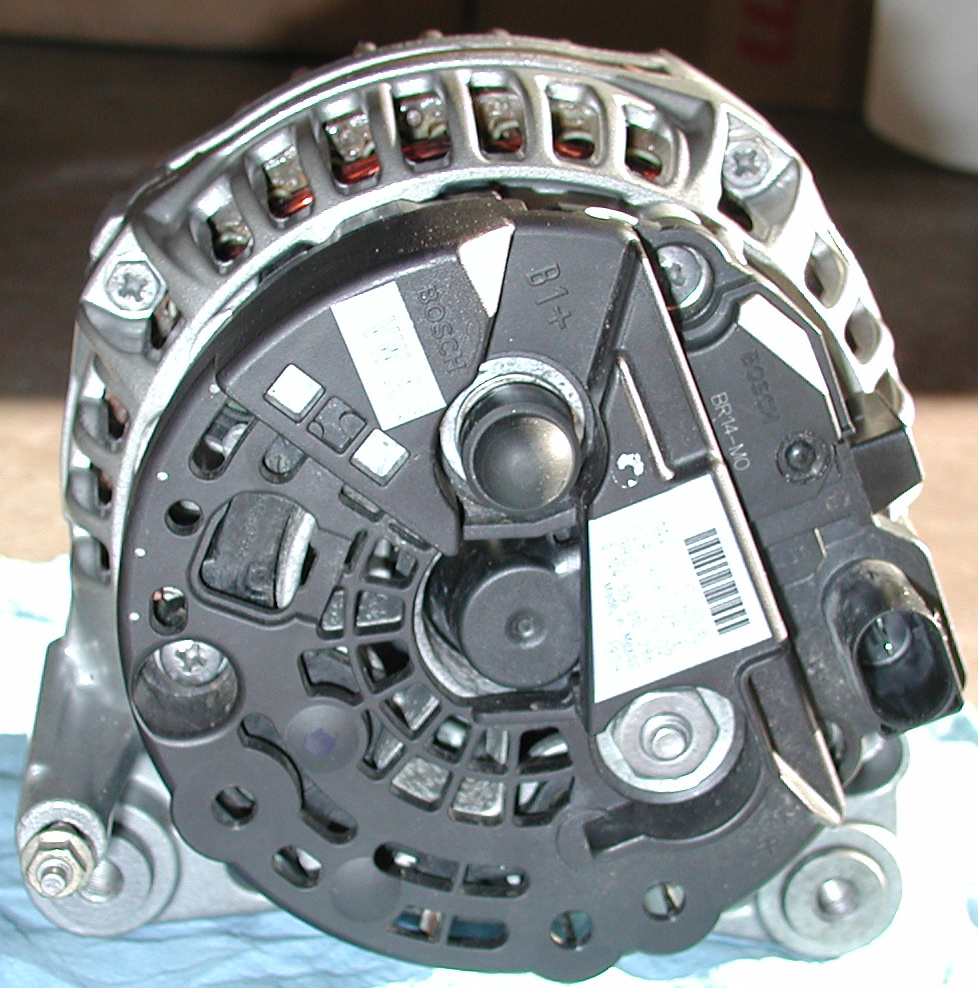
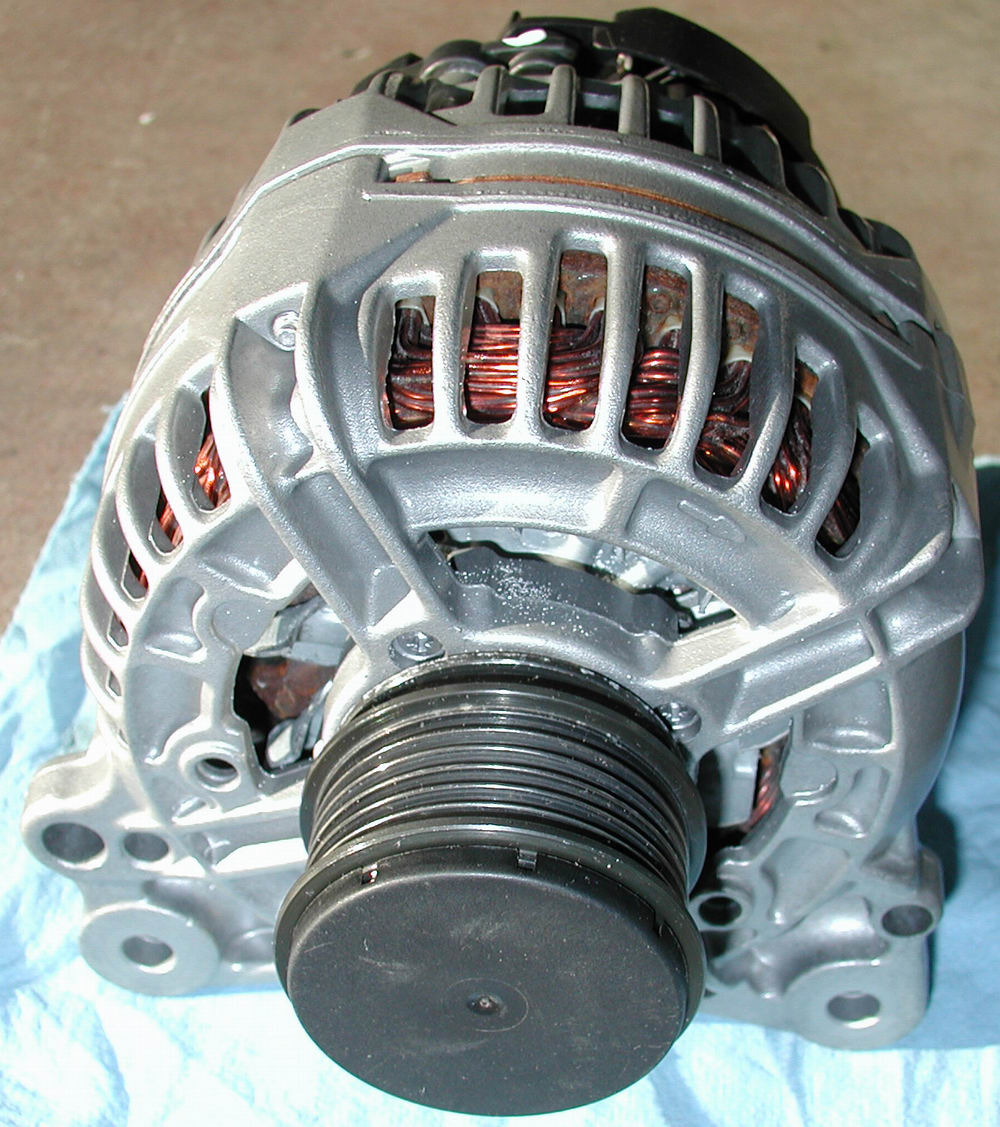
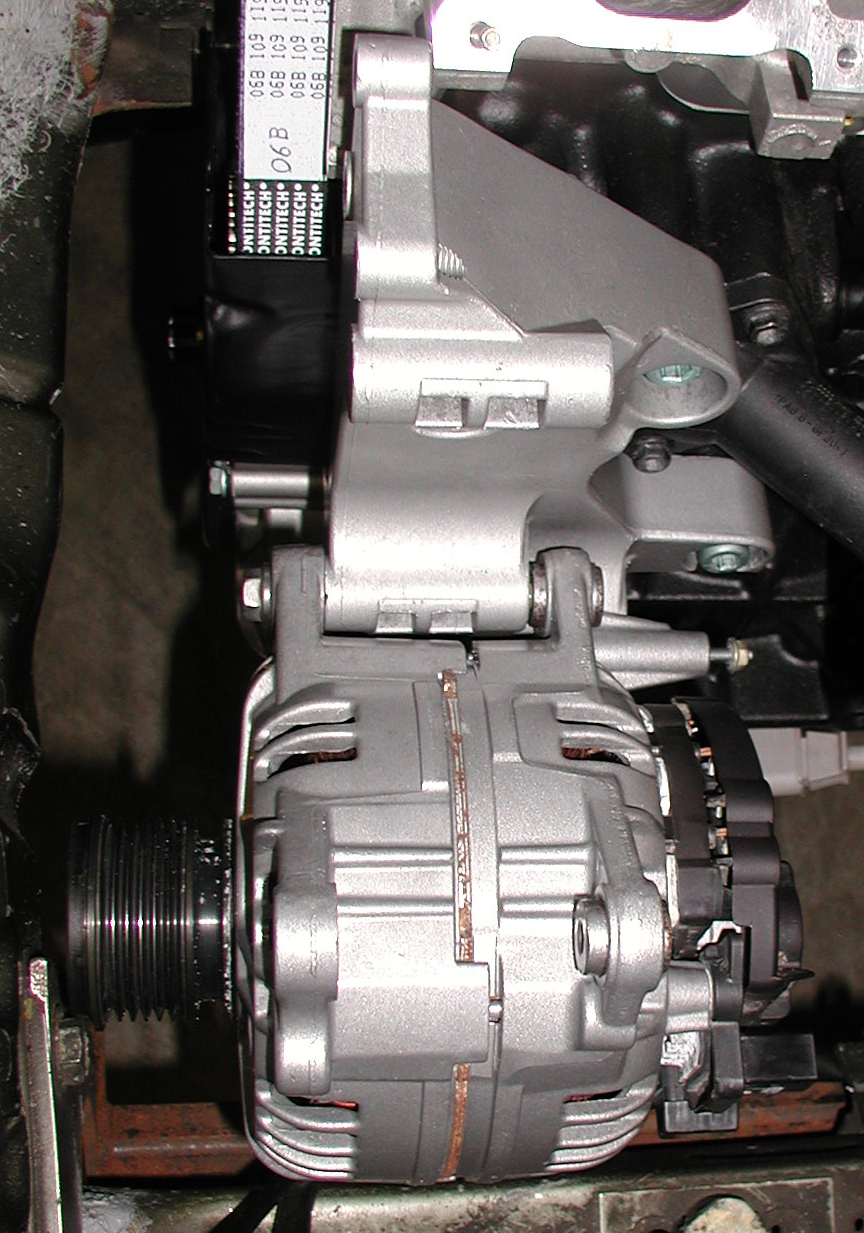
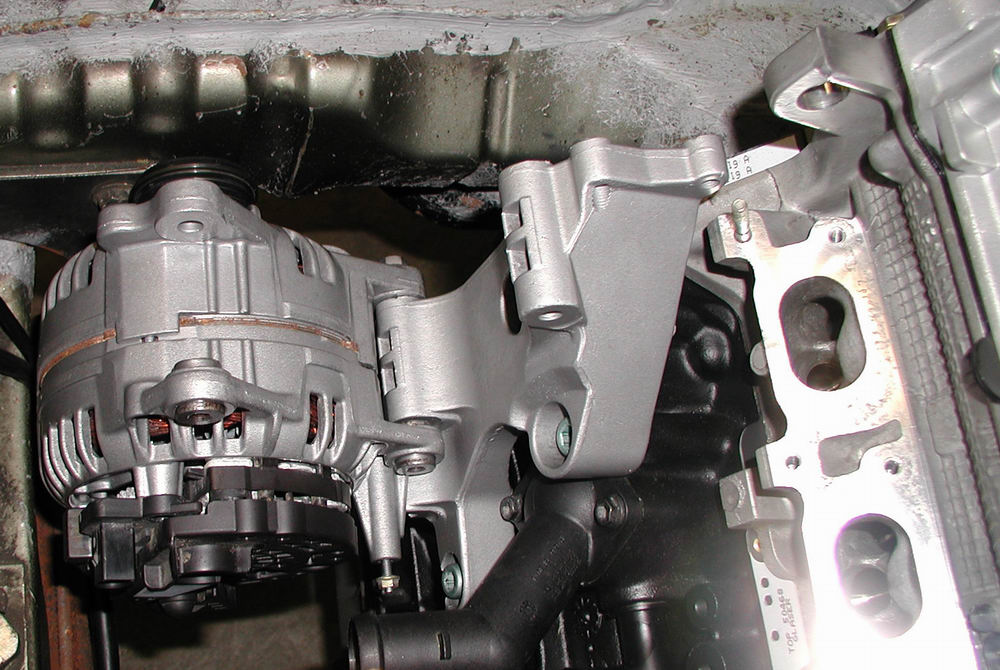
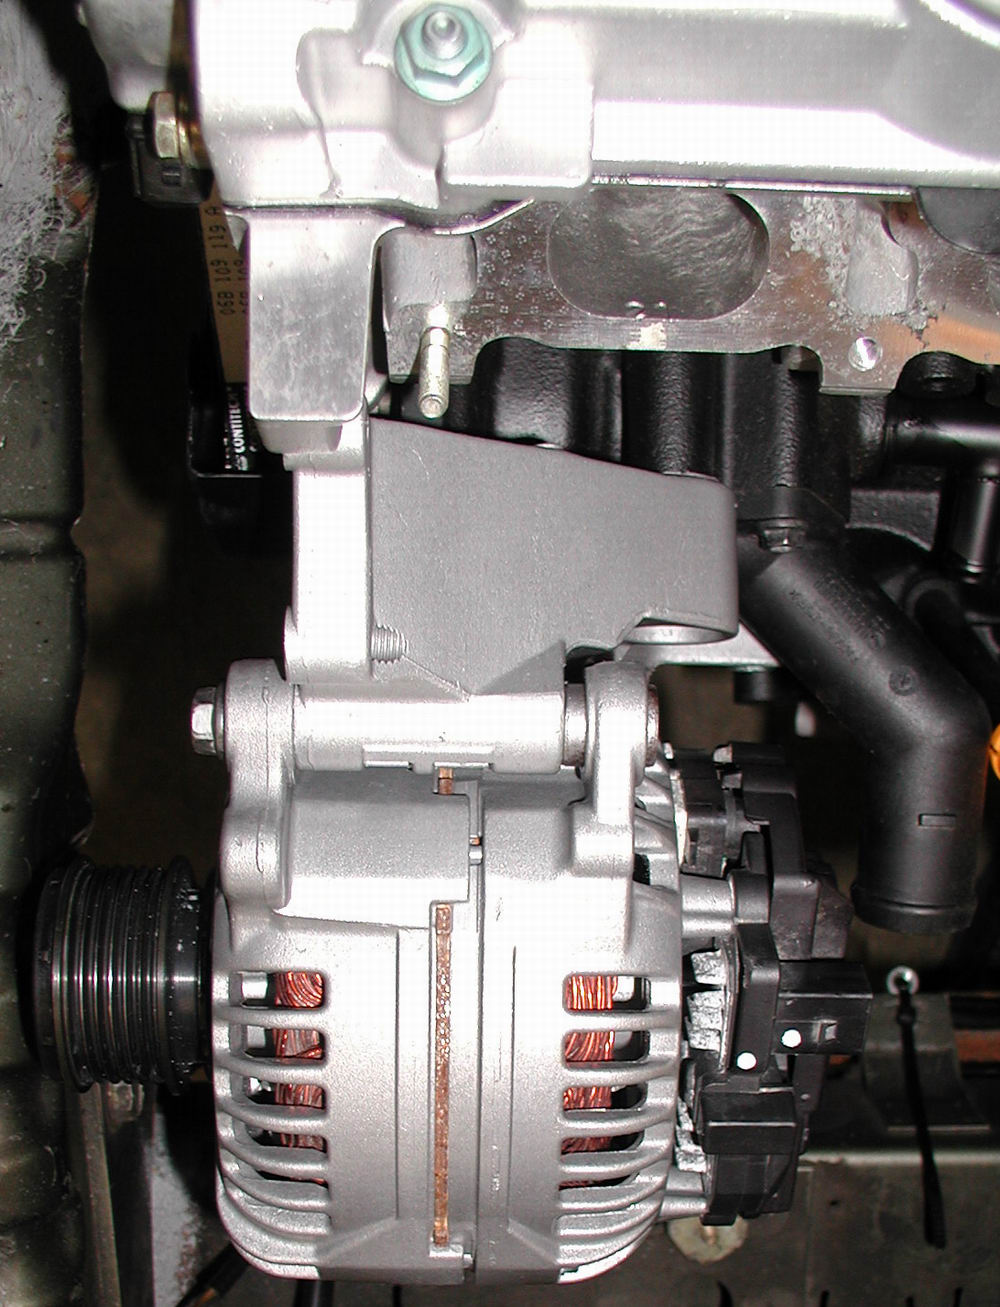
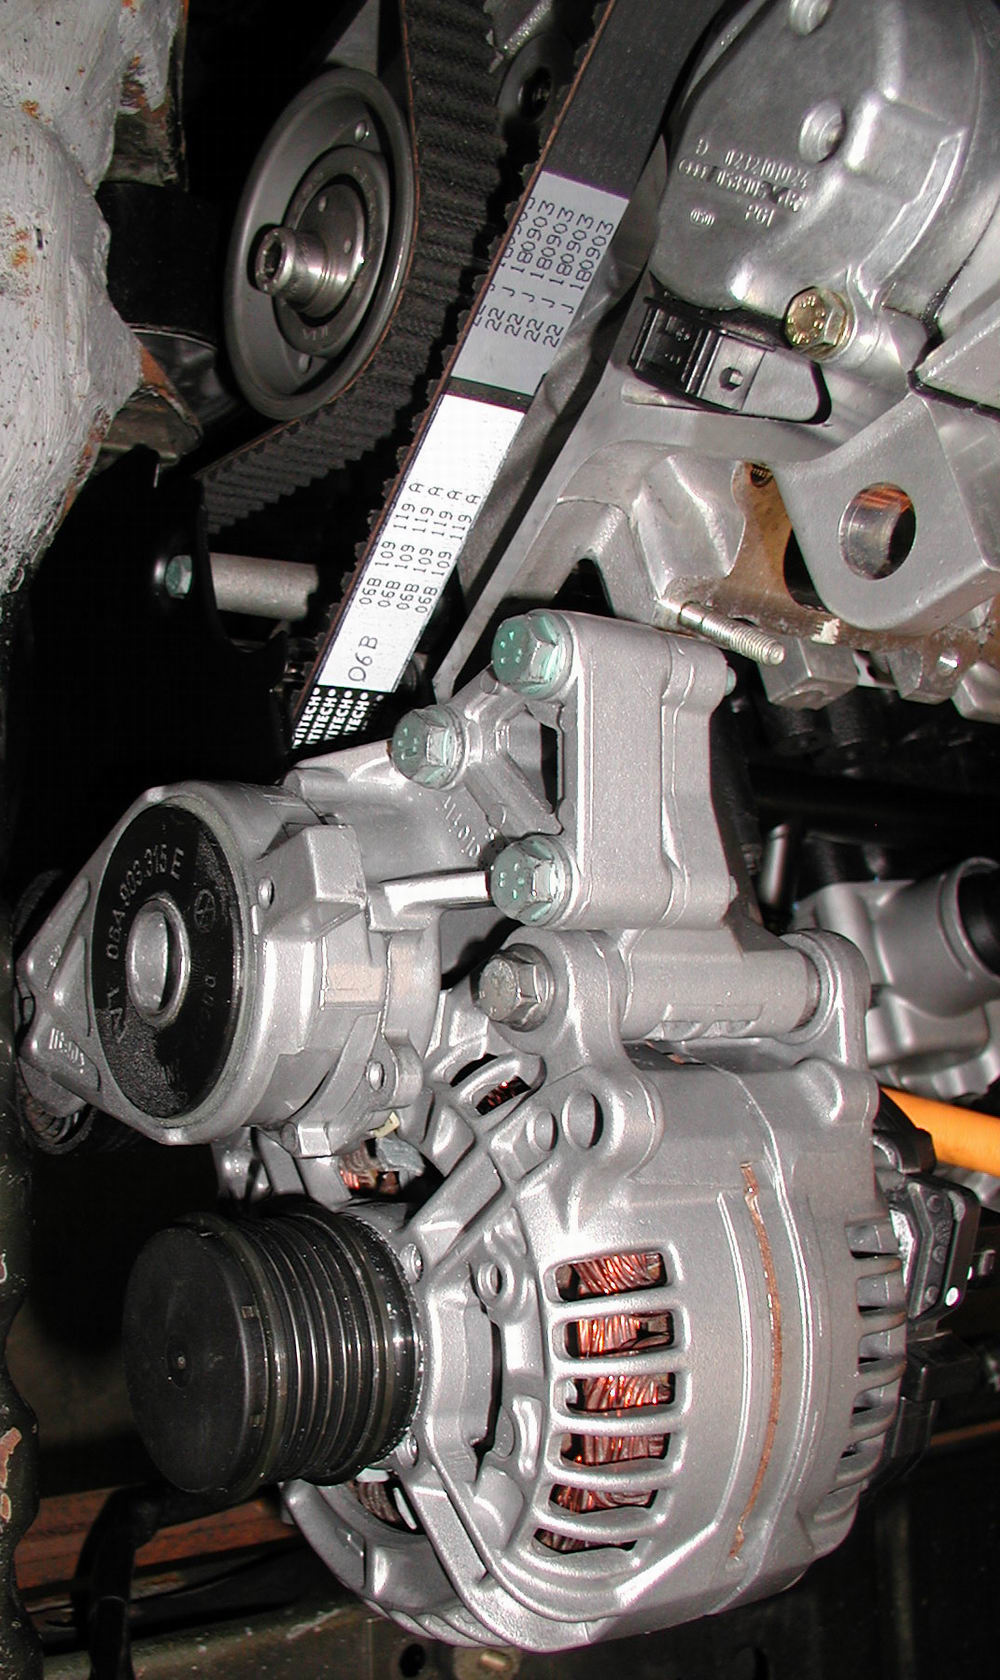
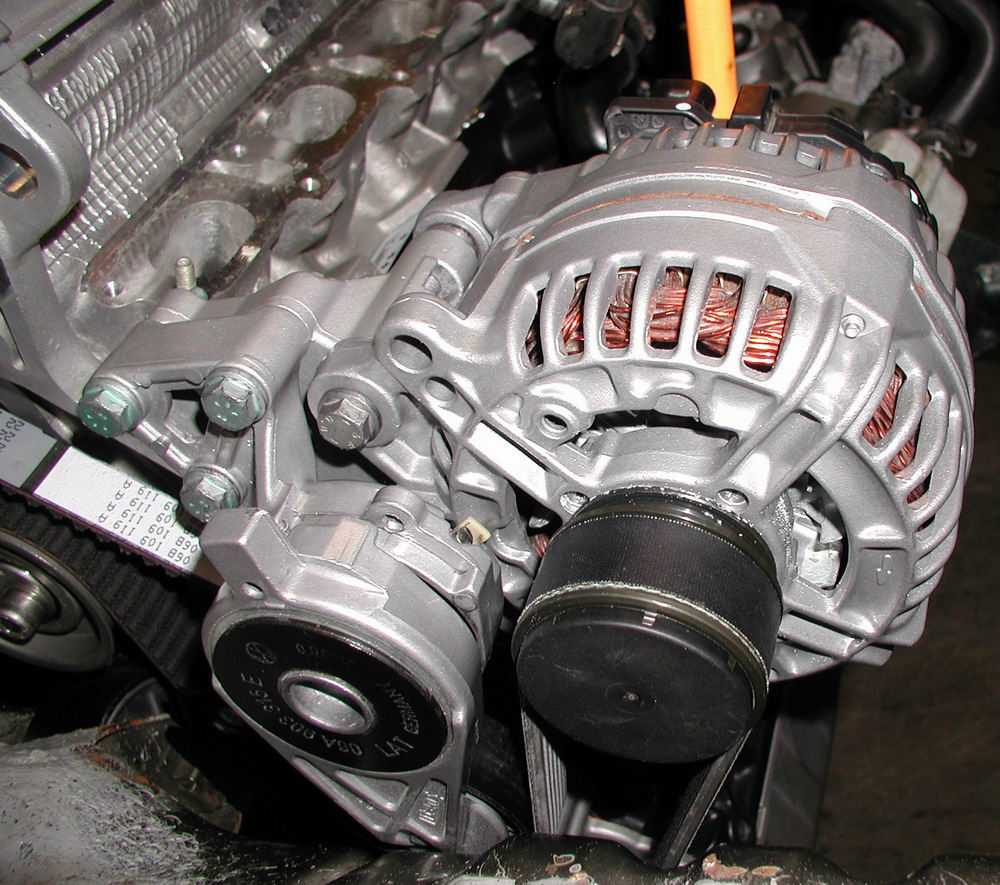
Remaining stub of accessory bracket...and beautifully cleaned up alternator...120 amp, baby!   (of course...since I am not using the air conditioning and such...I really don't NEED all 120 amps..but it is still pretty cool to say...hehe)

swap099 (36K)

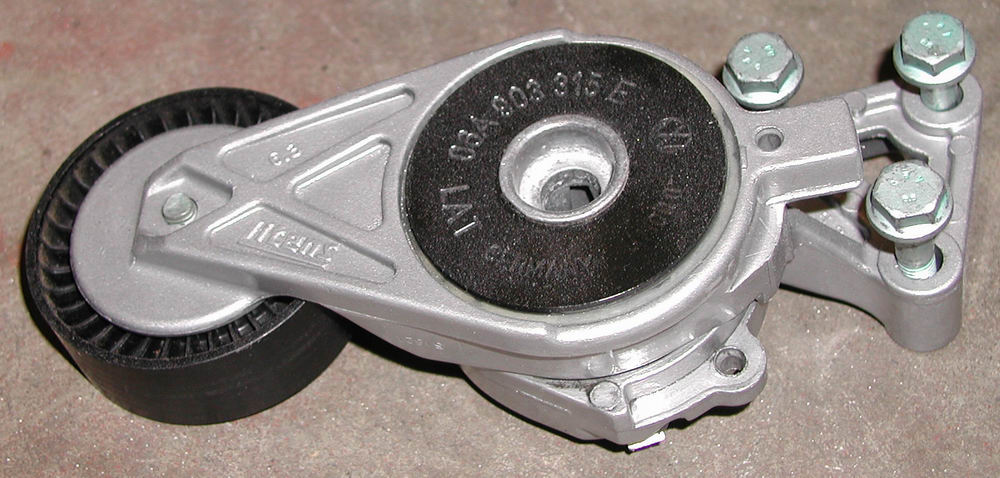
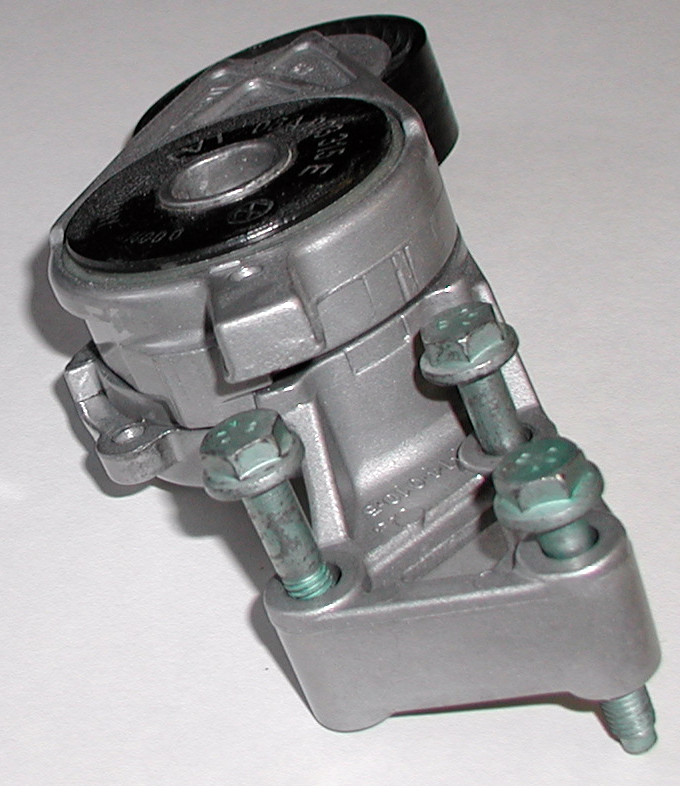
Tensioning device for ribbed belt

swap101 (37K)

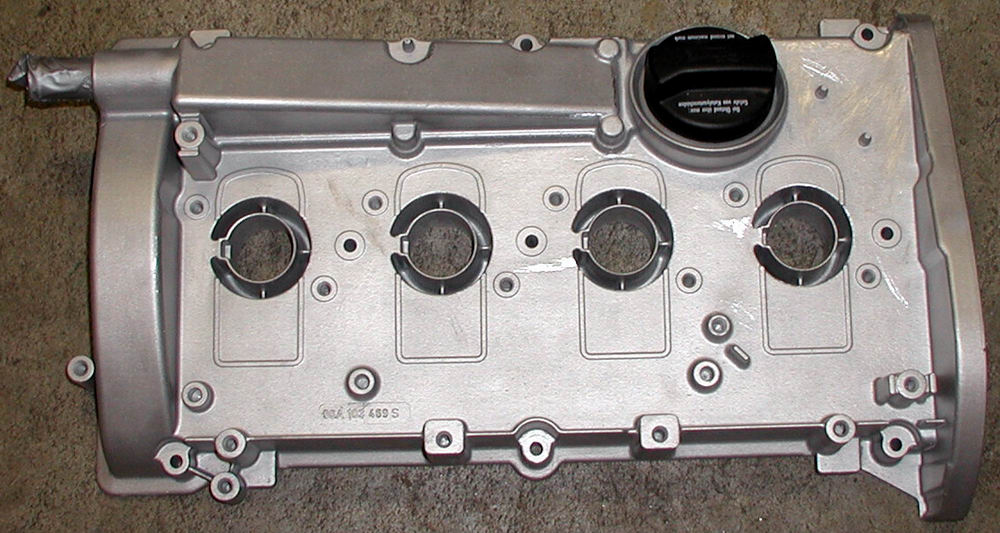
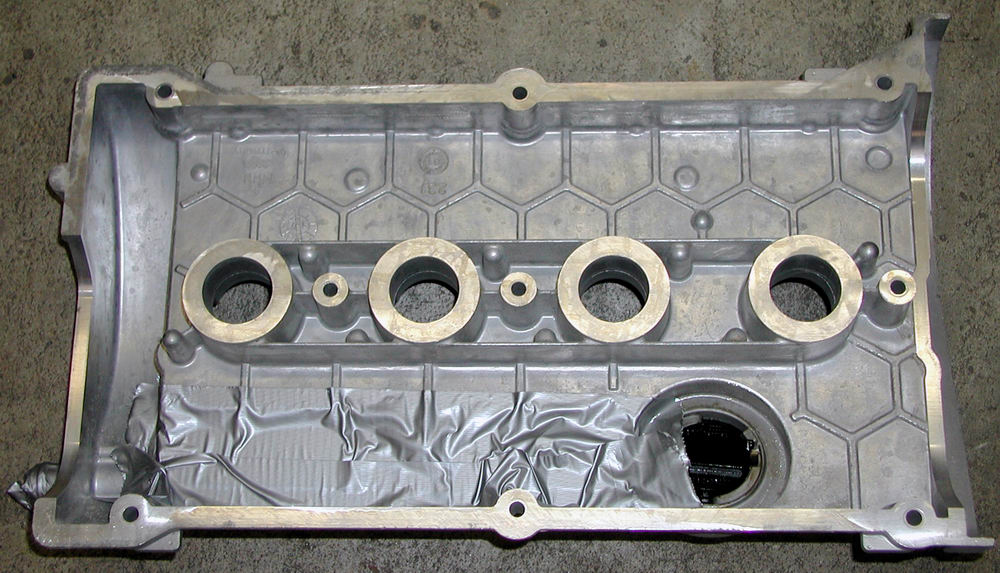
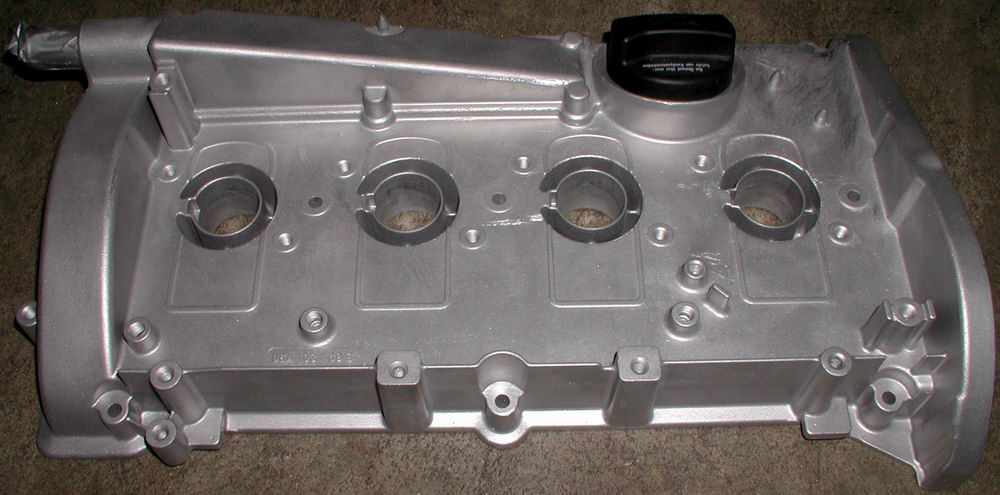
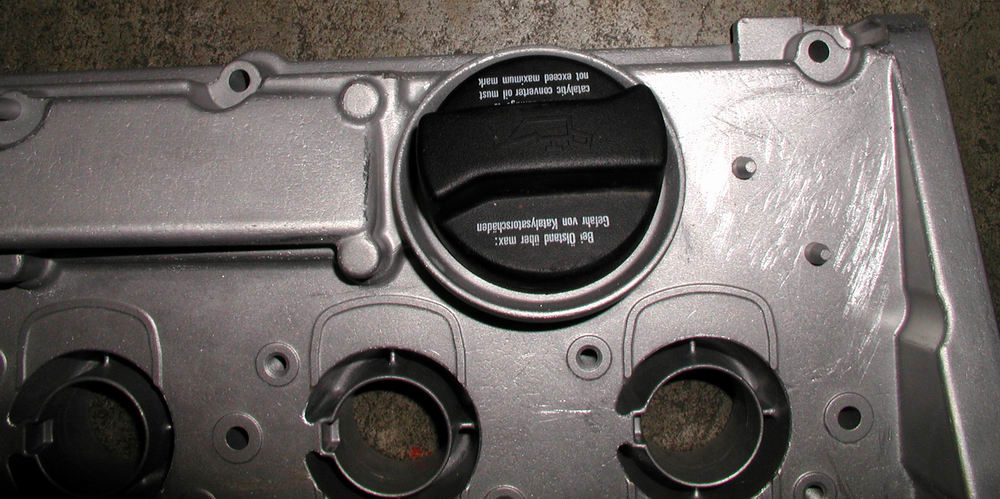
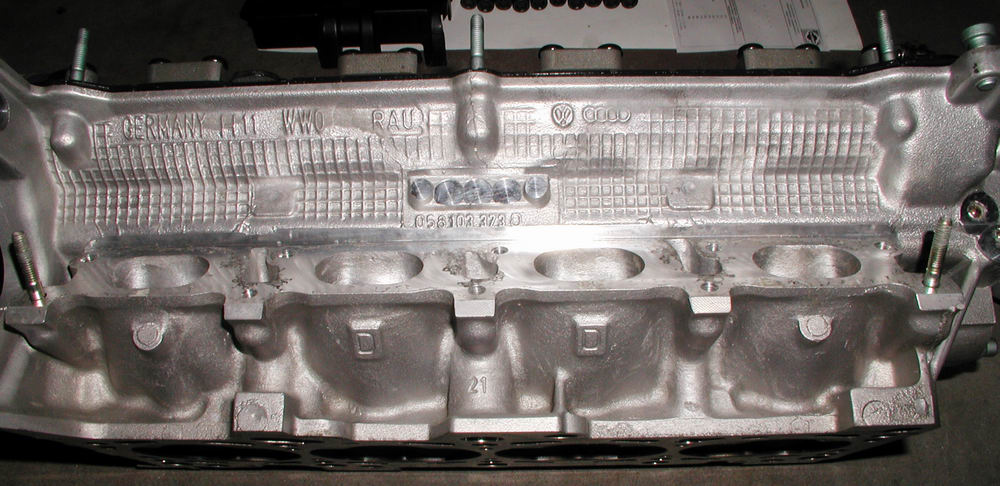
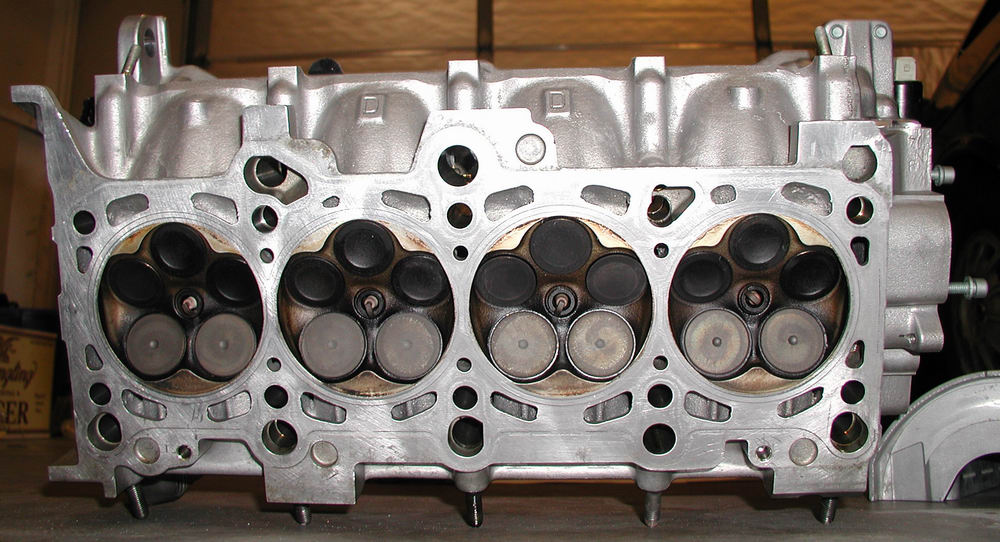
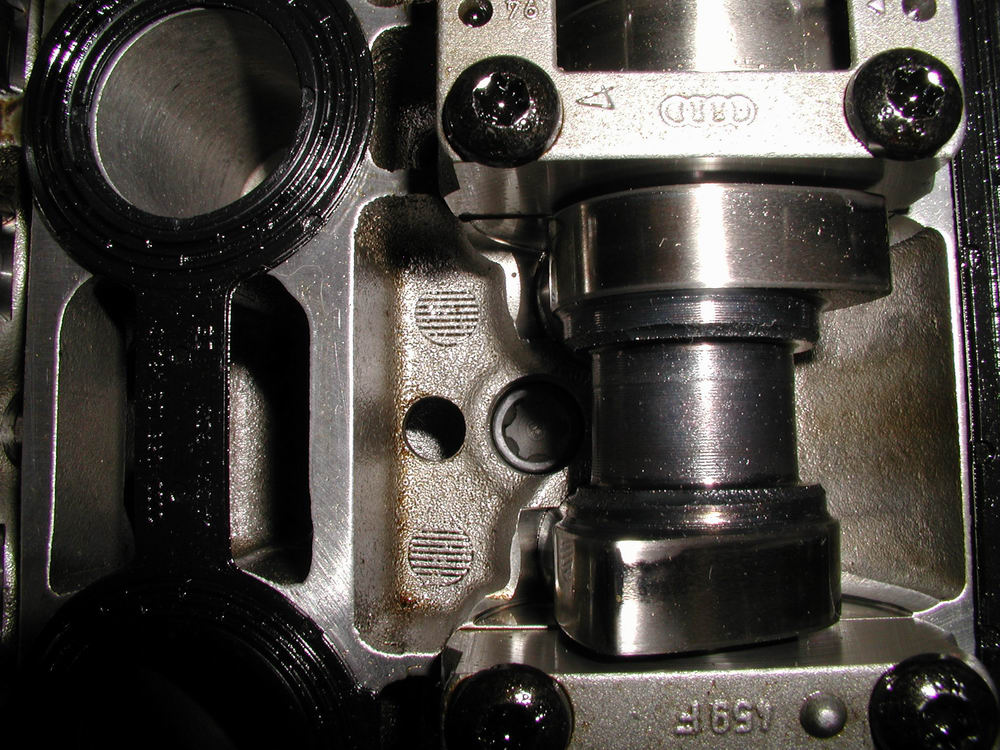
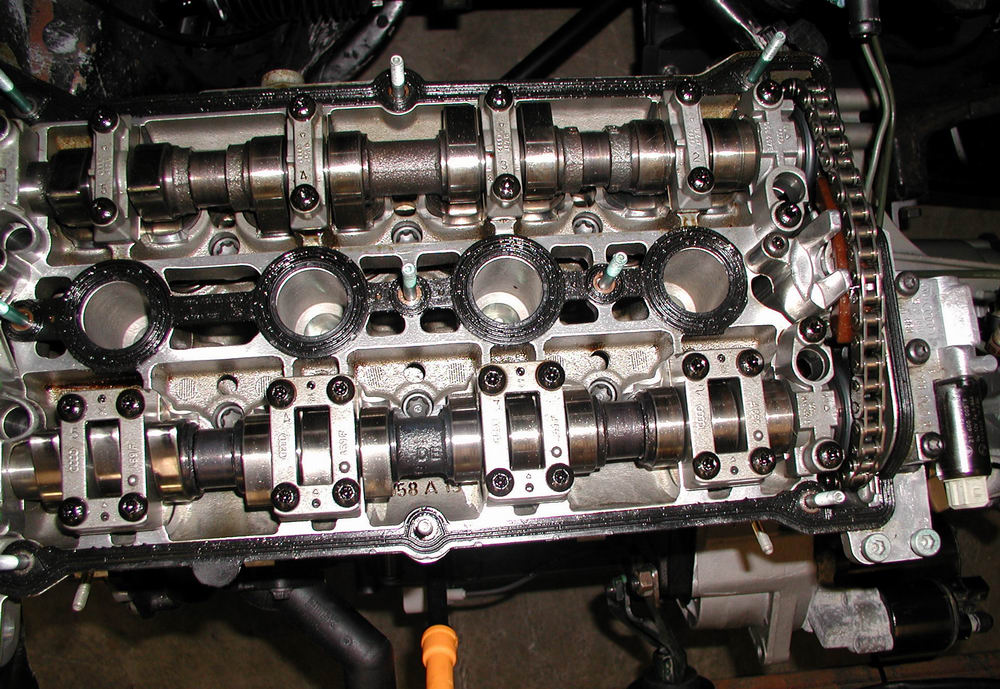
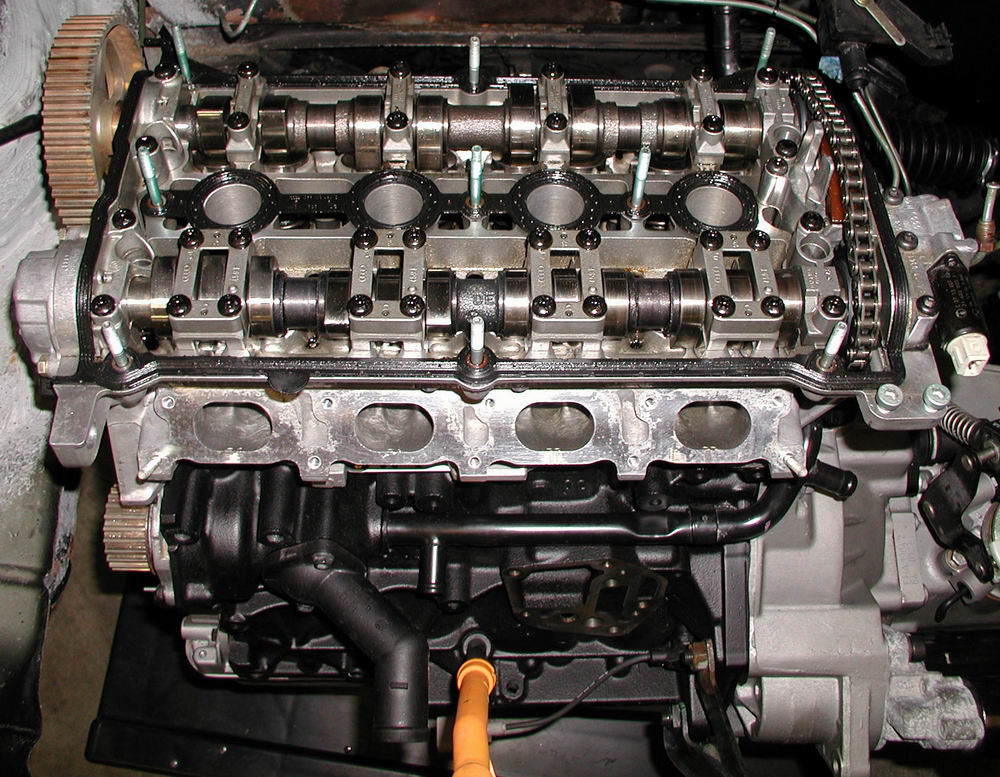
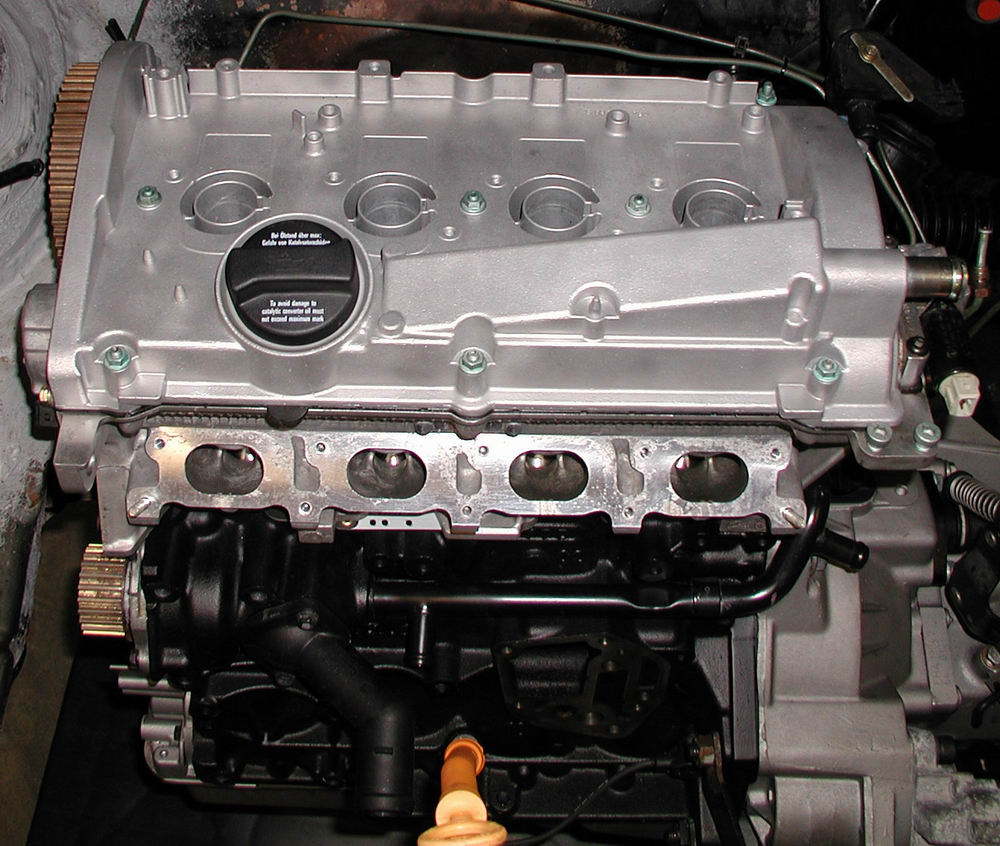
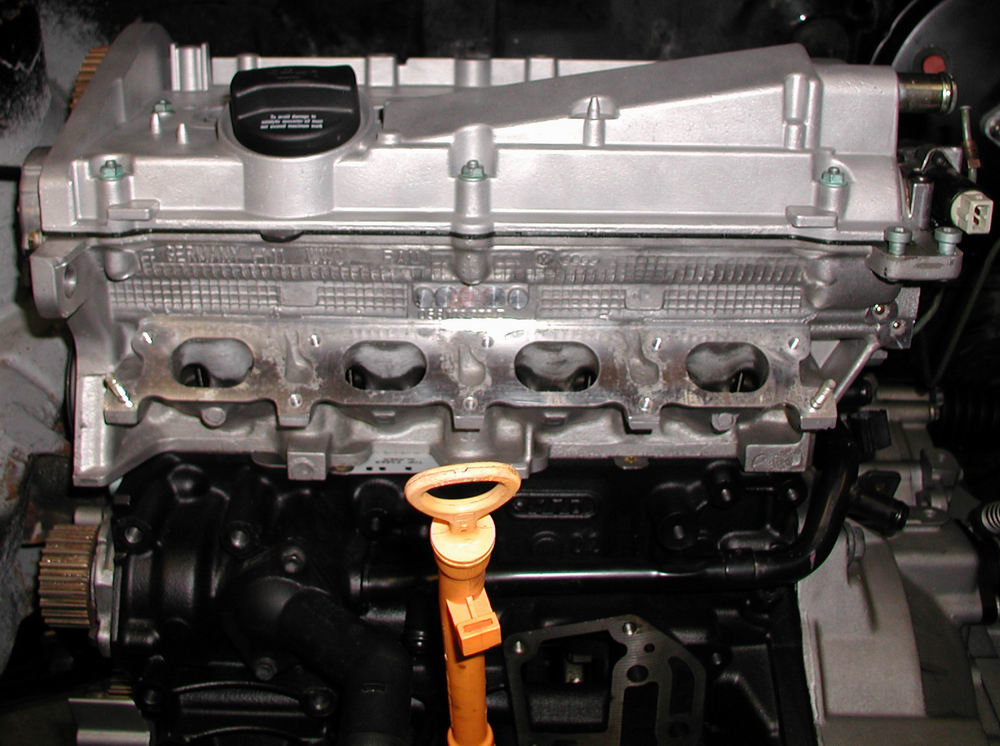
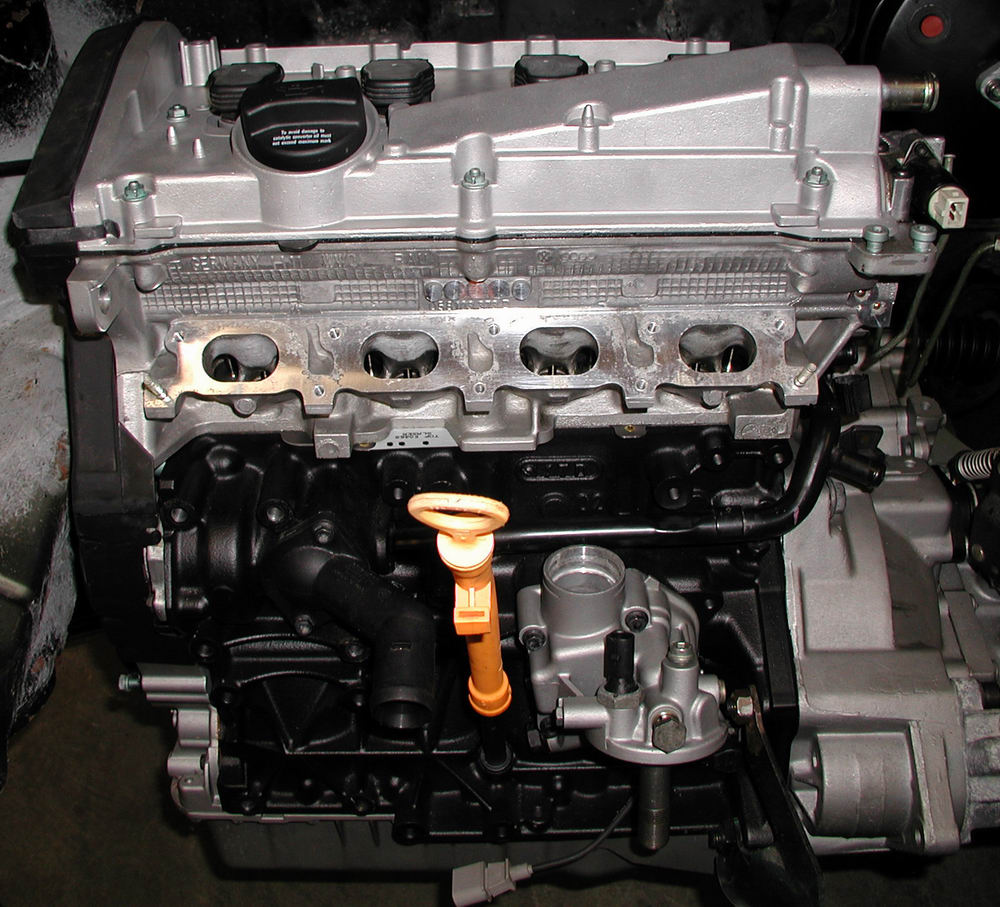
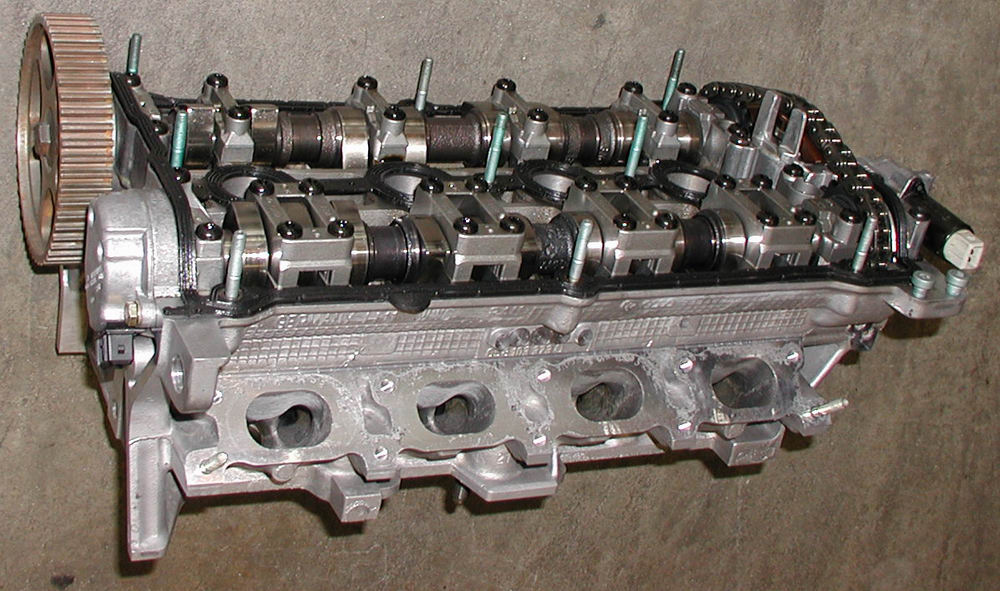
Pornographic cylinder head....yummy!

swap102 (32K)

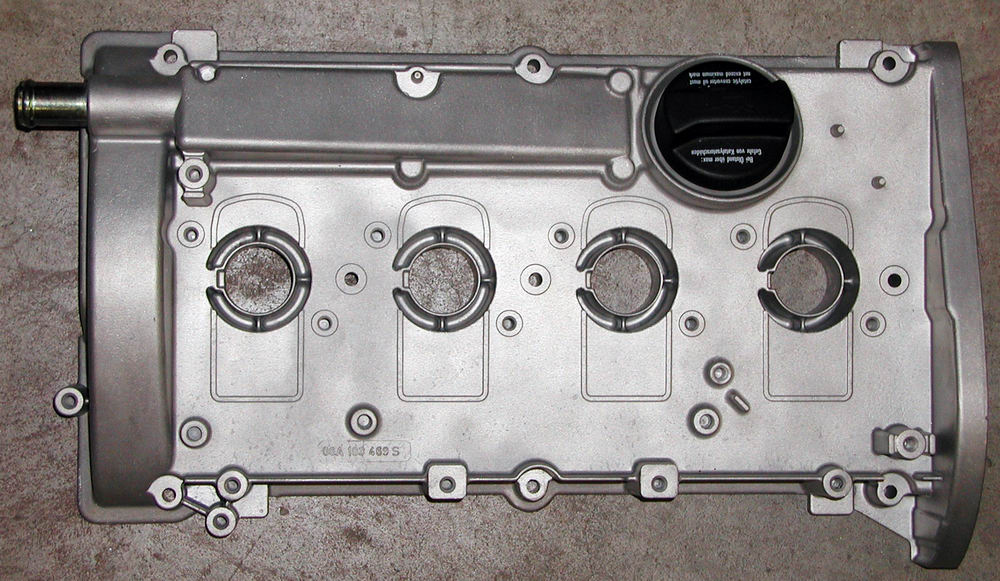
Beautifully bead blasted cam cover


And finally....the engine assembly could begin...

Naked block...awaiting parts:

swap103 (45K) swap105 (48K)

Head gasket on.......

swap106 (34K) swap107 (31K)

And then it was time for the cylinder head to be attached for good...finally....Despite it weighing less than the 16V head.....the thing is still pretty heavy...for me at least.  Truth be told, Dan was the one who actually ended up doing the lifting and placing, although I tried.  You can see that it was weighed before putting it onto the block (48 lbs....16V came in at 50 lbs...add an ish to the end of both figures due to bathroom scale being used).

swap108 (68K) swap109 (53K)

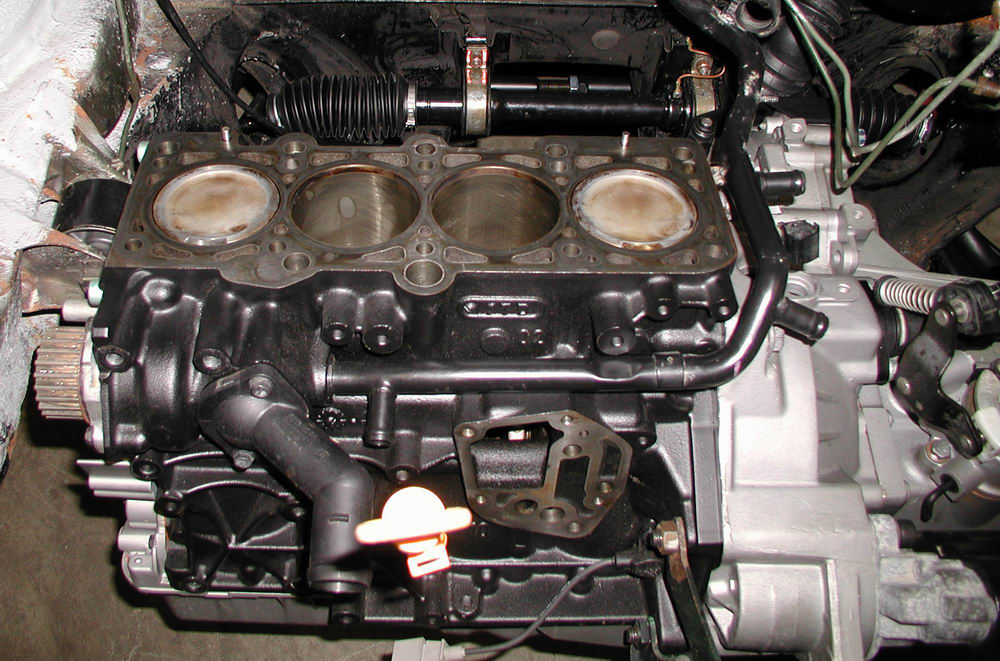
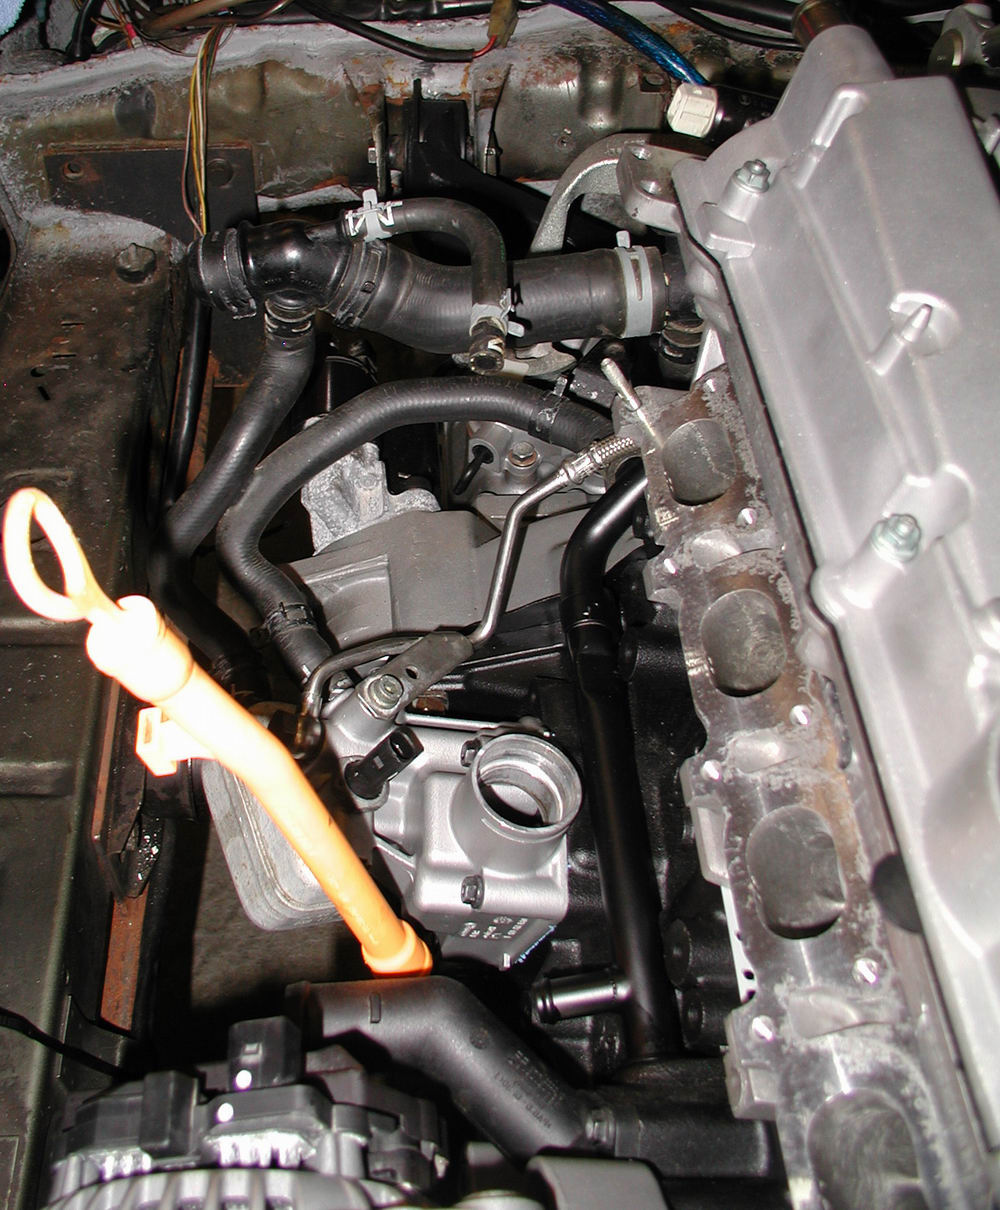
YAY!  Head is finally resting on block...last time it is going to be coming out of the engine bay for a long time (hopefully)

Okay, perhaps I am the only one who gets all sentimental about this sort of thing, but I was very pleased about having reached the point of actually torquing down the cylinder head bolts.

swap110 (42K) 
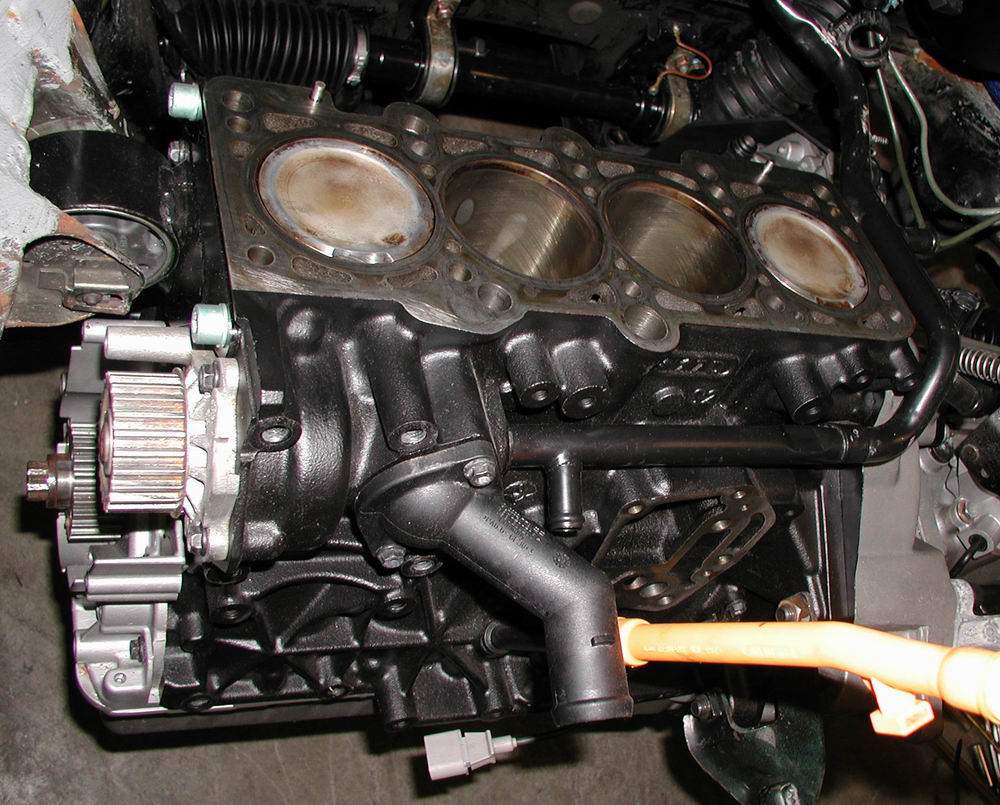
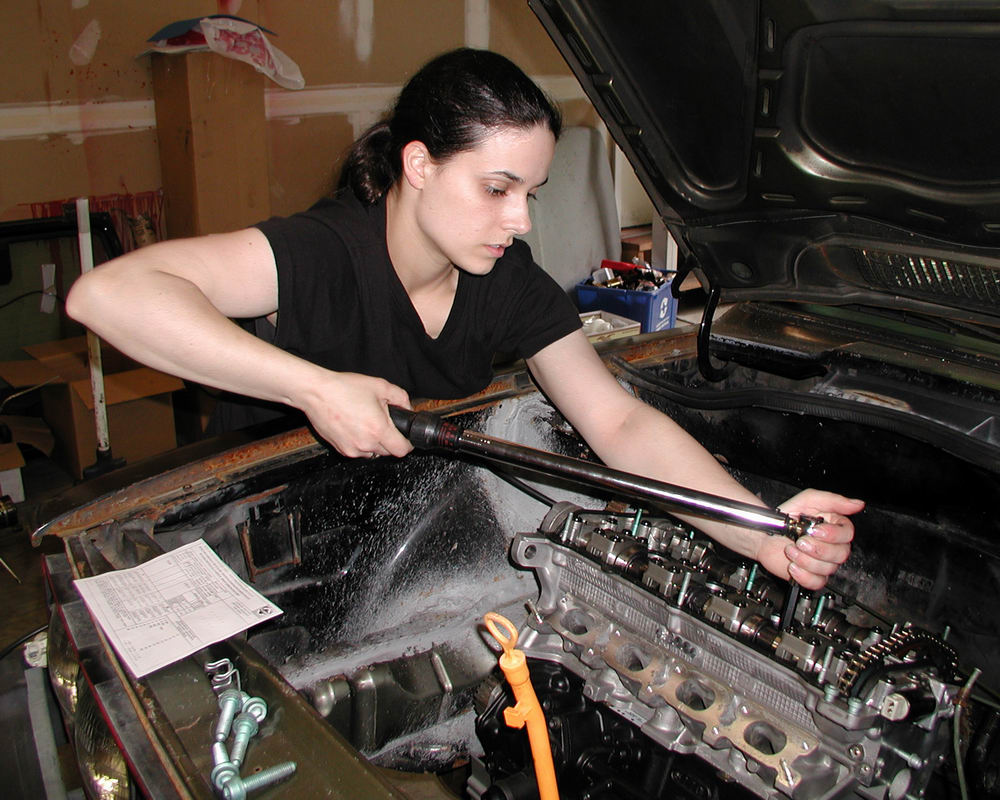
First head bolt.....
swap111 (42K)
swap112 (42K)
swap113 (51K) 
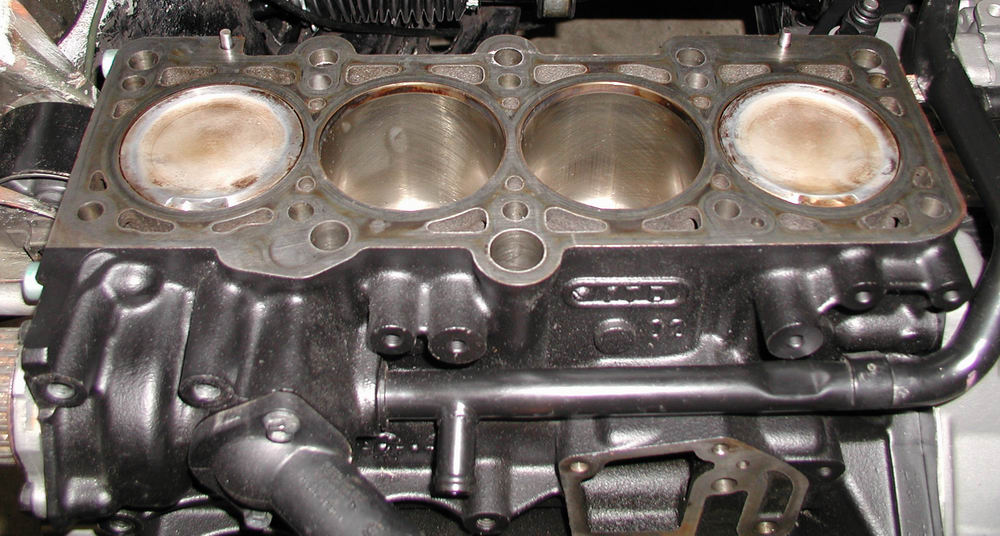
And finally the head is bolted loosely to the block

And now came the time to torque those babies to spec...I have to admit that I was only able to do the first tightening bit...as I lack the strength to do the required "torque 'em down till you nearly shear off the bolts" ft. lbs.

swap114 (45K)
swap115 (55K)

And now the cam cover goes on...in all it's bead blasted glory...

swap116 (44K) swap117 (40K)

Followed by the timing belt.....

swap118 (63K) swap119 (65K)

Oil filter bracket on.......

swap120 (64K) swap121 (43K)

Changed the spark plugs...popped the evil coil packs in.....

swap122 (29K) swap124 (33K)
swap123 (33K)

Okay....no too bad so far...tried the timing belt cover on for the hell of it......

swap125 (46K)

Timing belt cover back off...now checking timing belt is tensioned properly....

swap126 (65K) swap127 (38K)

Now to install the lower portion of the timing belt cover......not the easiest thing to get at....

swap128 (50K) swap129 (40K)

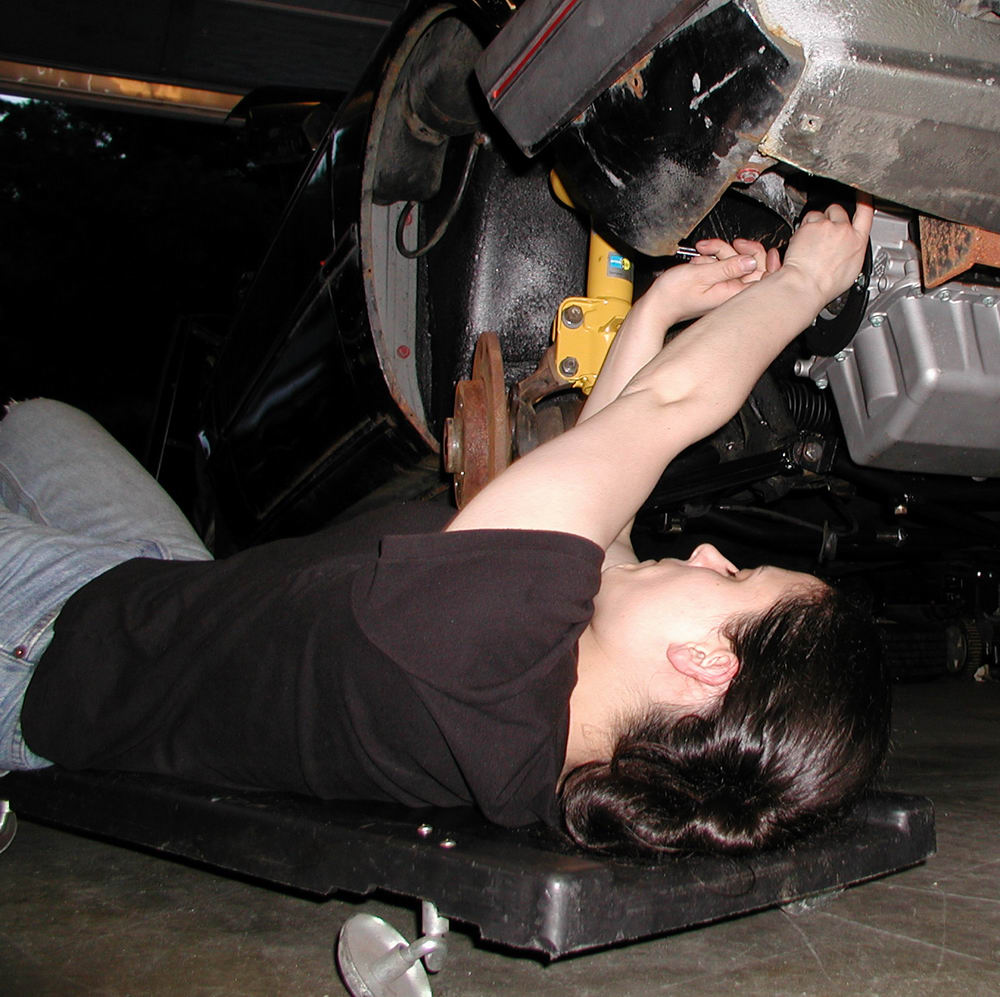
And I can even tighten bolts with my eyes closed..

...or the easiest thing to take pics of....this is the lower 2/3s of the timing belt cover setup....

swap131 (62K) swap130 (33K)

swap132 (60K)

And now for the accessory bracket and alternator....the alternator was first attached to the bracket before mounting the bracket on the engine.  Otherwise, clearance to get the lower bolt in becomes an issue.  You can then balance the alternator and bracket while tightening the bolts for the bracket to the engine.

swap133 (57K)
swap134 (39K)
swap135 (44K) swap136 (51K)

And then the tensioning device for the ribbed belt gets bolted on......

swap137 (72K)

....and the ribbed belt pulley...and finally the ribbed belt gets installed and tensioned.  Since we nixed the air conditioning and power steering, the stock belt wouldn't work, so after some trial and error...we found the correct length of belt...NAPA brand, PN 25-060365, 36.5'' in length

swap139 (59K) swap140 (39K)
swap142 (51K) swap143 (37K)

The oil cooler still needs to be bead blasted here....it was yet another temporary install....as were the various hoses..


swap146 (53K)

More trial fitting to see what stays and what goes and to figure out the coolant hoses that will be needed.  Essentially the AWP has one main coolant hose conglomerate and in the end, only the upper and lower radiator hoses and both hoses going from the heater core will need to be custom.

swap147 (60K)
swap149 (54K) swap150 (59K)

Okay....so here is what the engine was looking like when I was leaving MD in June.  No worries....the intake ports DID get covered up shortly after these pics were taken. 

swap151 (41K) swap152 (44K)
swap153 (53K) swap154 (43K)

Oh!  and one more thing....there is this oil leak coming from somewhere....but the thing is that there is no oil in the engine.  As in none...whatsoever...AND we had the oil pan off before as well as several other pieces...so it isn't like there was a lot of oil residing in the bottom of the pan....Hmm...........very strange! 

swap156 (29K) swap155 (24K)


PREVIOUS
INDEX
NEXT


More New Stuff
SHOCKY JR.'S RESTORATION AND UPGRADE ADVENTURE CHRONICLES


June Non Engine Stuff


No navigation frame to your left?  Click Here: