JUNE NON ENGINE SWAP RELATED PROGRESS


What a handsome little hunk......


Some spiders keep making the mistake of taking up residence on Shocky Jr........this makes me very unhappy.....


Ahhhh....but on to the good stuff......

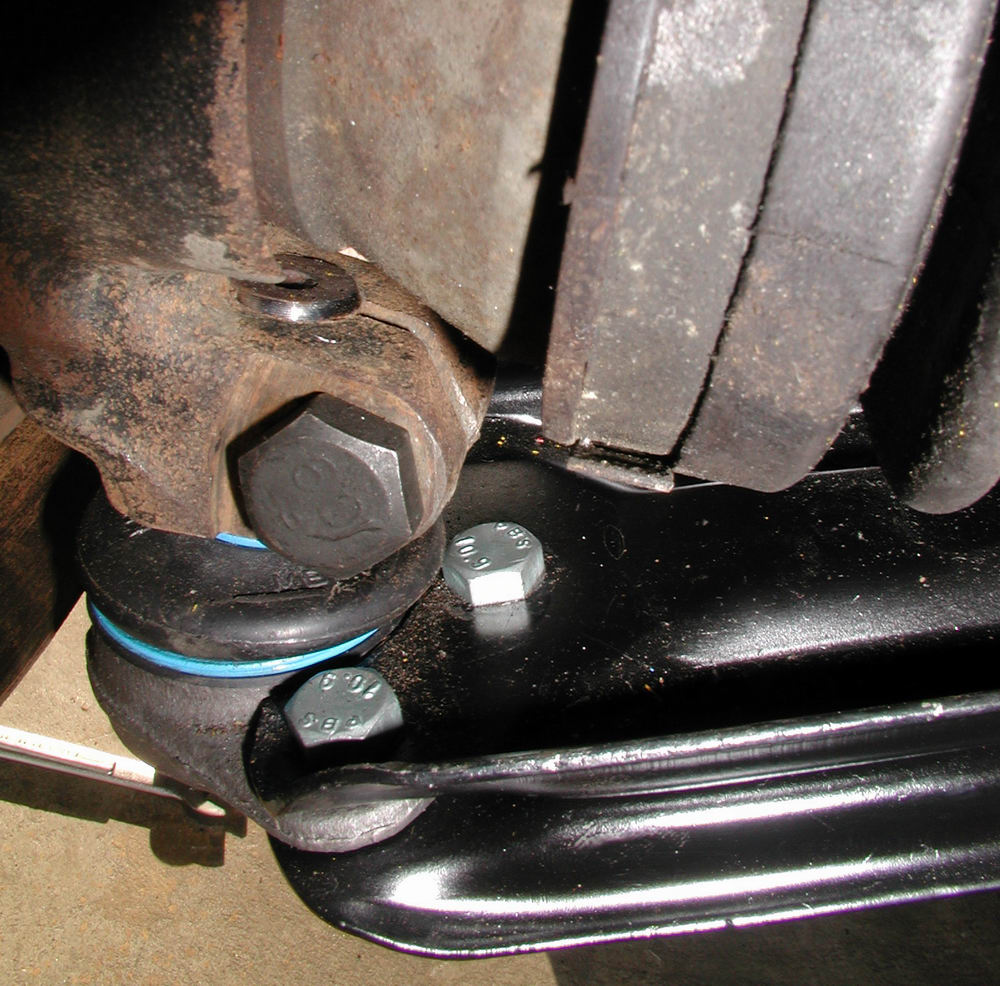
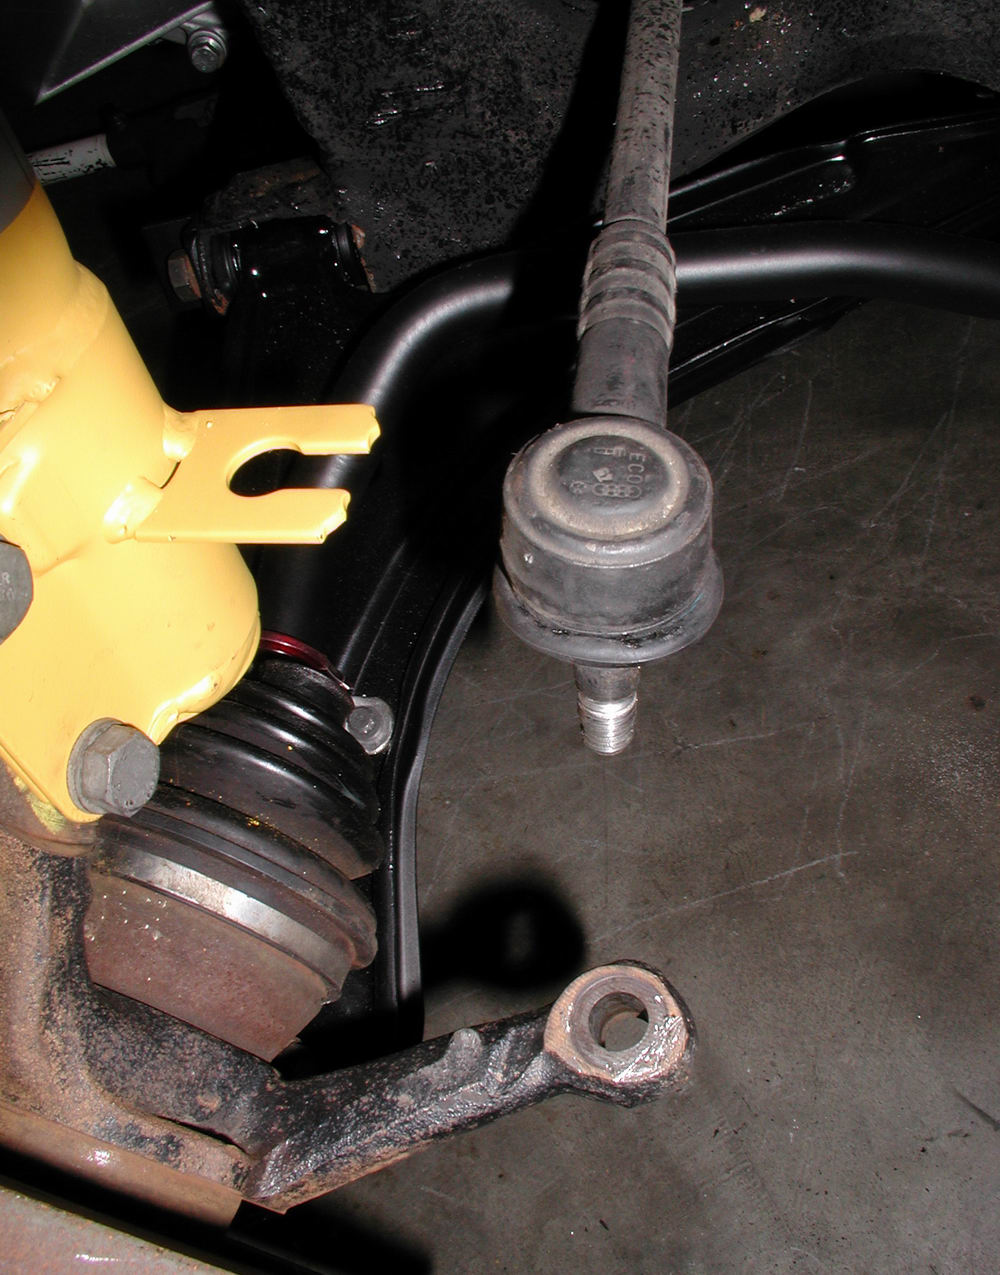
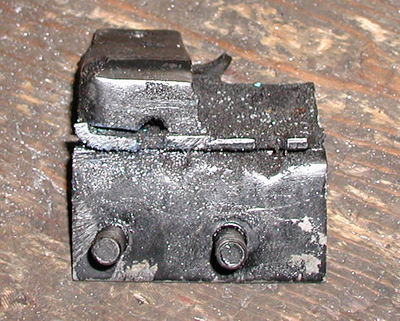
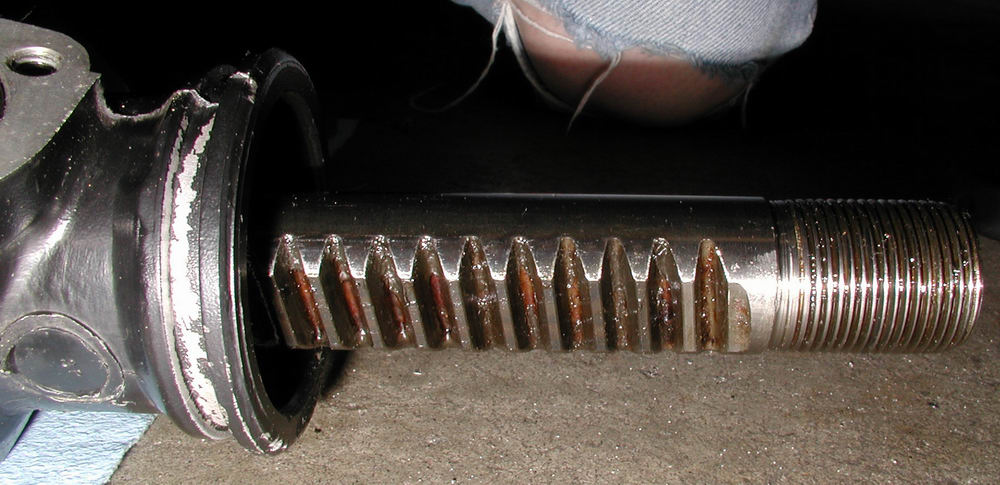
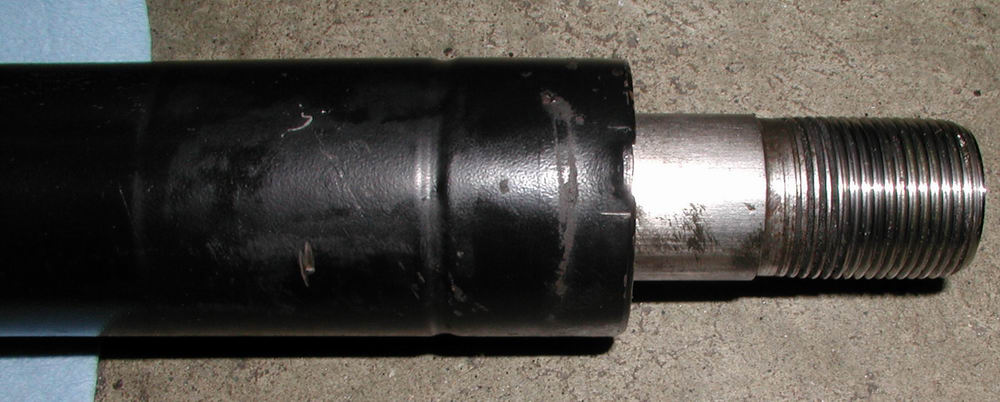
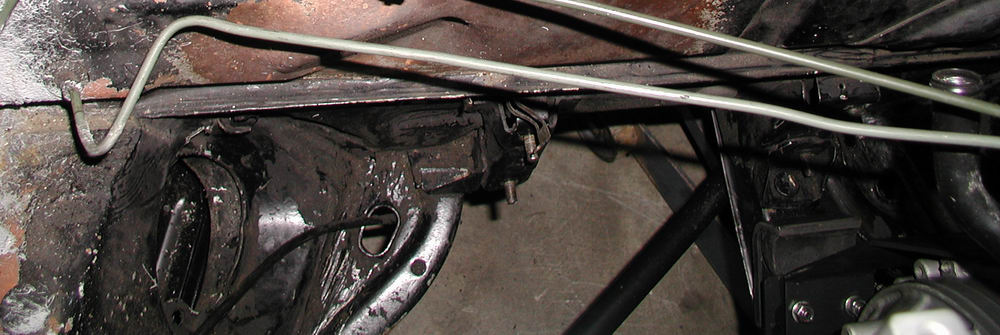
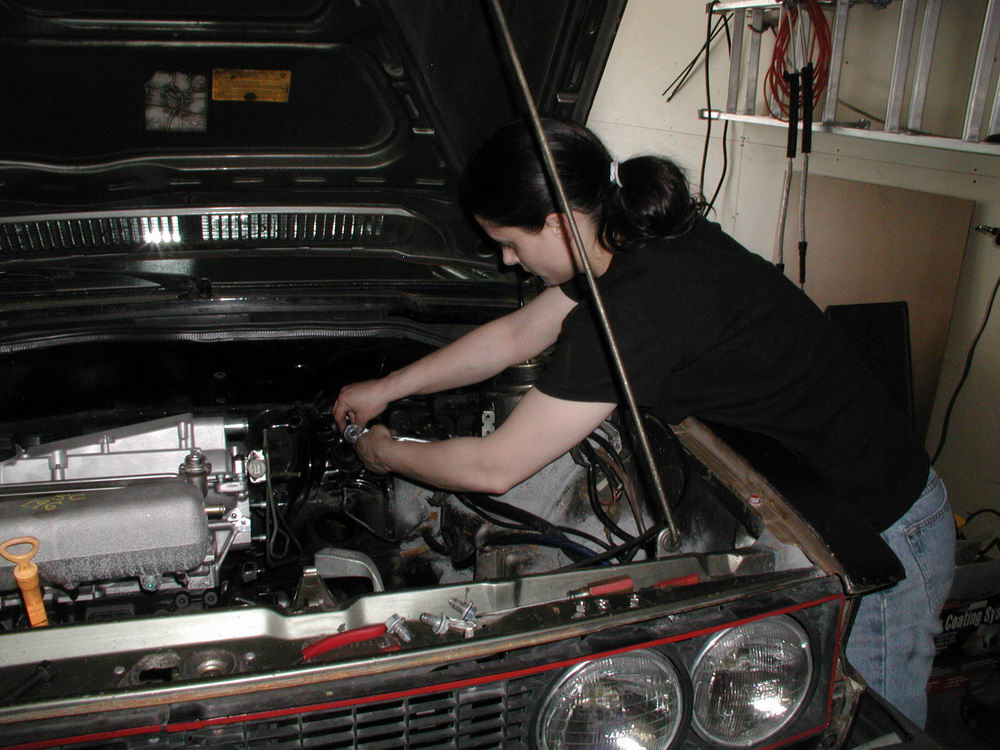
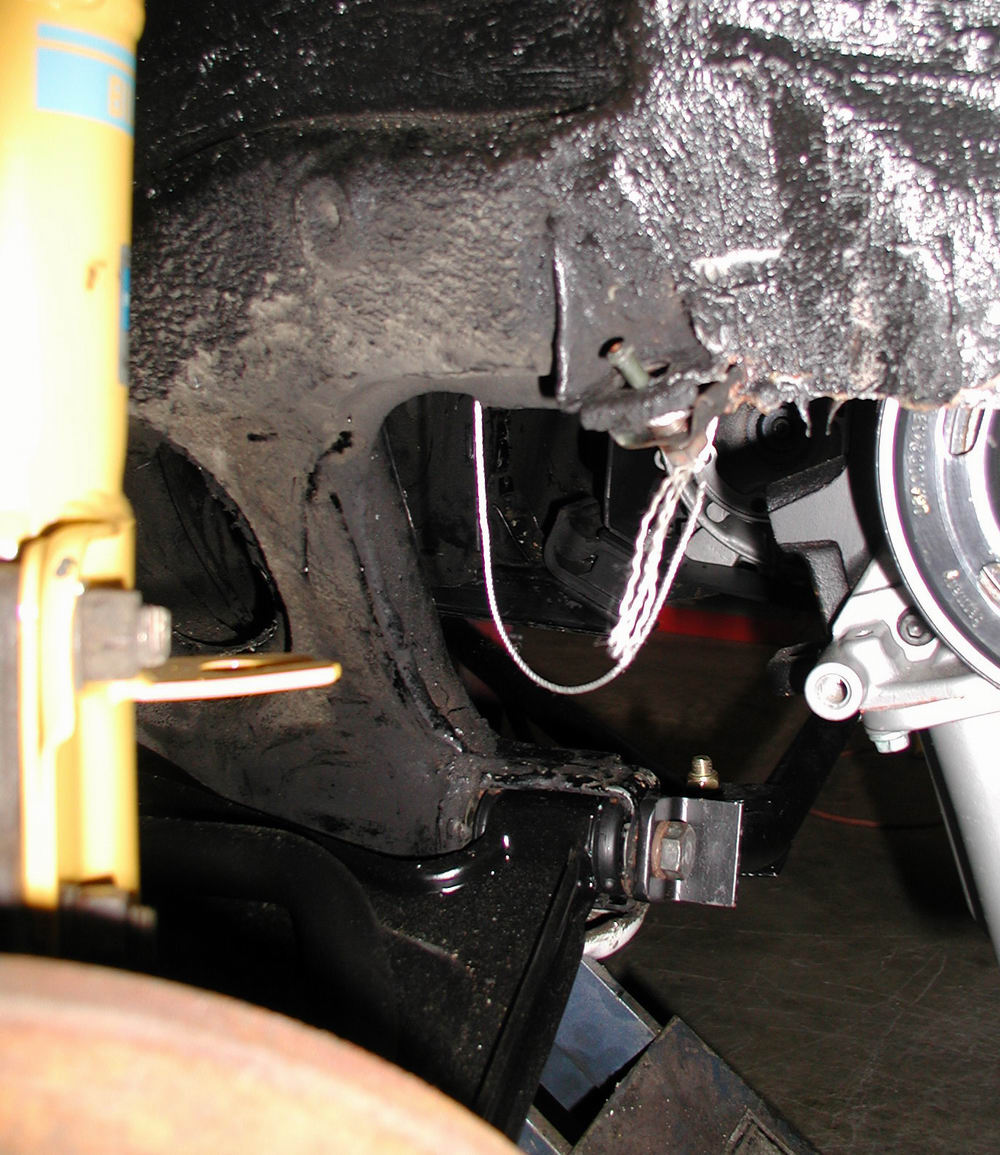
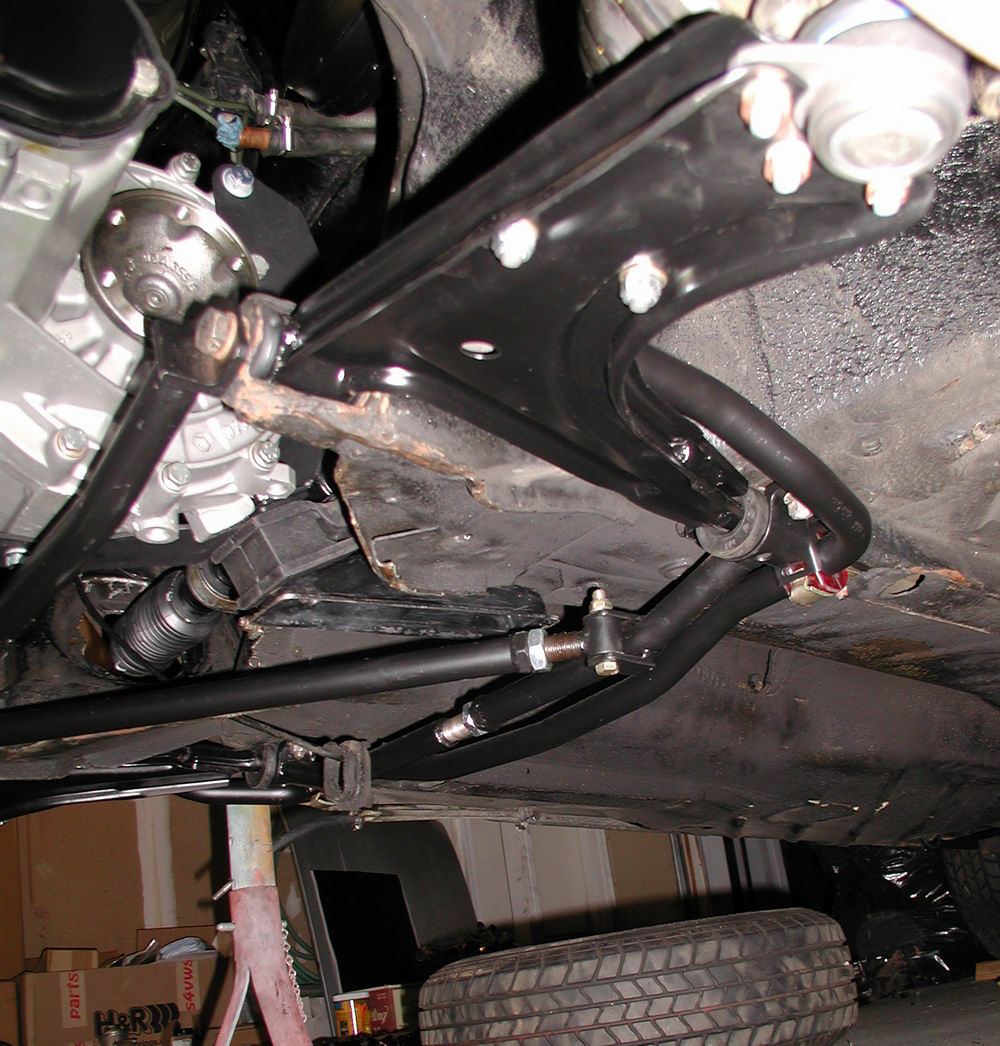
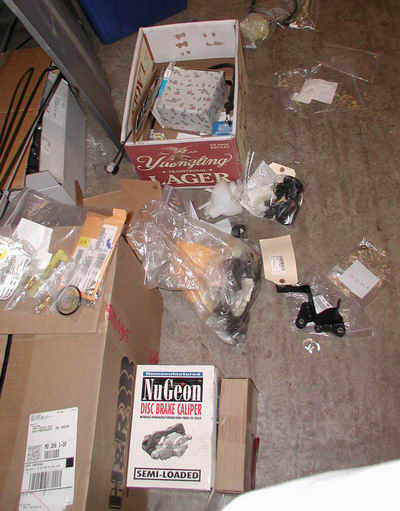
So...back in April....one of the bastardly ball joint nuts stripped while being tightened down to spec.  I vowed to seek vengeance at a later date...and that date was now upon us..... Pretty little threads....yes...but not so pretty when stripped out of the nut they belong in....So....one would think it to be a simple task...but alas...that was not the case....
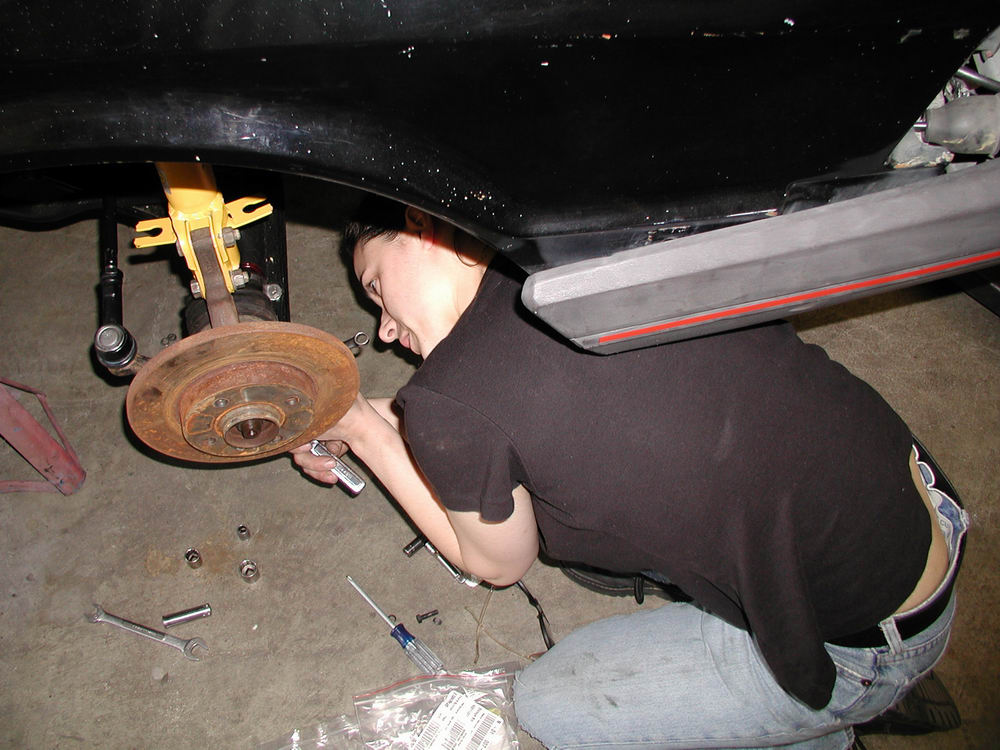
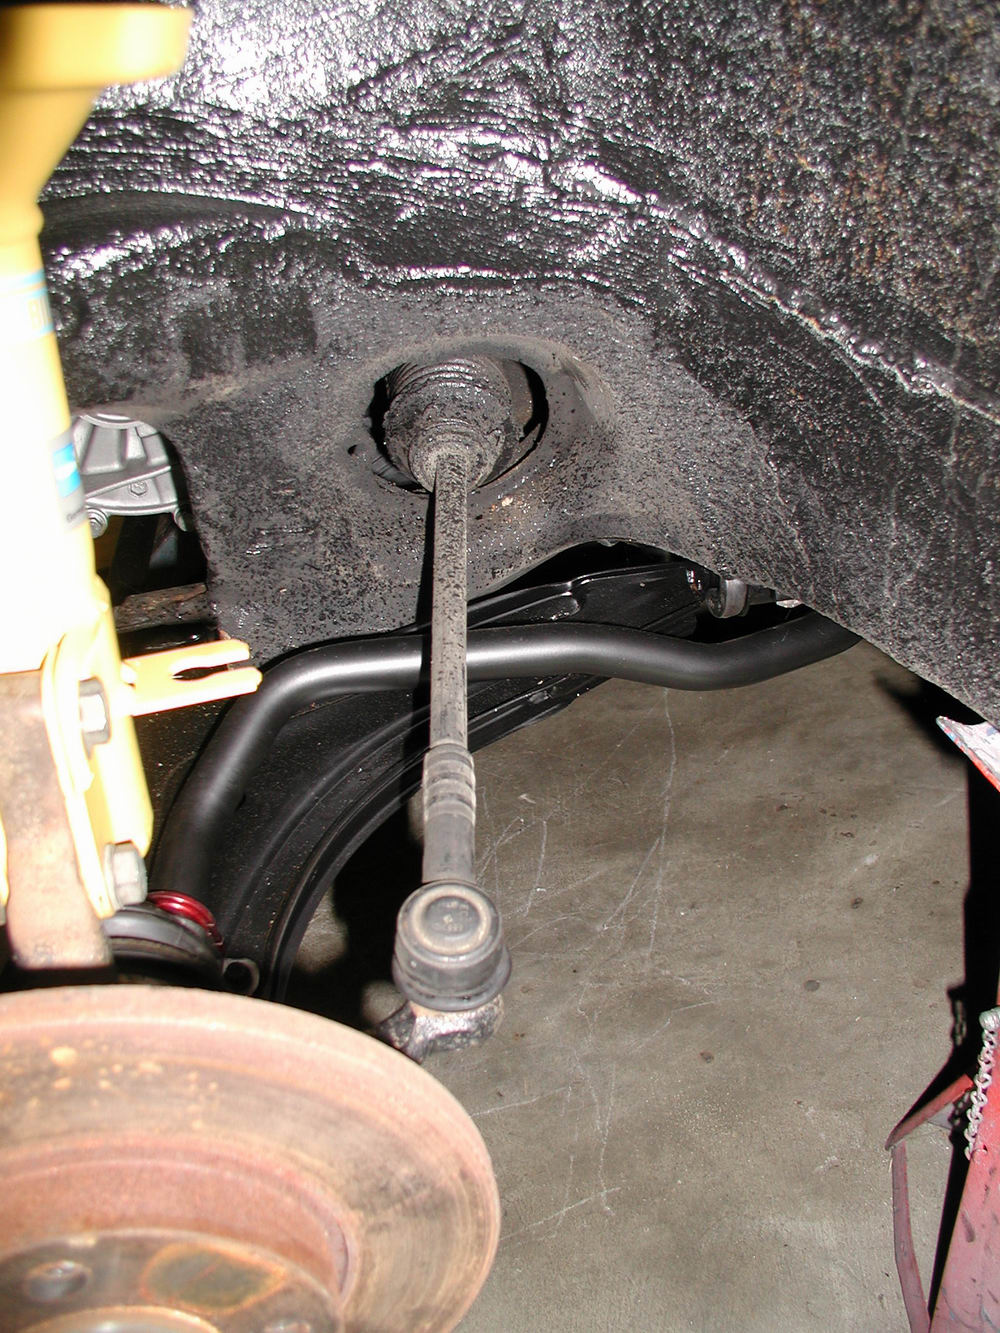
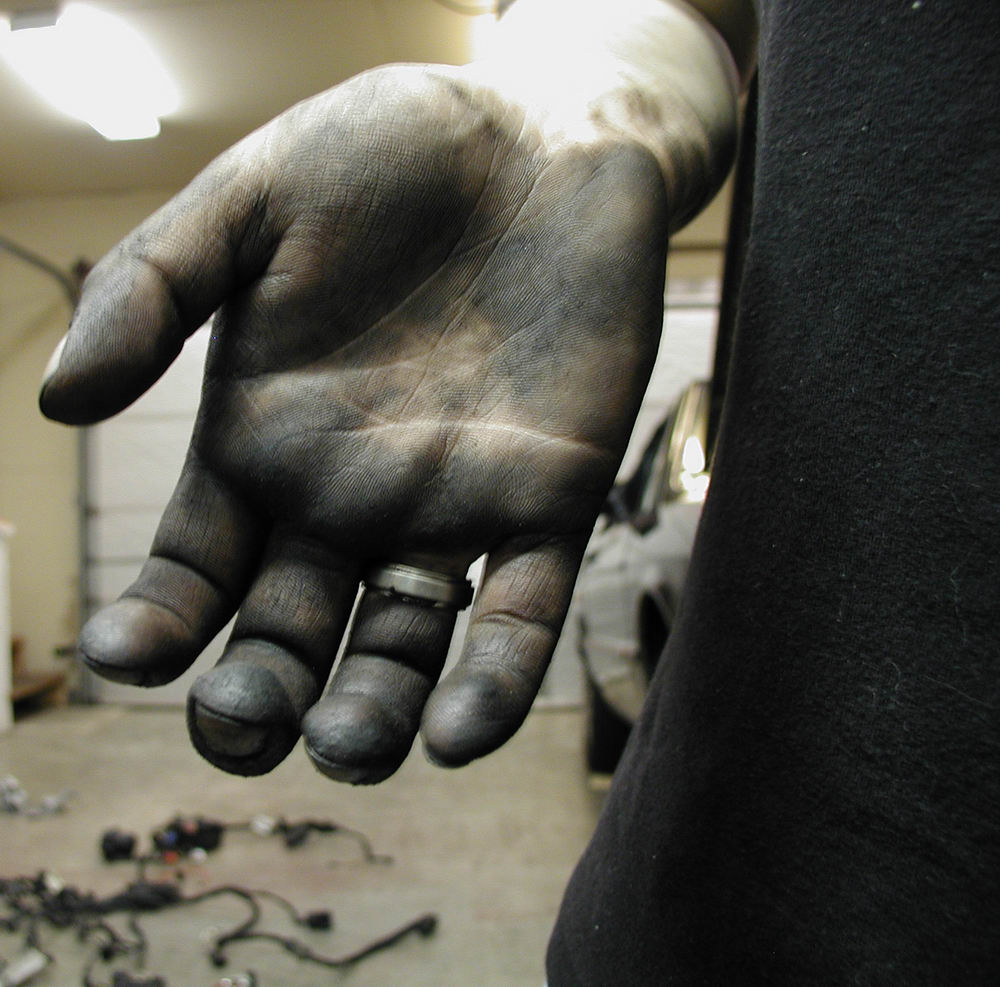
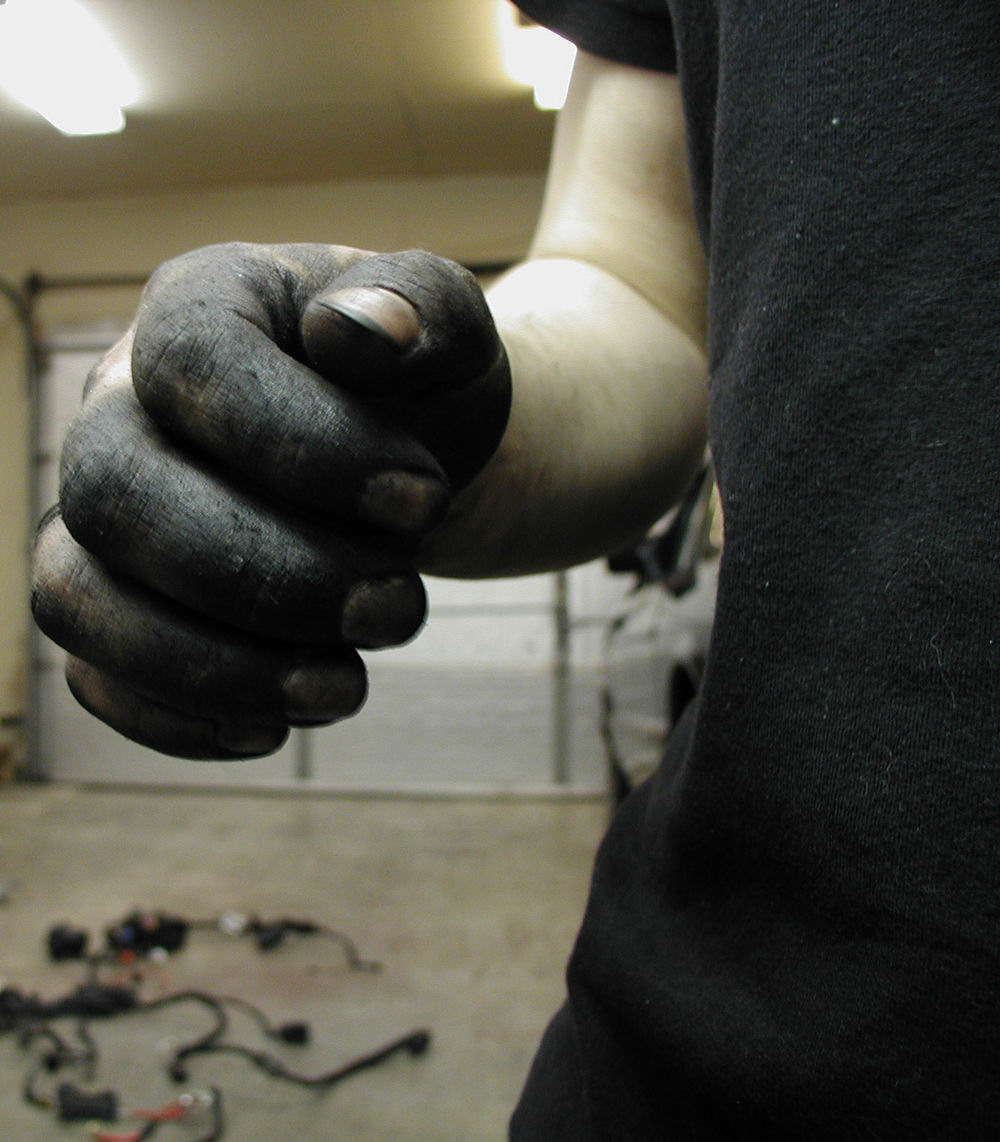
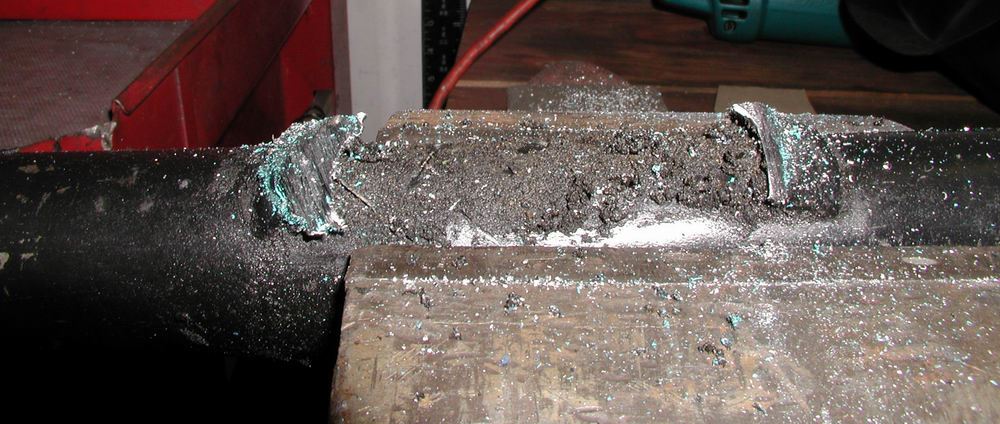
ah there is my head again They put up quite a fight....despite our best efforts...I ended up throwing in the towel and passing the socket and ratchet to Dan so that he could have a go at it...


Eventually we won the battle...
new ball joint bolts in
ball joint bolts done

Next......we turned our attention to the steering rack, which had to come out so that the bracket that is on there for the 020 rod linkage could be removed and new tie rods, bushings, boots etc. could be installed.  Seems simple enough, right? 

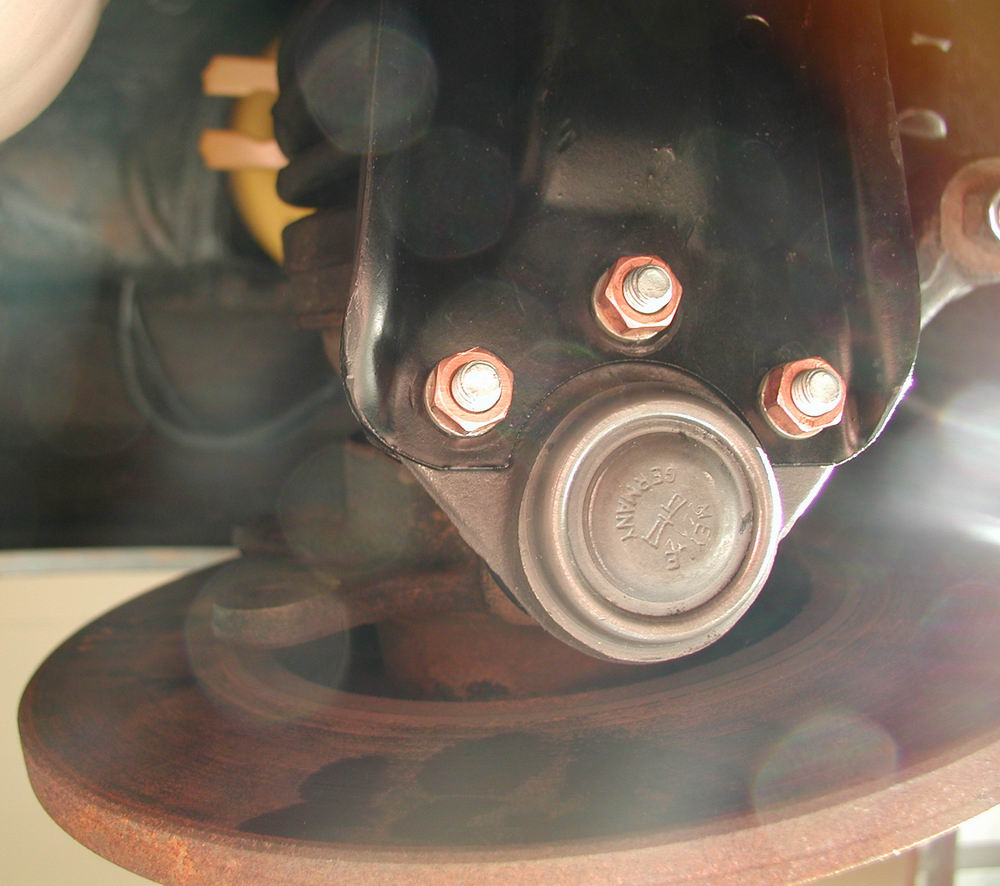
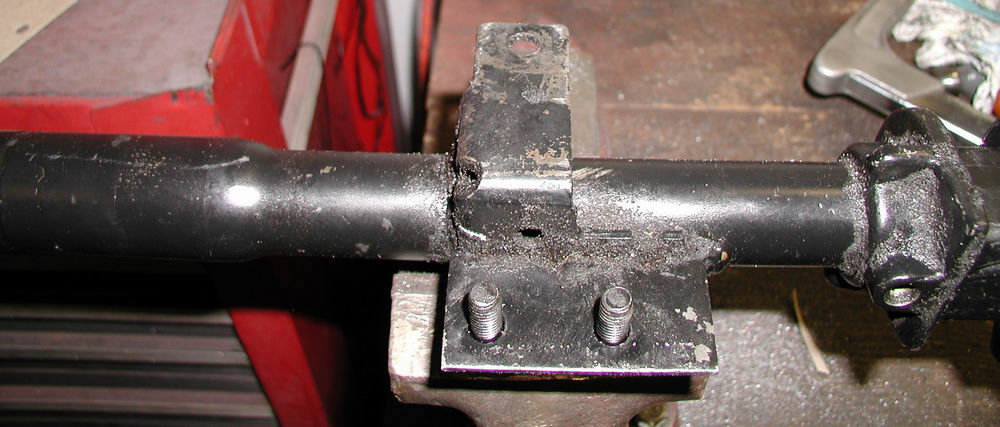
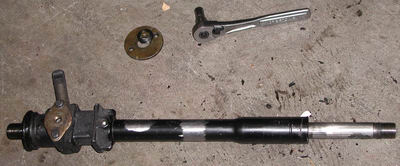
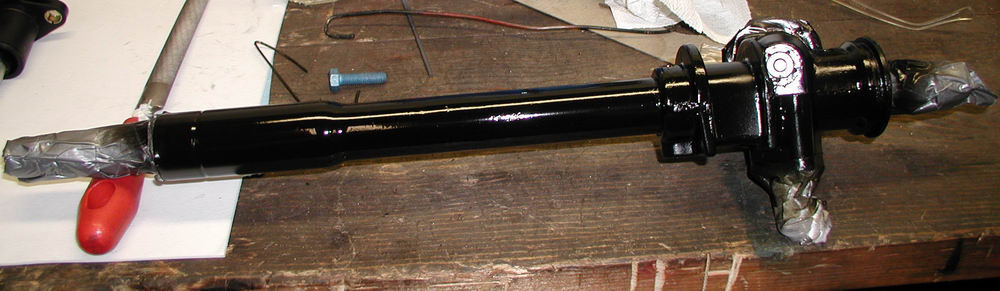
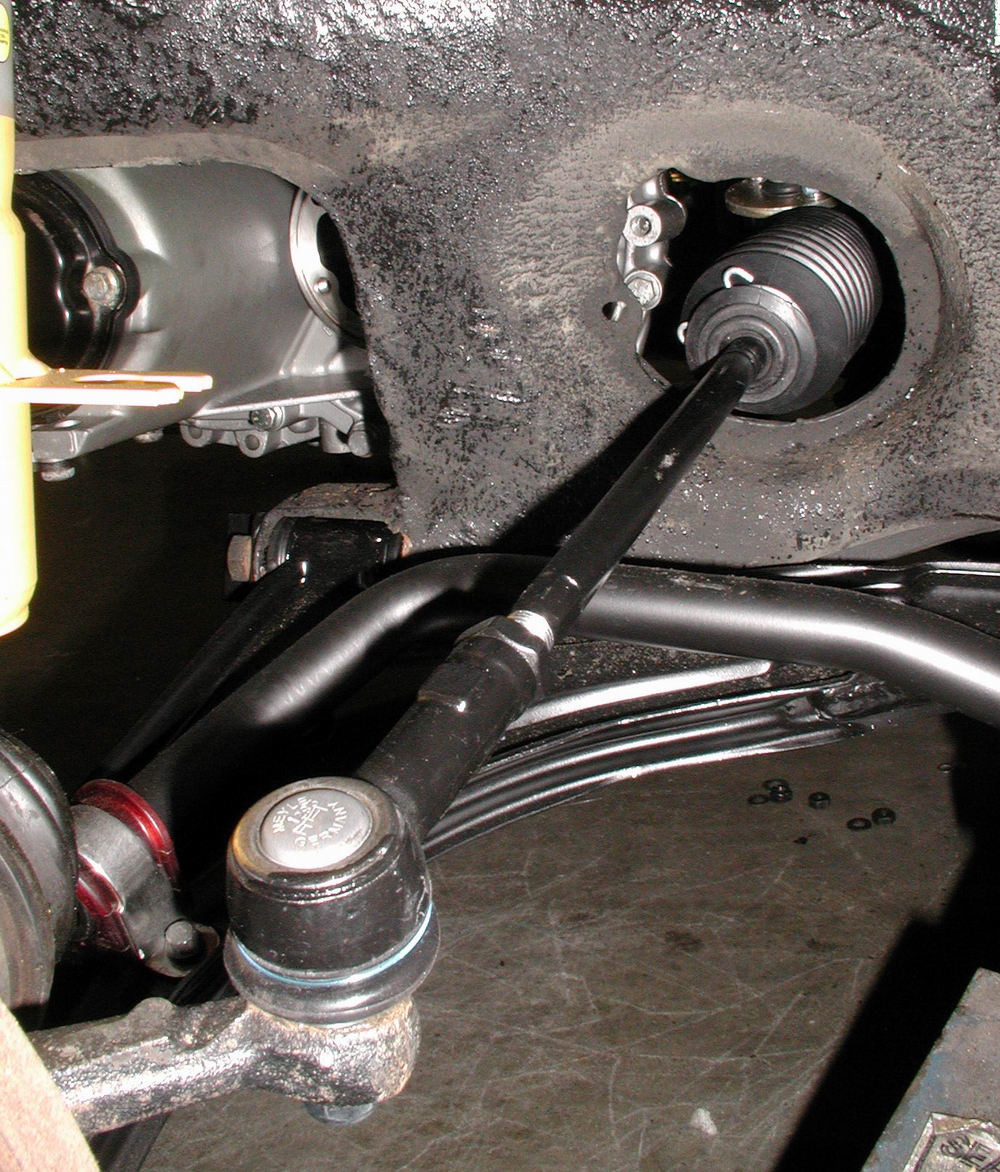
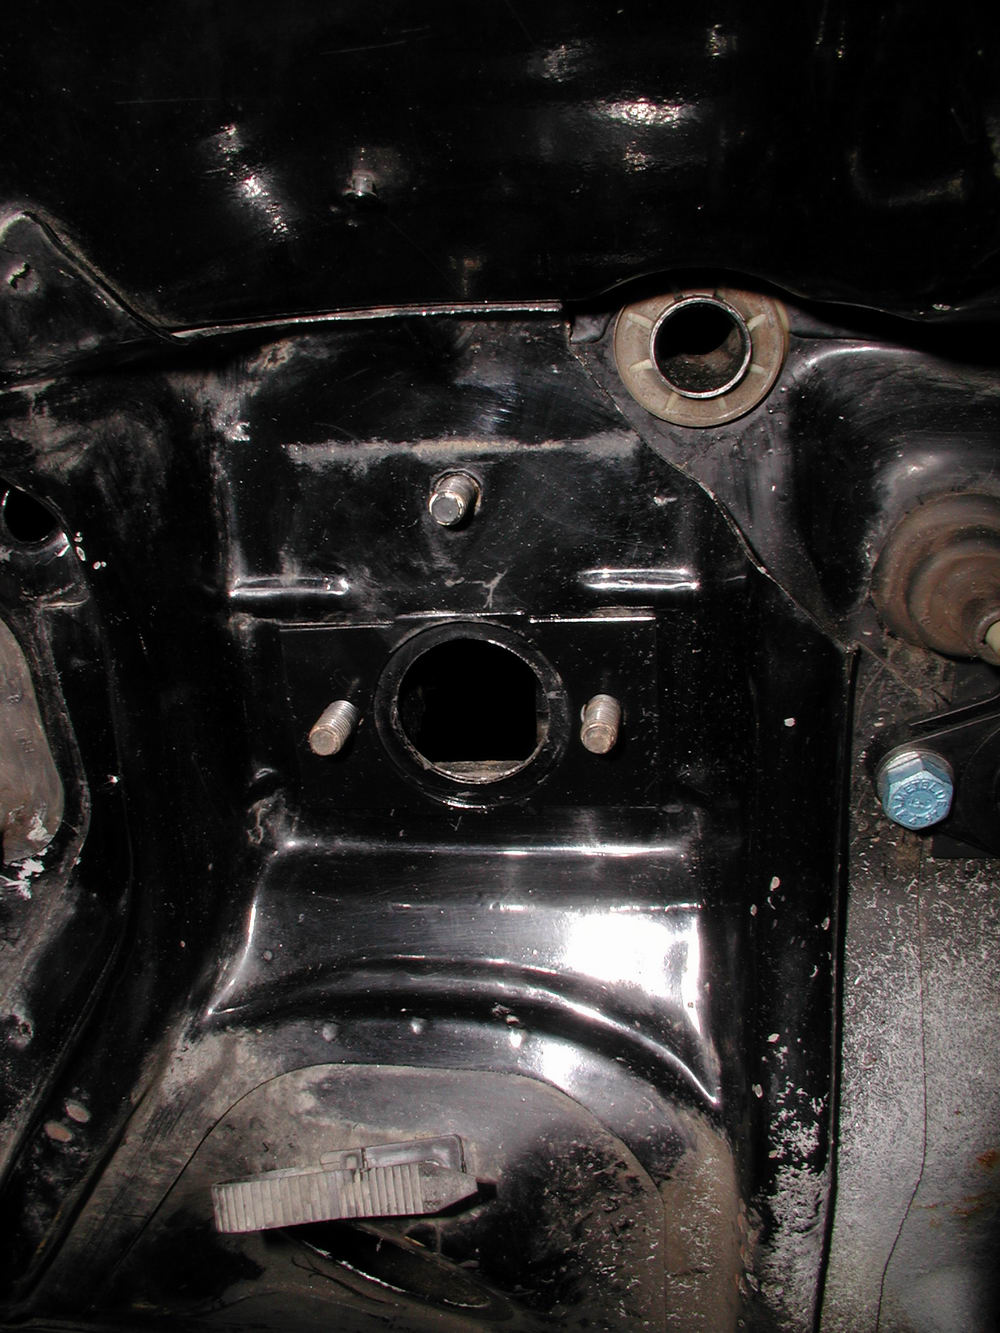
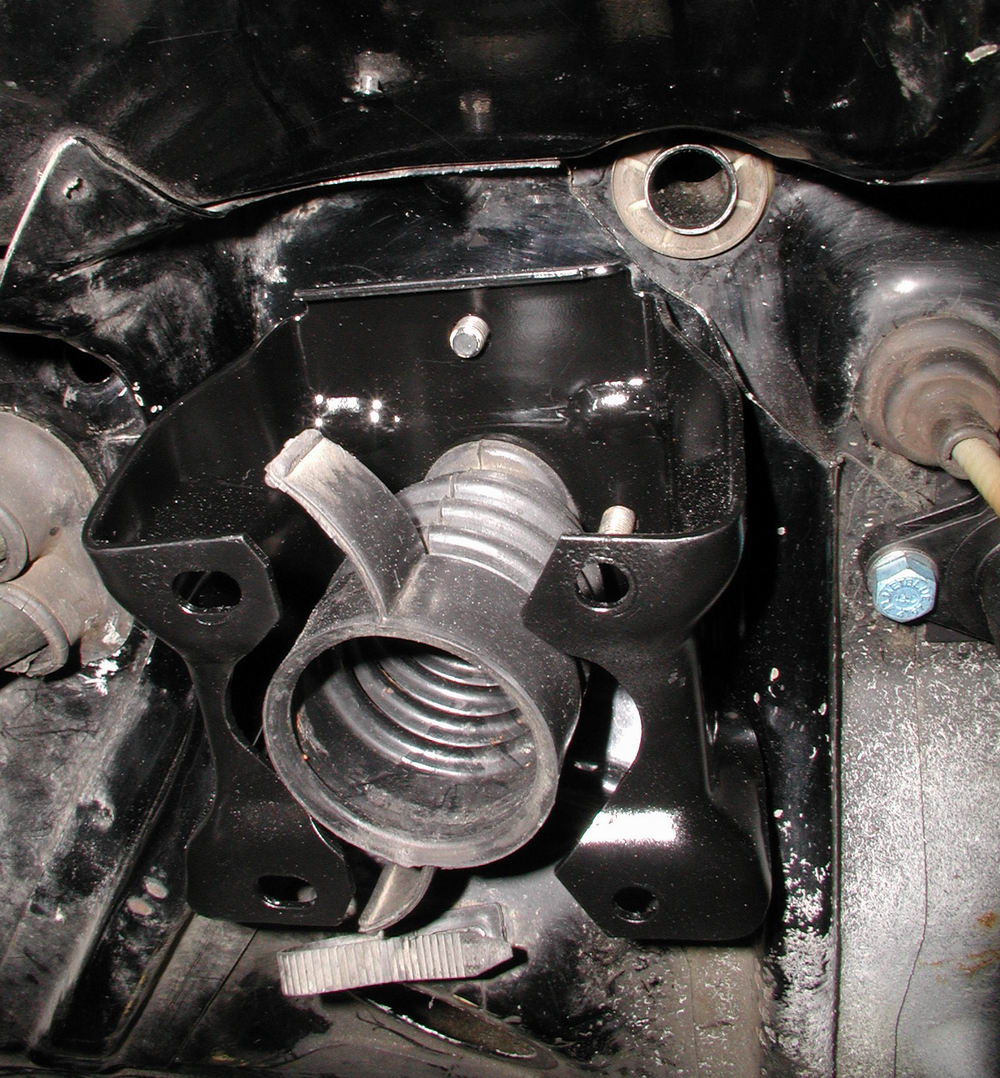
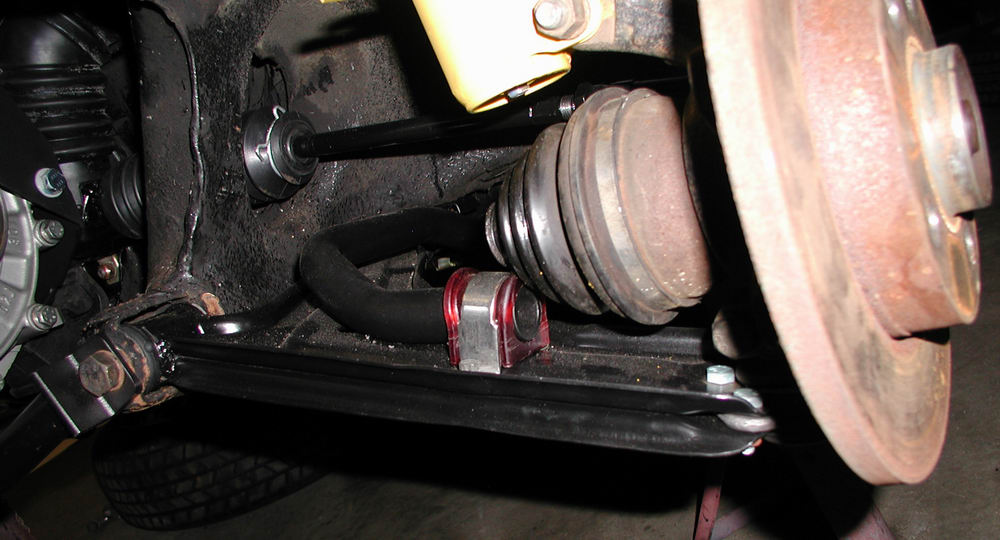
First thing to do was remove the tie rod end from the hub carrier...


Well....coaxing didn't work...so I had to resort to brute force....
tie rod end 1


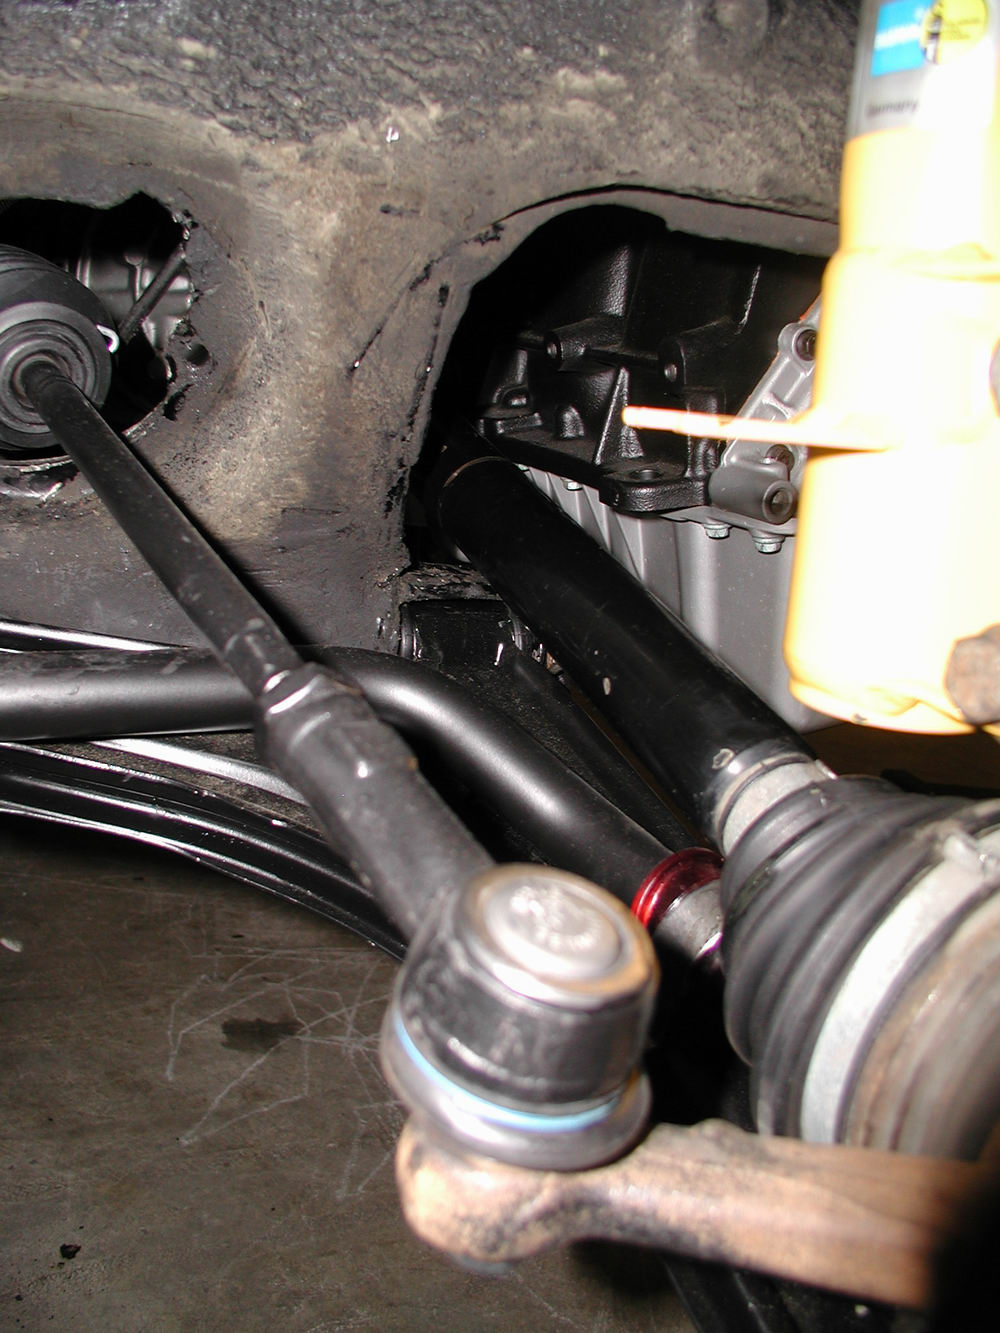
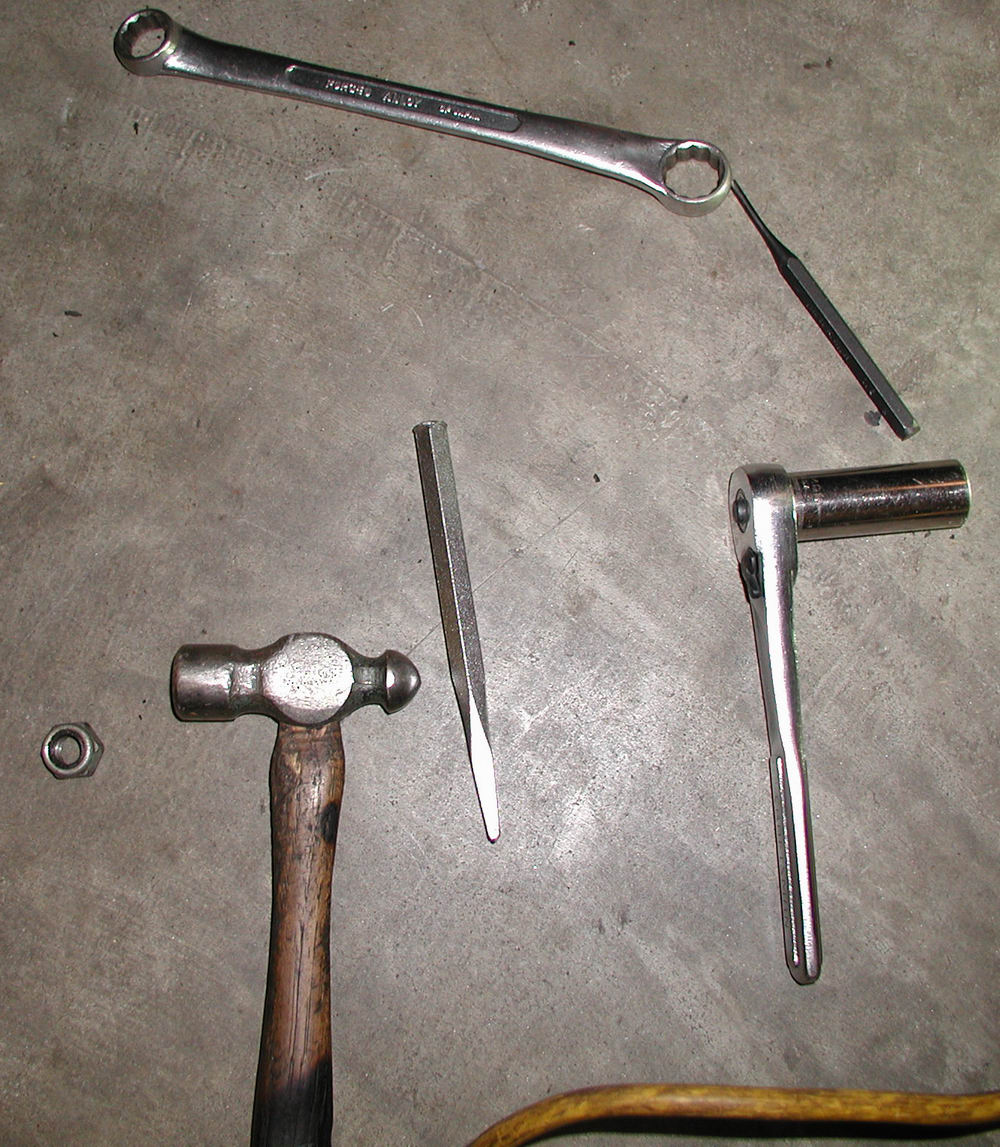
......what to do when brute force fails?  Get a bigger hammer of course.......


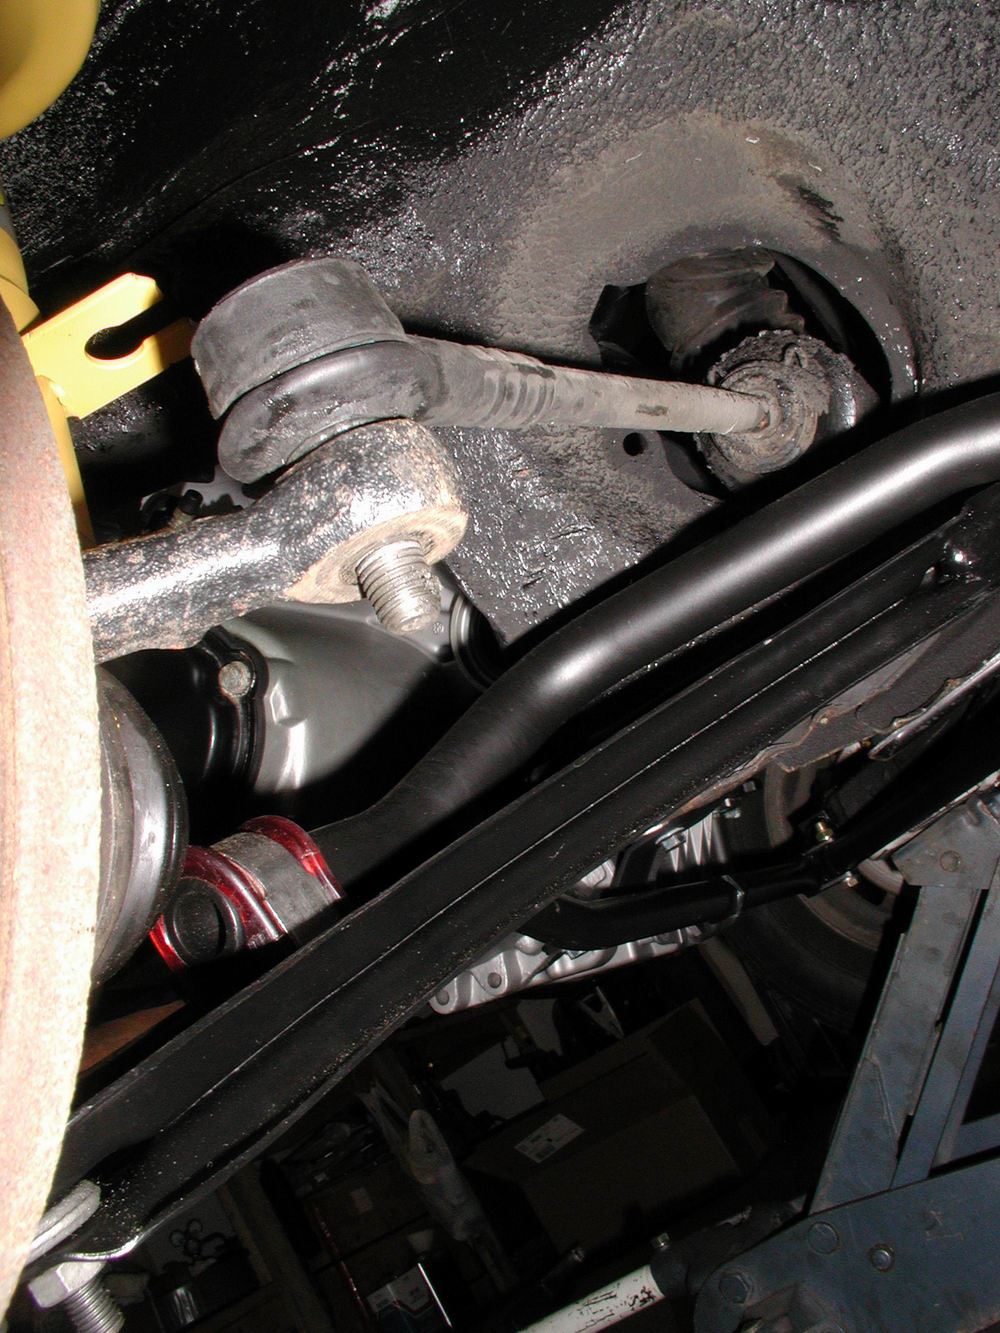
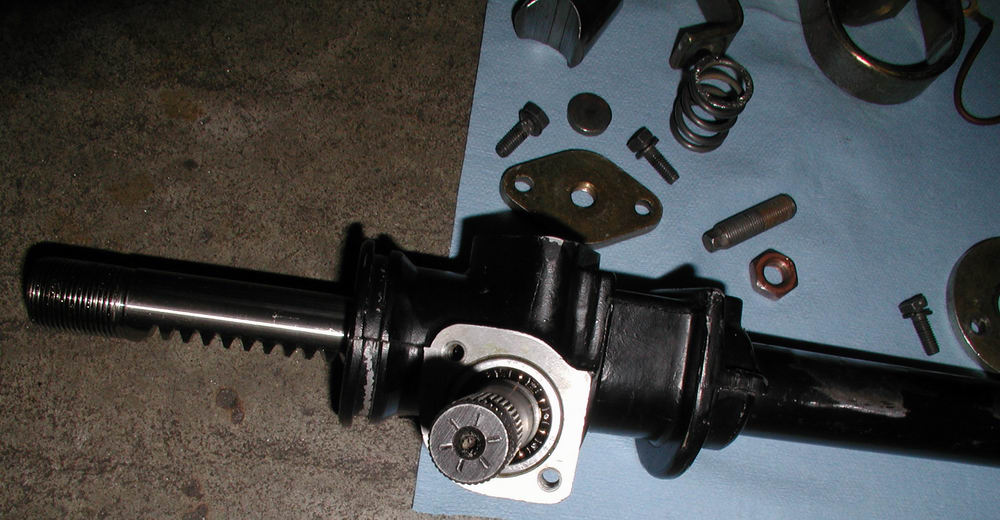
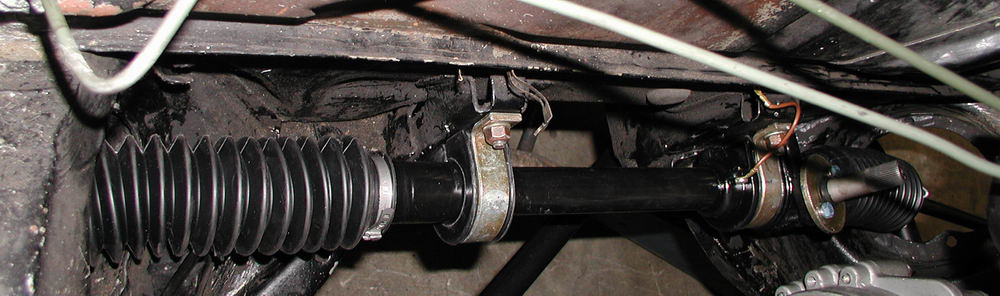
....and finally...success.  The nefarious little bugger emerges from the hub carrier.


So...you'd think that my problems would end there....right?  Nope....the steering rack was most uncooperative.  After much effort.....it finally emerges....and I am left with only moderately greasy hands....


Okay...so now it is time to do some cleaning...


...and then remove the bracket for the 020 rod linkage....


...and finally we have an assortment of cleaned parts awaiting reassembly.....


-- A BRIEF INTERLUDE TO APPRECIATE STEERING RACK PARTS.....

A steering damper pad, pressure disc, spring, cover, adjusting screw, locknut, cover screw, and of course a now bracket-free steering rack (manual baby, manual!)....


So, finally it was time to paint the steering rack since the paint had to be ground off from where the bracket was cut.  Then the rack was greased up before attaching the tie rods.

nonswap026 (18K)
nonswap027 (27K) nonswap028 (30K)
nonswap029 (25K) nonswap030 (19K)
nonswap031 (23K)

Finally, the finished product ready to be re-installed in Shocky.

nonswap032 (15K) nonswap033 (10K)
nonswap034 (20K)

Here we have Shocky patiently waiting to get his steering rack back in....with me then disappearing underneath him to wrestle with various odds and ends to allow for more clearance for installation purposes.

nonswap035 (61K)

nonswap036 (22K)
nonswap038 (35K)

And finally, success!  The steering rack is back in place with tie rod ends in hub carriers and the brackets firmly attached to the firewall with new bushings of course....

nonswap037 (57K) nonswap044 (51K)
nonswap039 (21K) nonswap040 (36K)
nonswap041 (84K) nonswap042 (45K)

nonswap043 (26K)

....so on to the brake components...namely the brake booster, master cylinder, and proportioning valves.

First thing to do?  Clean of course....

After wasting some time doing a laborious hand cleaning of the brake booster, we gave up and sealed off all the openings so it could be bead blasted along with the bracket and gasket plate..

nonswap046 (45K) nonswap048 (55K)

All three items emerge very clean and ready for paint....

nonswap050 (48K) nonswap049 (22K)
nonswap051 (27K)
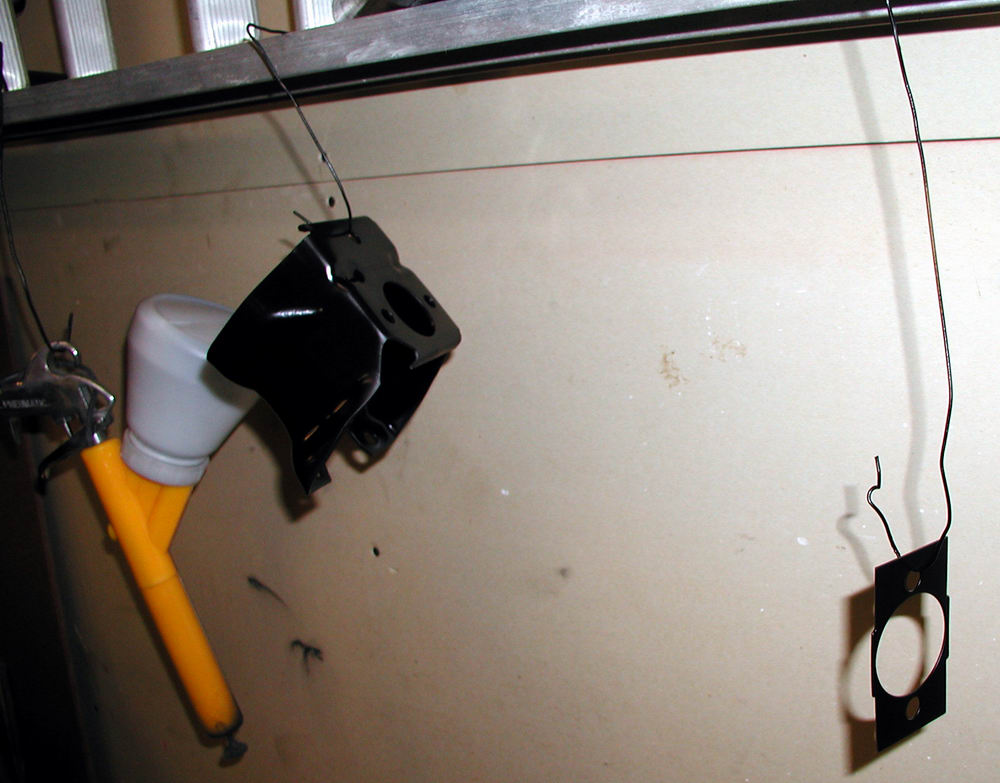
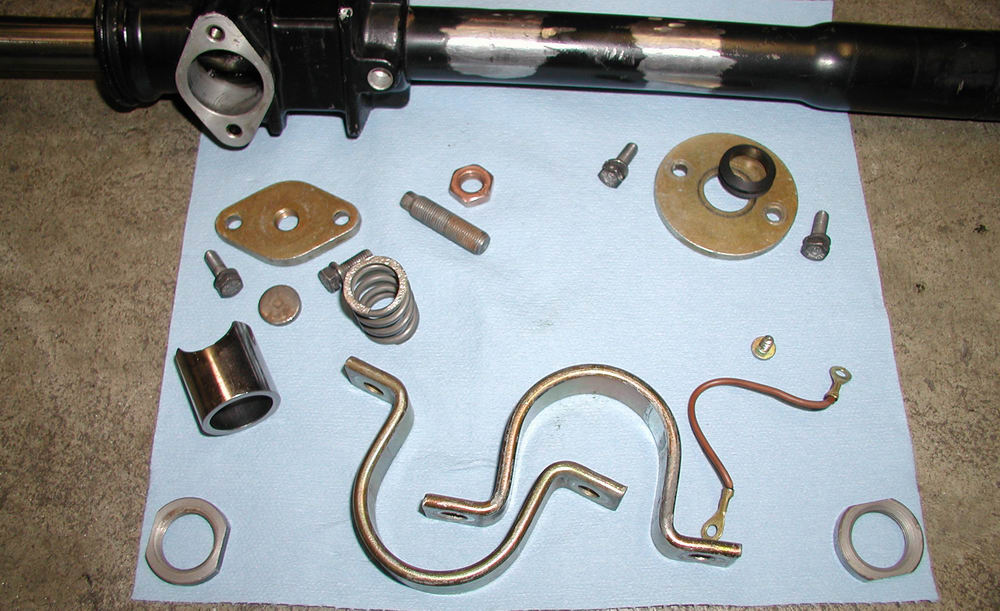
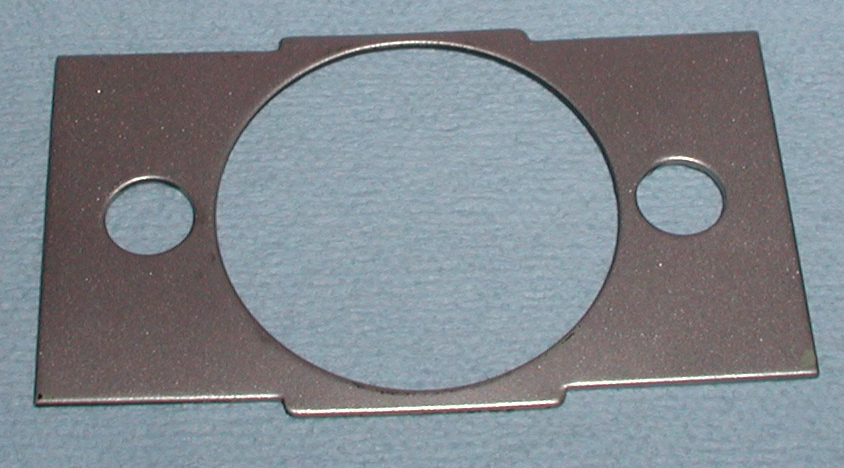
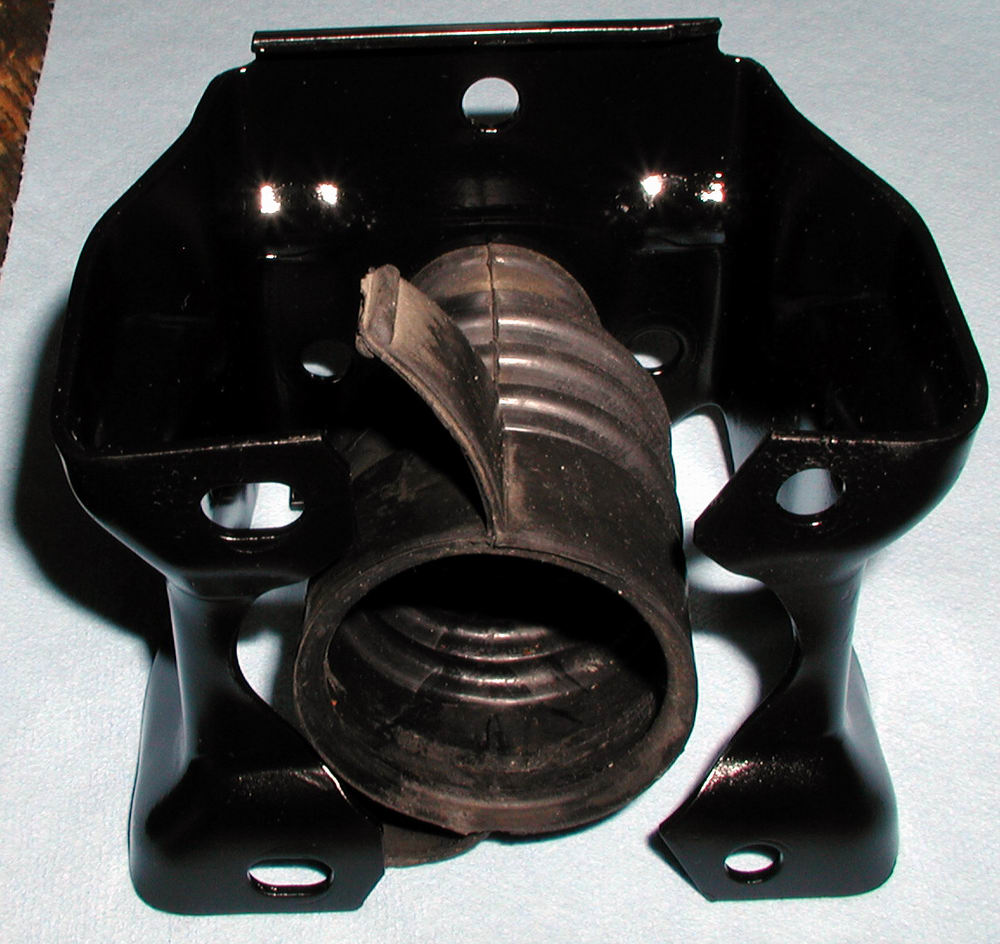
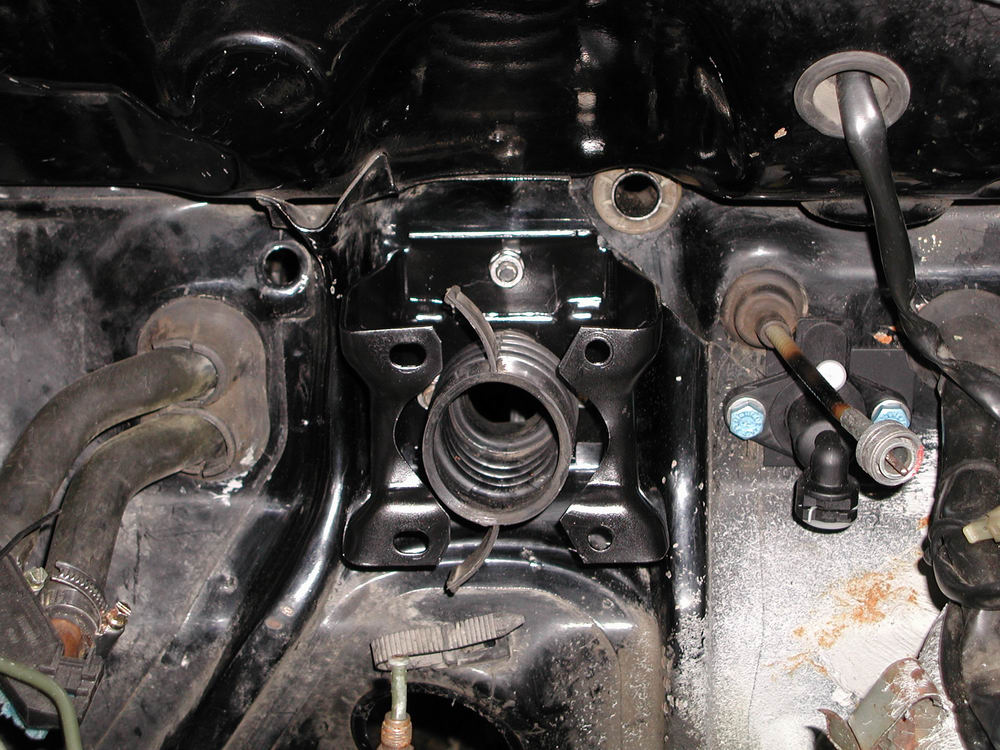
The mounting bracket and gasket plate painted and hanging to dry

...the brake booster was a bit more involved to paint.....here you can see the wonderful mist of paint in the night sky.....

nonswap052 (29K)
Gotta love having black residue in your nose/ears/mouth following the use of spray paint....

Finally, after several coats are applied, the brake booster is set in the vise to dry overnight.

nonswap053 (49K) nonswap054 (31K)

....After a night of drying, all of the components are laid out....

nonswap055 (39K) nonswap056 (36K)
nonswap057 (31K)
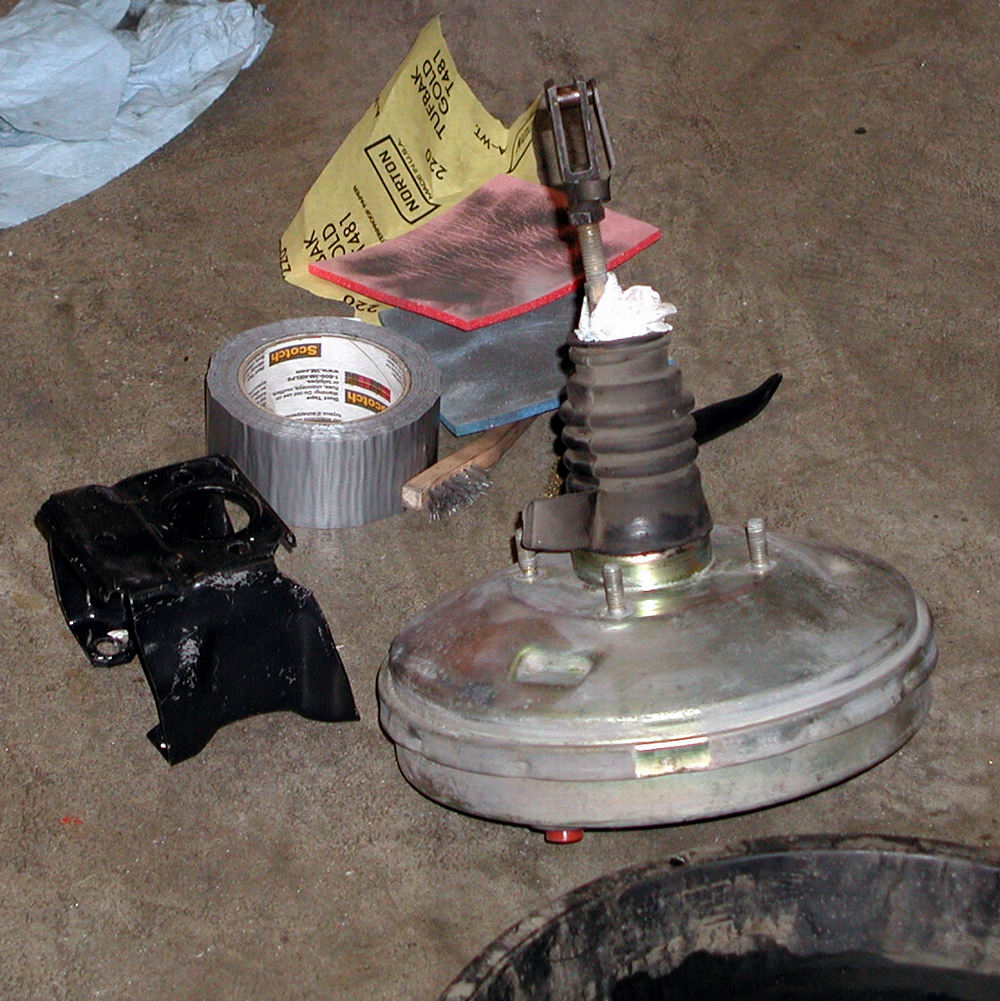
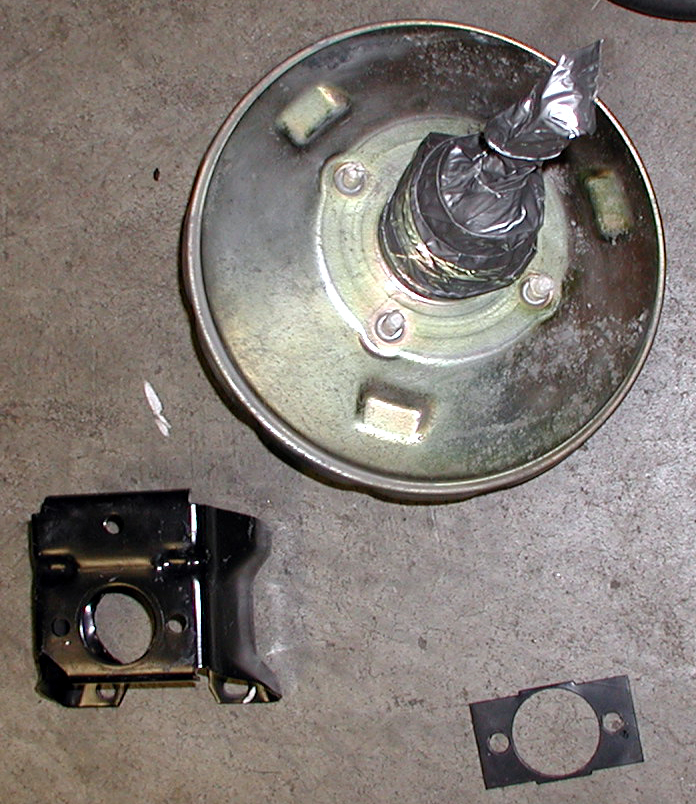
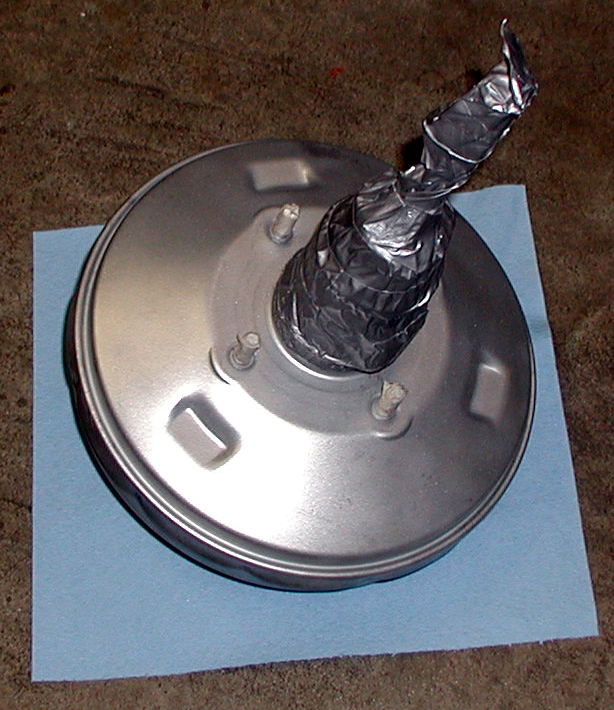
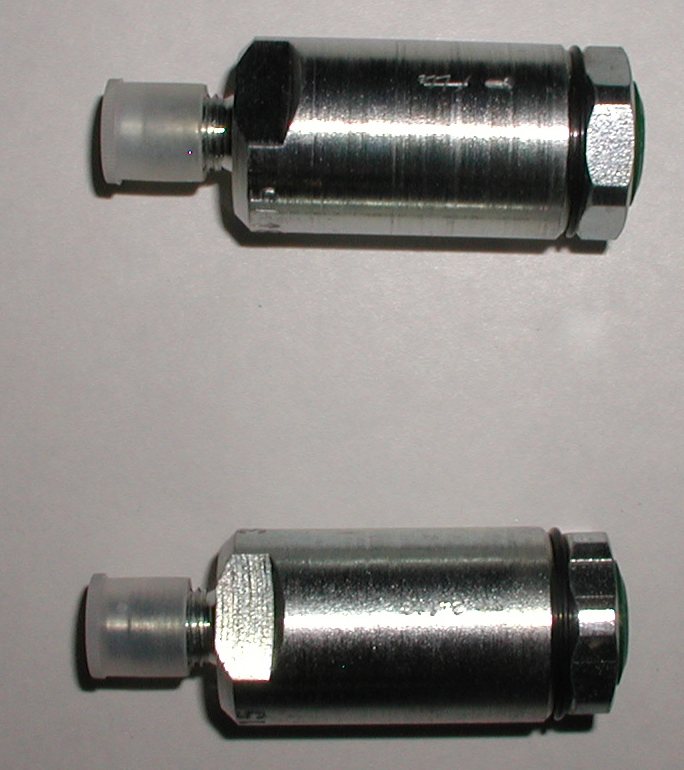
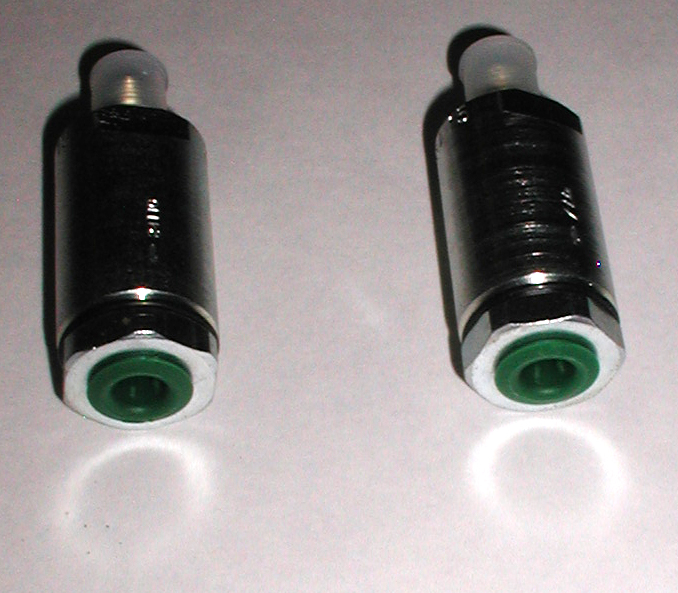
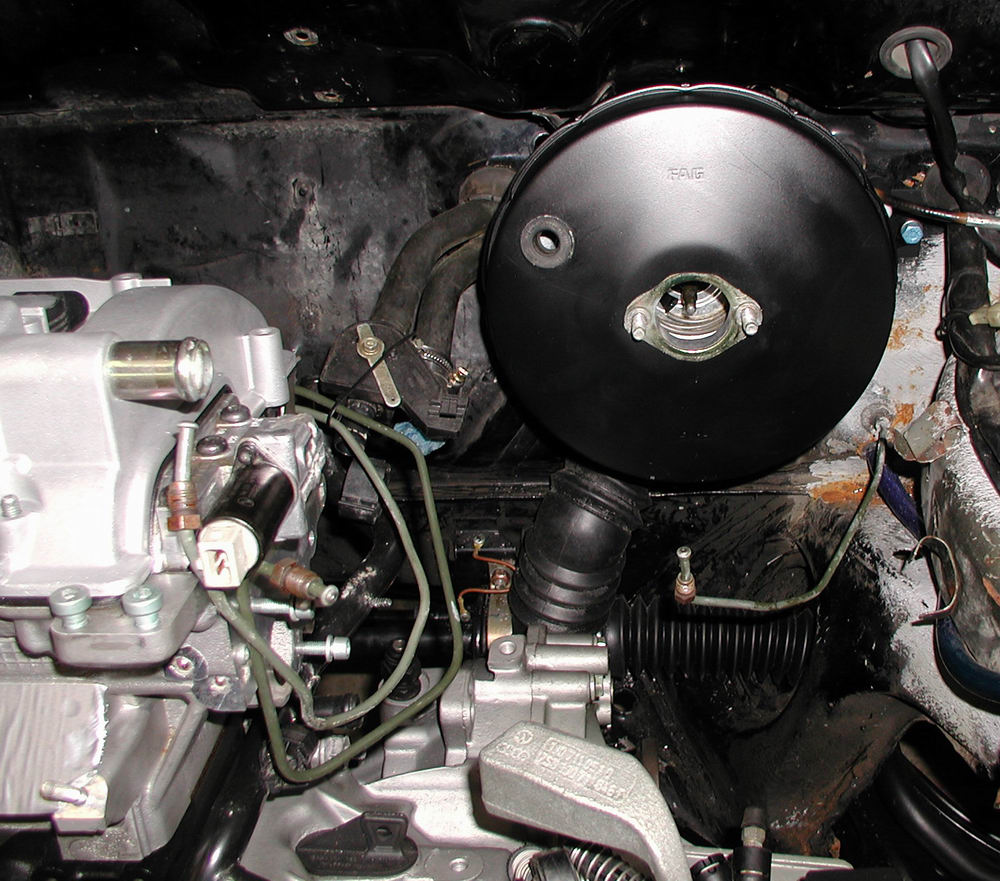
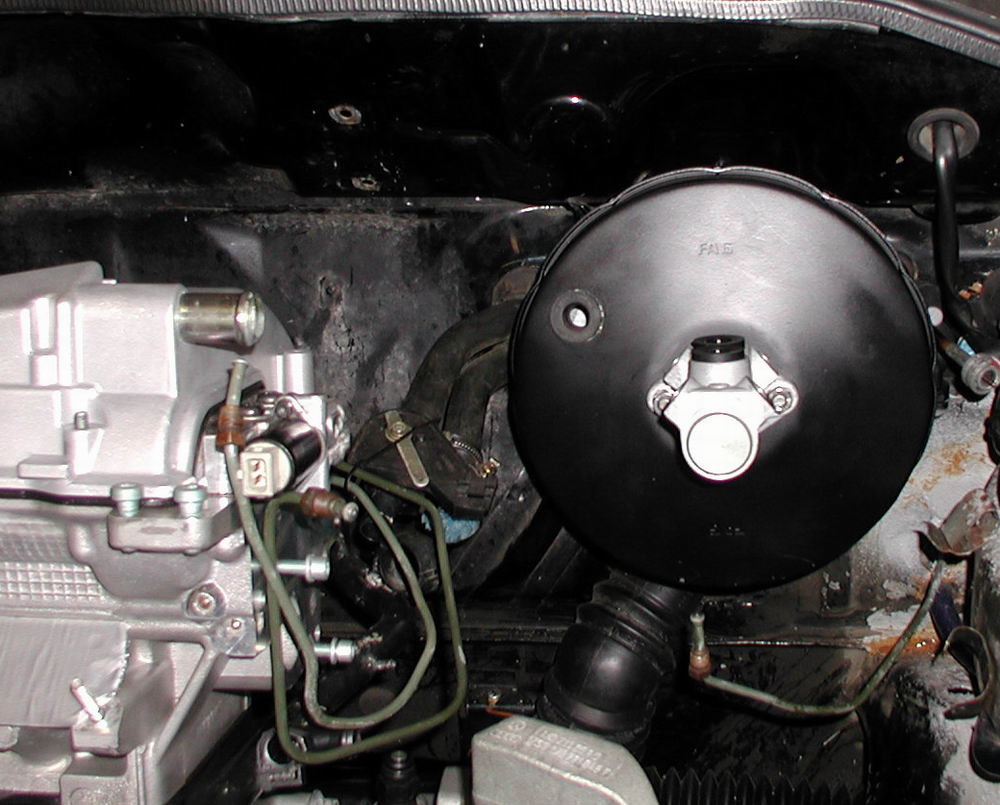
Newly painted bracket, gasket plate, brake booster and pornographic 25.4 mm master cylinder


Proportioning valves which will reside on the master cylinder....
nonswap068 (30K) nonswap069 (26K)

And finally....it is time to mount the brake booster and master cylinder on the firewall.

nonswap058 (49K) nonswap059 (53K)
nonswap060 (39K) nonswap061 (45K)
nonswap062 (71K)
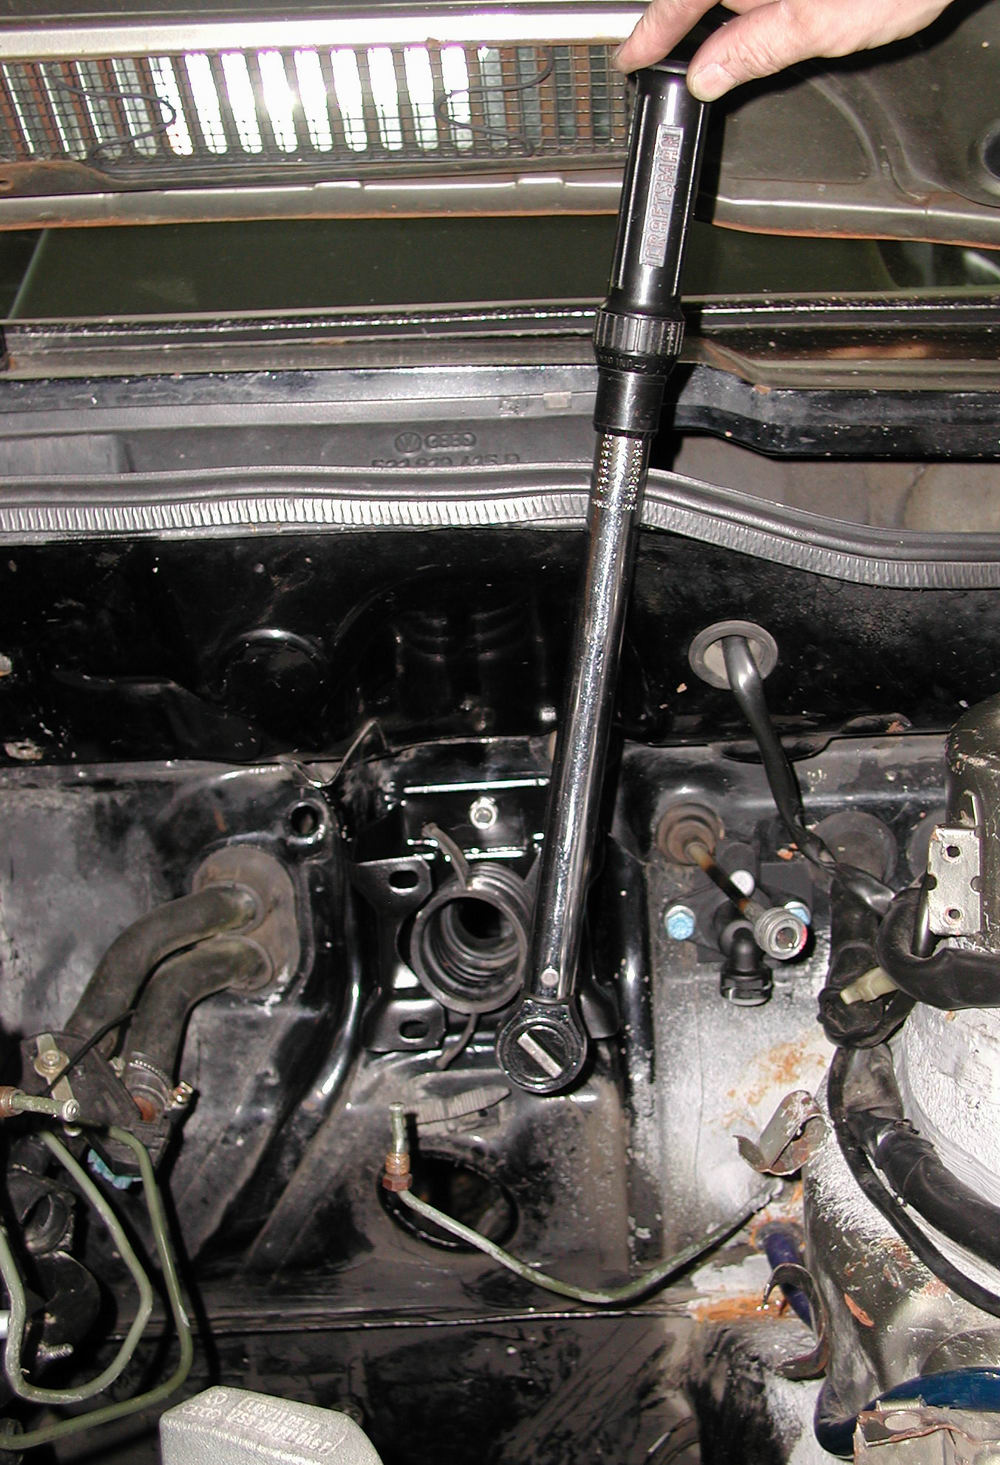
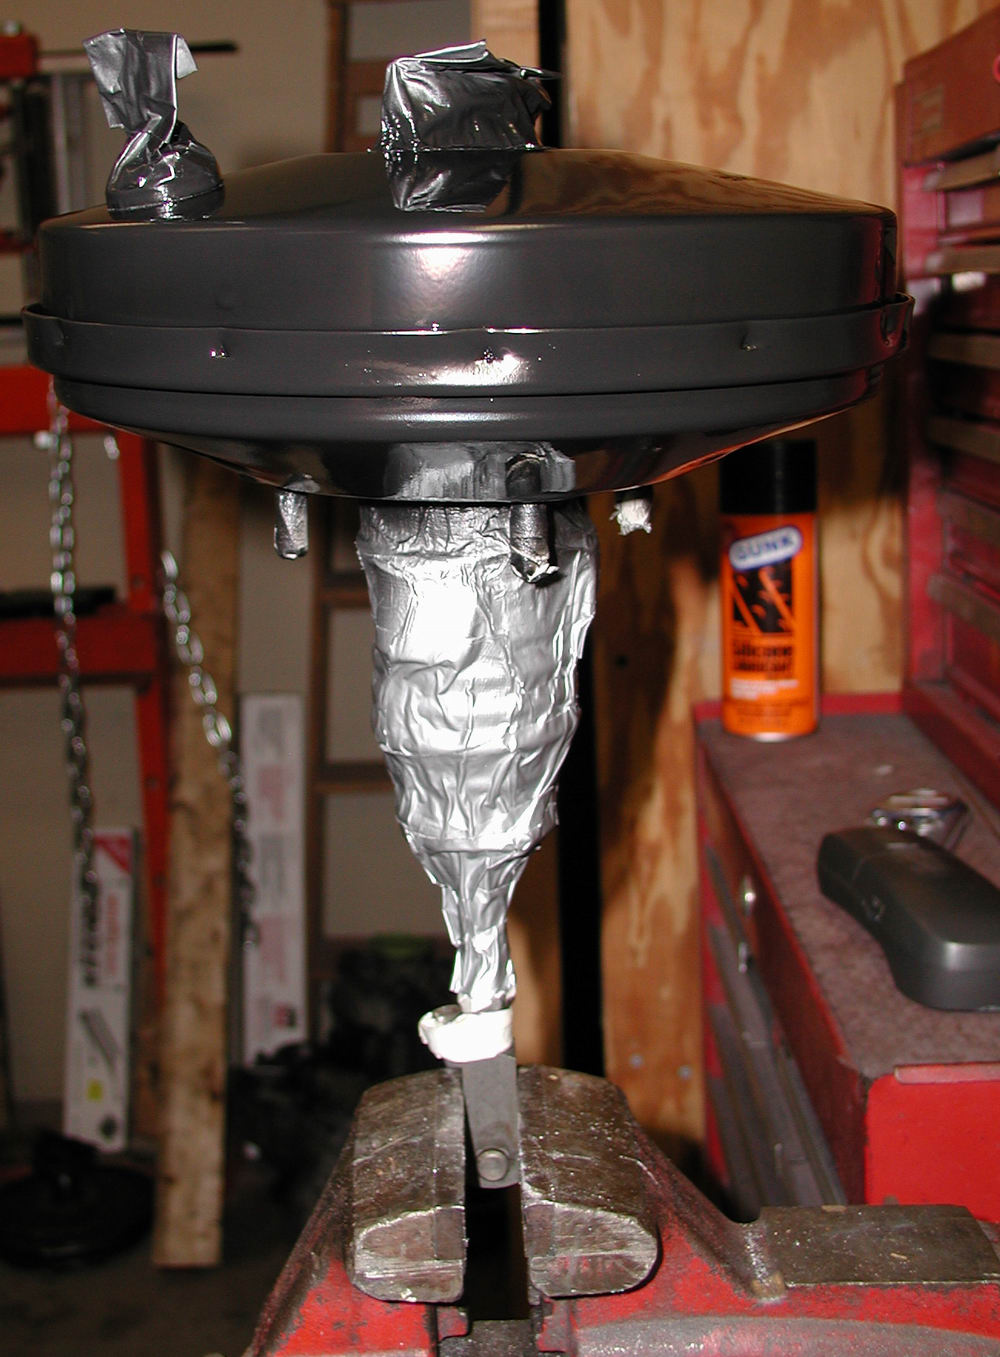
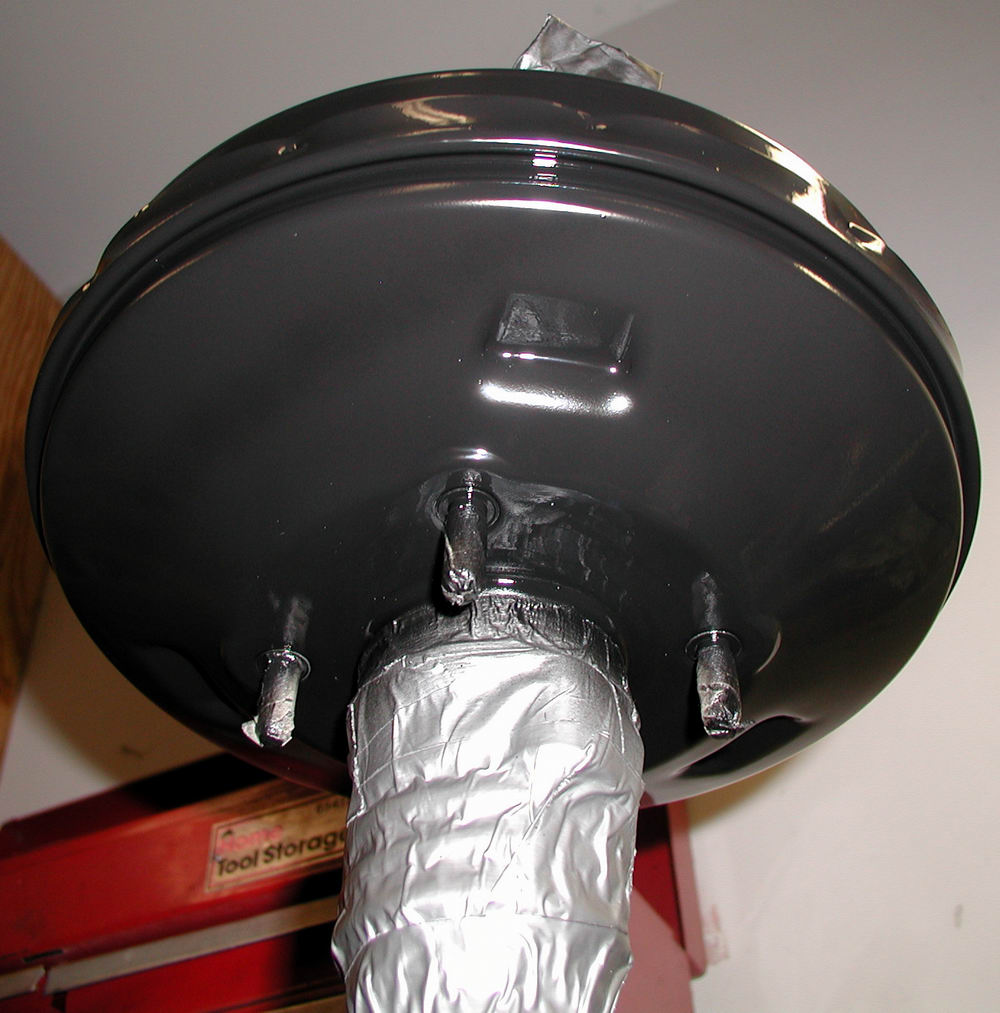
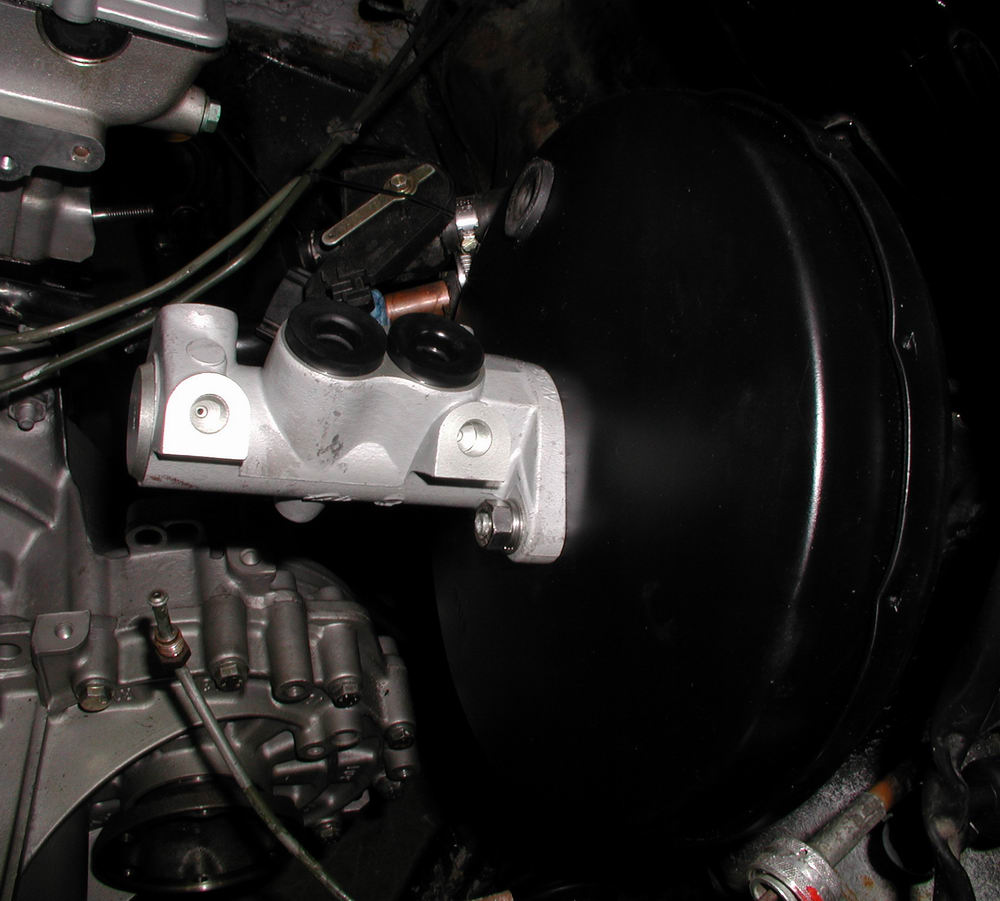
Anyone who has ever removed/installed a brake booster knows what a pain in the ass it is the tighten (or loosen) the damn bolts...let alone torque 'em.  Note the ease with which the bolts are being torqued down in the picture to the left 

With the mounting bracket finally in place, the brake booster and master cylinder can now move into their home.

nonswap063 (46K) nonswap064 (39K)
nonswap065 (29K) nonswap066 (25K)
nonswap067 (38K)

nonswap071 (42K)
nonswap070 (65K)

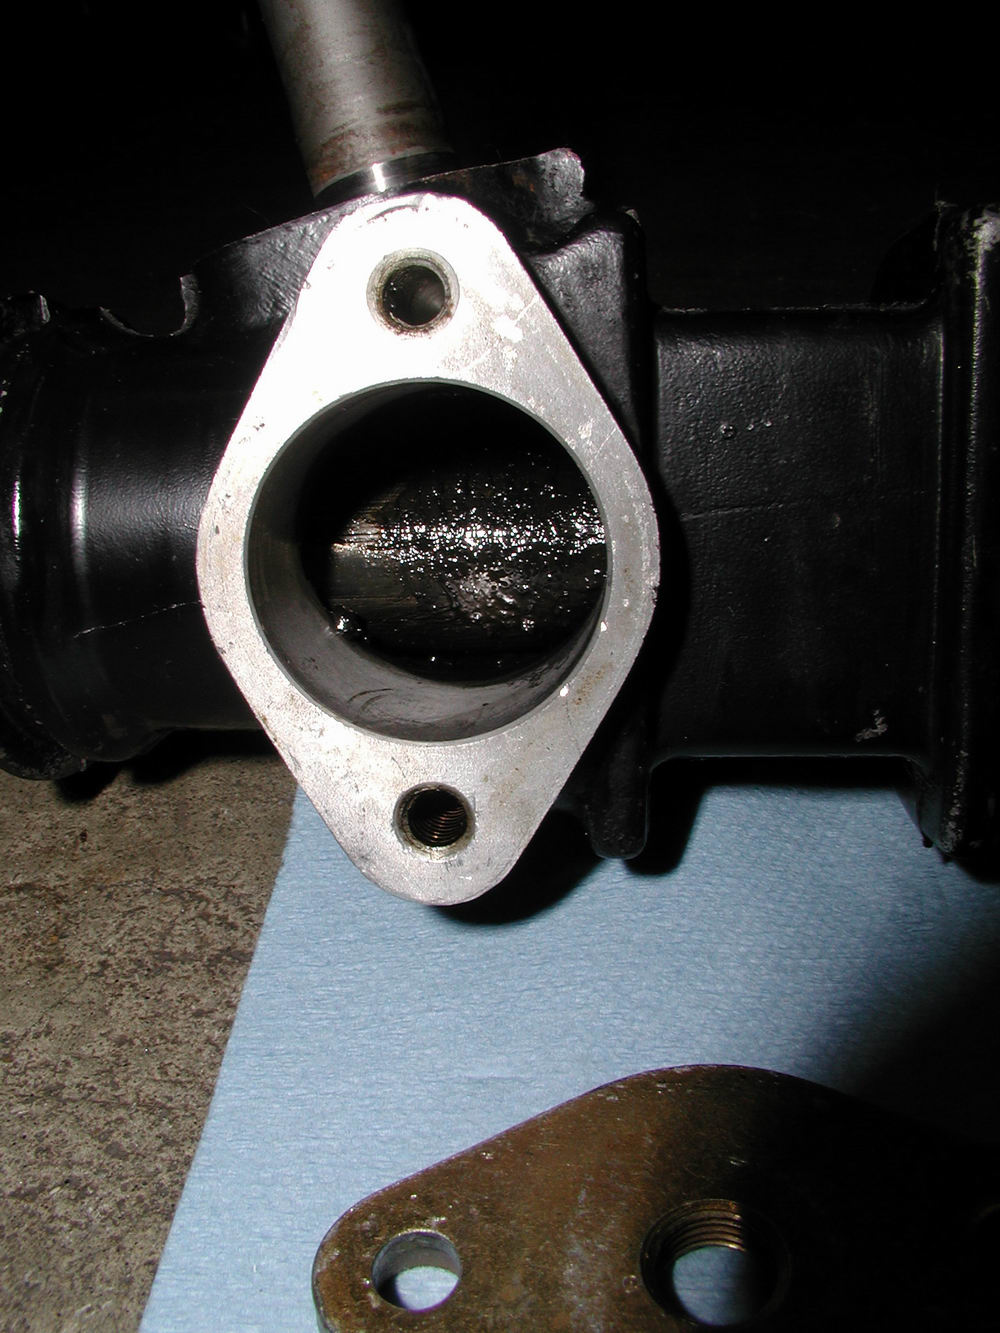
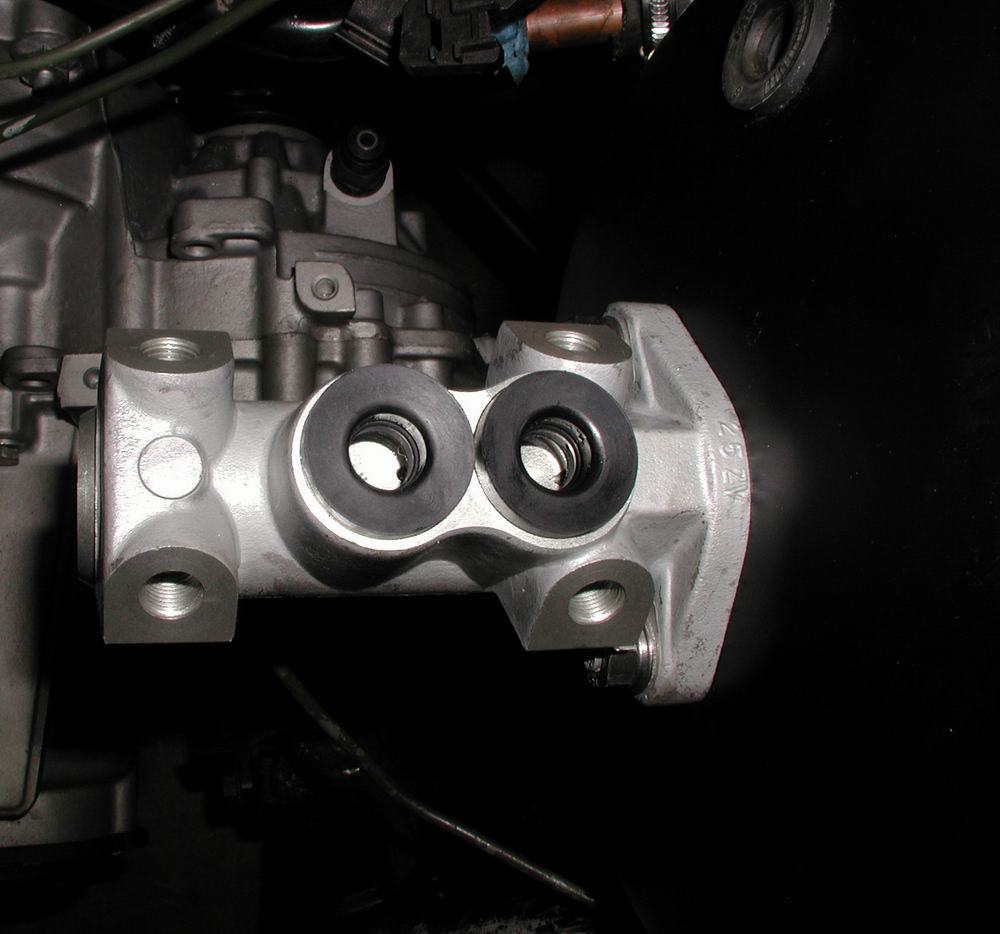
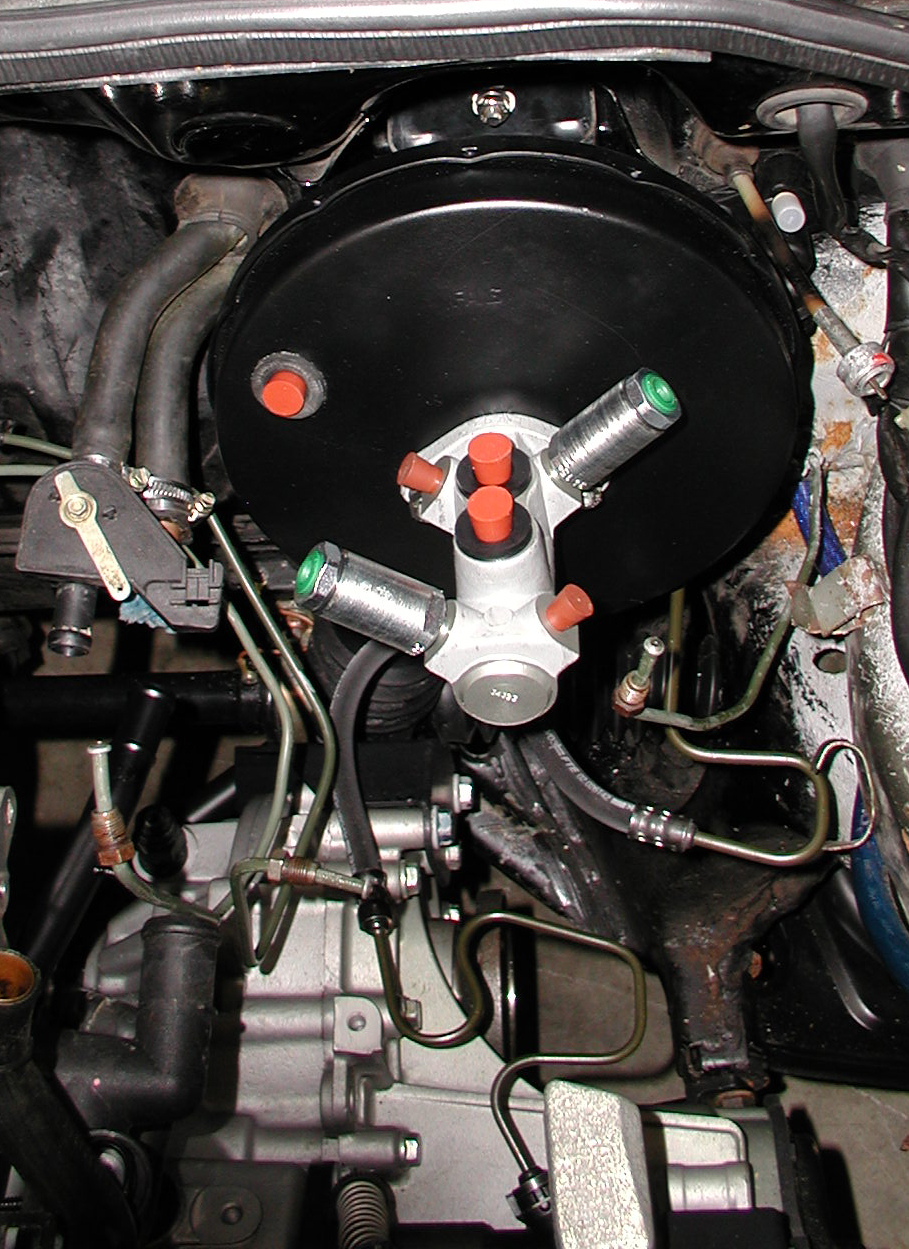
Since it would be a while until the brake lines were attached to the master cylinder, Dan and I plugged the holes to prevent icky stuff from getting inside the master cylinder and brake booster.
nonswap072 (23K)
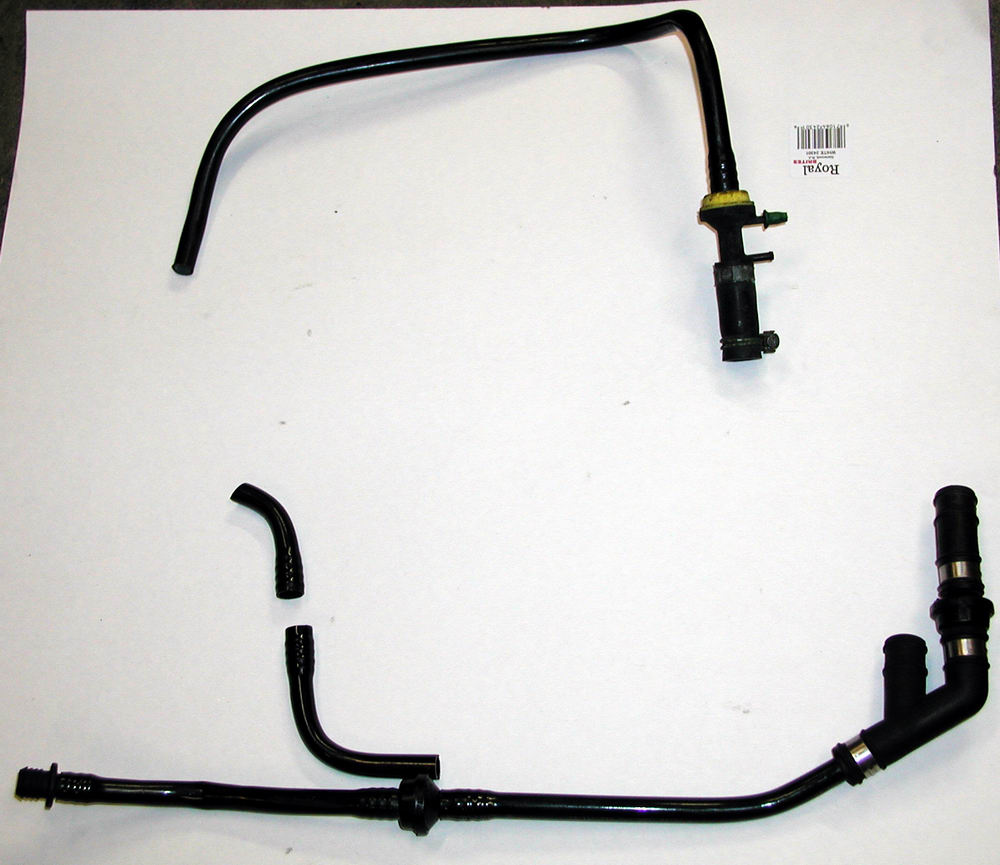
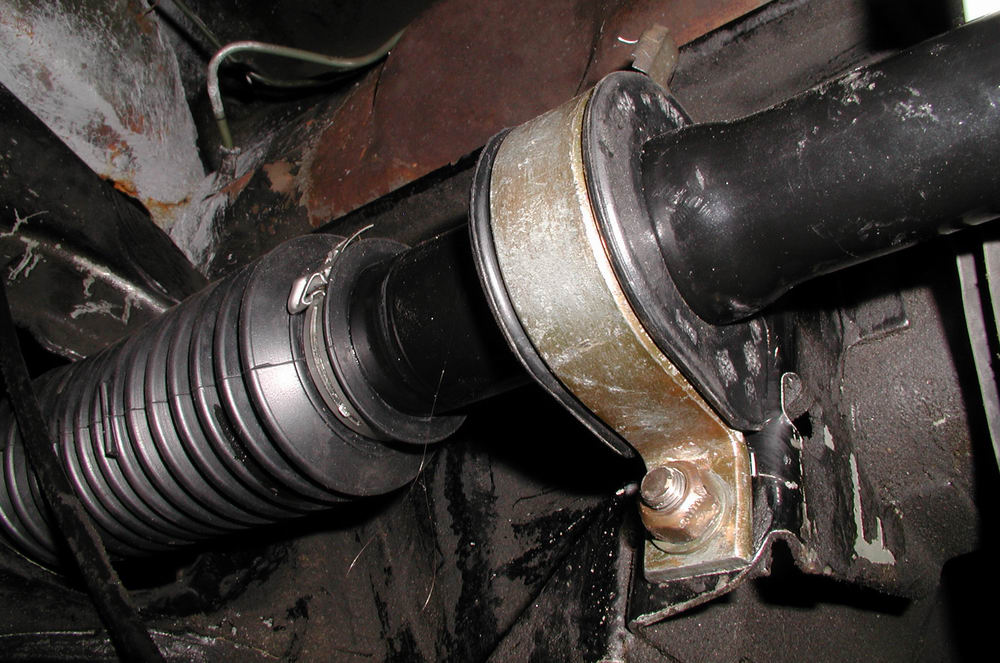
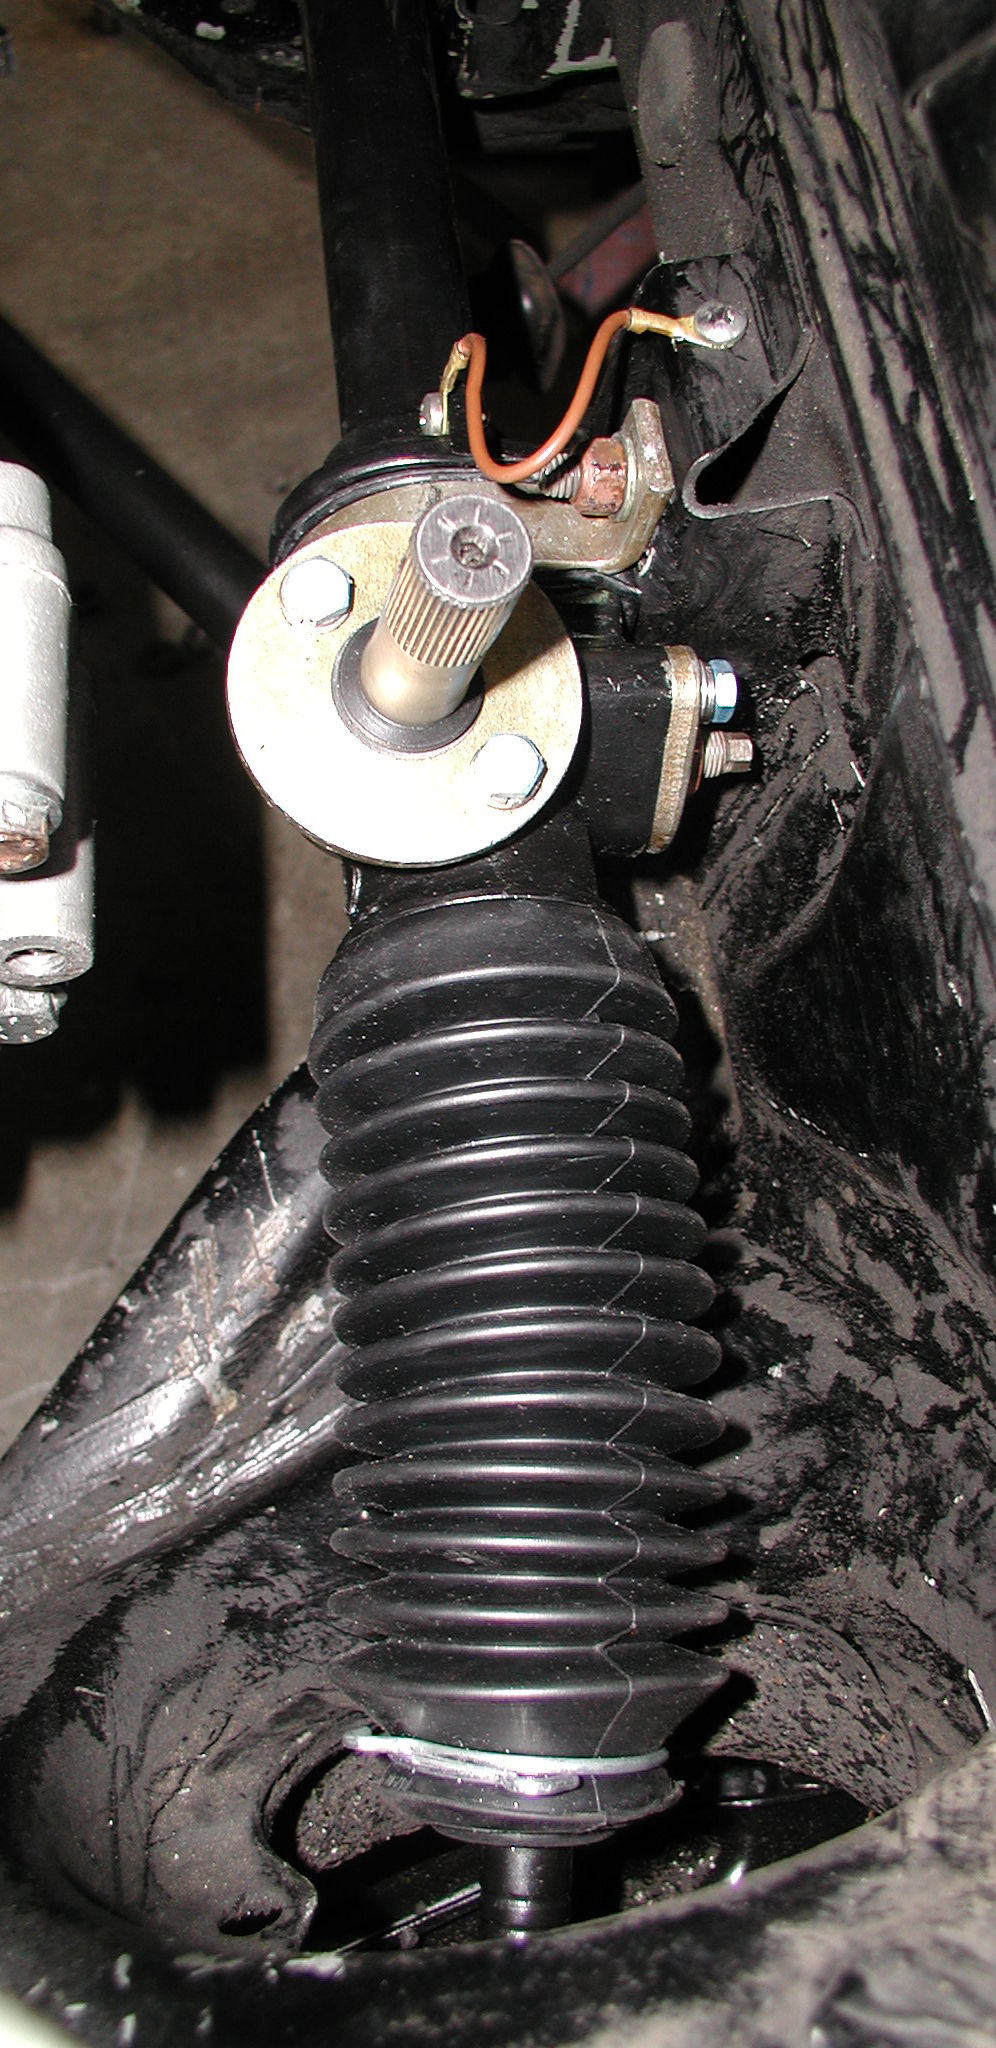
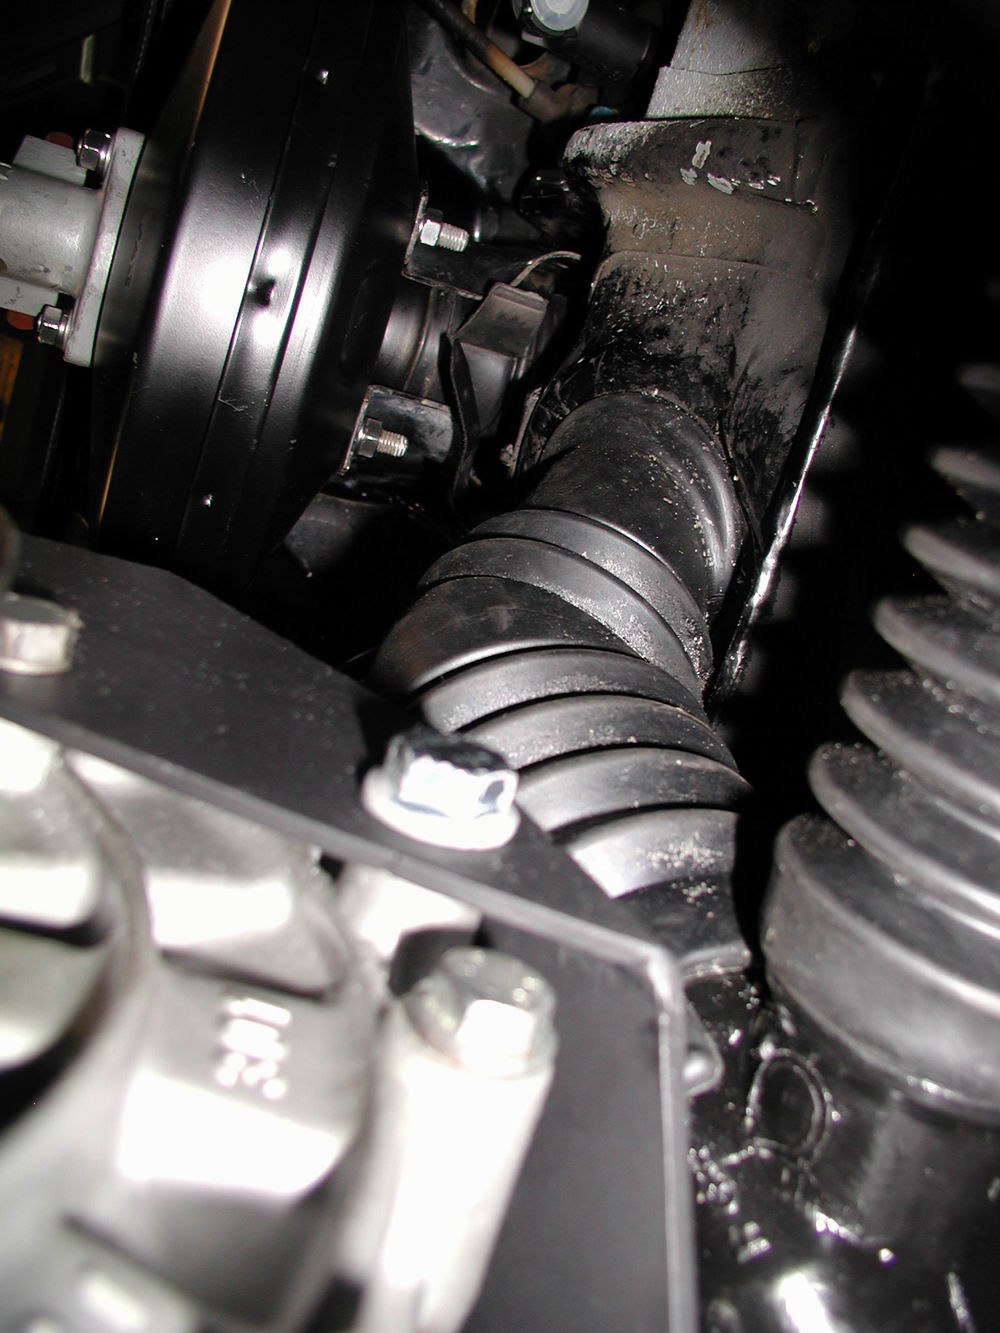
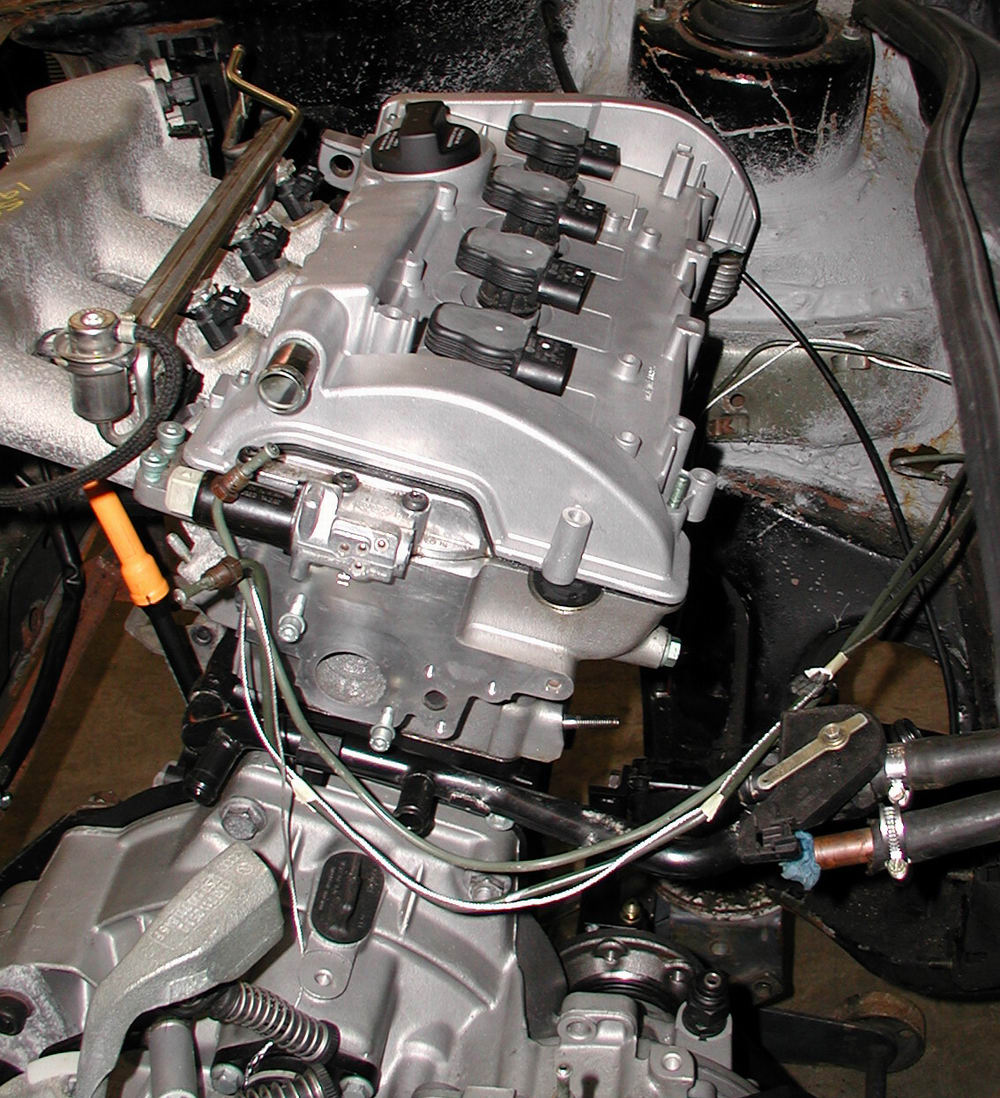
Here is the modified vacuum line for connecting the brake booster to the intake manifold.  The stock AWP hose and stock Scirocco hose were spliced and mated together to form a new hybrid.  As it turns out....the placement of the check valve was not optimal for my setup.....which Dan and I discovered after the intercooler piping was done in October.....The check valve rubs against one of the IC Pipes....

Since the new master cylinder was also housing the prop valves, the hard brake lines going to the driver's side of the master cylinder no longer reached and had to be re-made.  The lines going to the passenger side were finessed into place although I intend to redo those when everything comes back out for paint (eventually).

Before new brake lines were purchased, I took some measurements of the overall length going from front brake on the passenger side to the master cylinder.  To measure the length, I took some string and tied it to where the old hard line was attached to the chassis.  Then, I routed the string from there along the brake line to the master cylinder and cut it with a little bit of extra length.  That piece of string was then removed and measured...and new lines were purchased that would be long enough (70'').

nonswap077 (53K)

nonswap078 (25K)

nonswap080 (63K)

nonswap079 (42K)

nonswap081 (62K)
nonswap082 (133K)

nonswap083 (23K)

The new hard brake lines as well as the stainless steel lines I purchased from Autotech:

nonswap073 (118K) nonswap074 (27K)

nonswap075 (21K)

nonswap076 (48K)

nonswap084 (12K)

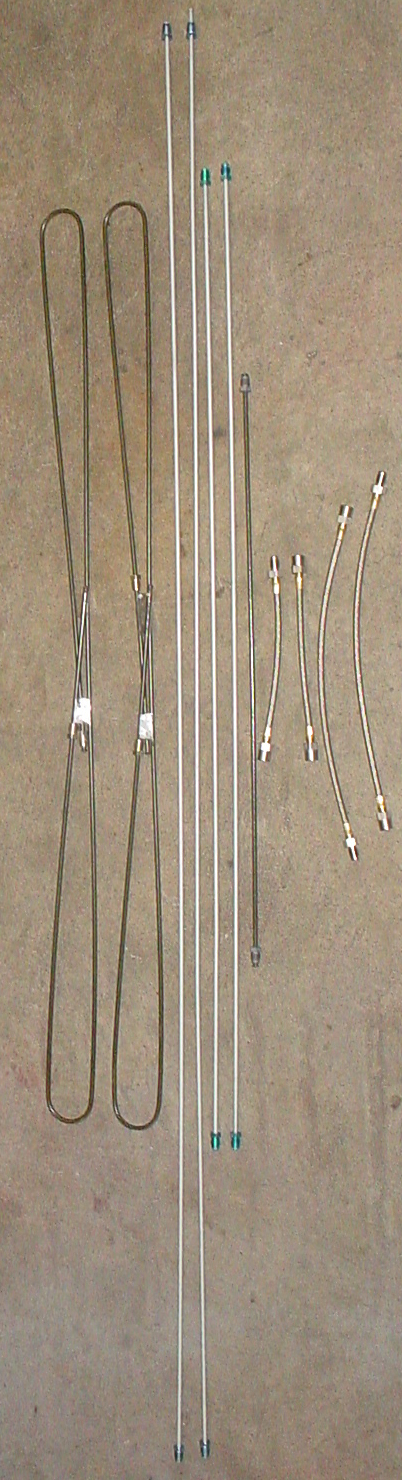
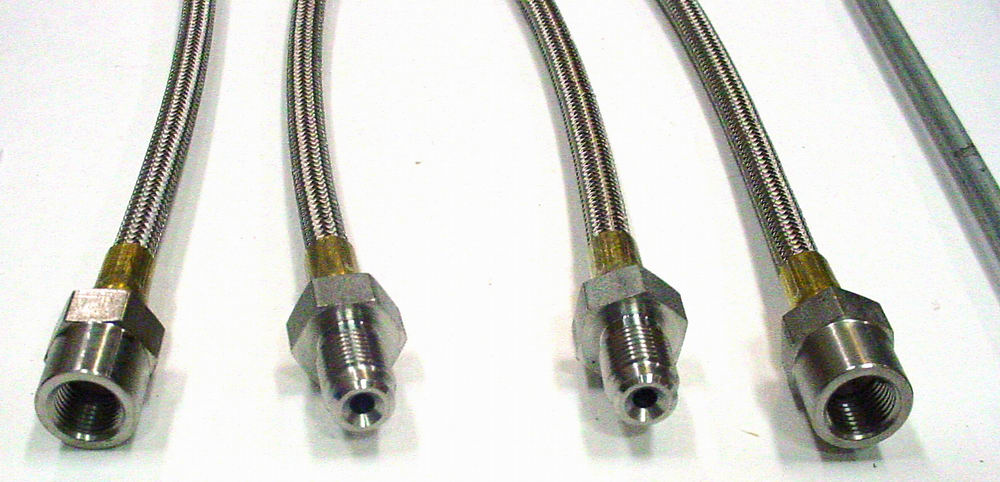
This is the short line going from the master cylinder to the front brake on the driver's side.  It can just be removed for easier forming of the new line.
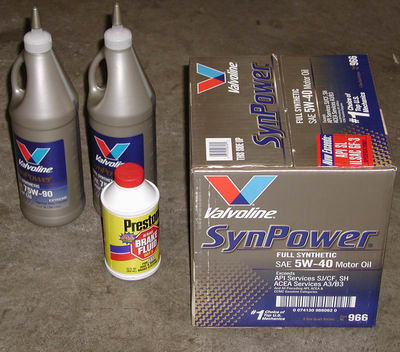
And finally, the front swaybar finally moved into its home.  Yes...it was just as much of a pain in the ass to install and adjust as the other items from Autotech.....but.....it works nicely so far....so in the end I suppose it was worth it.  Amazingly enough....these pictures actually turned out too!  It is so difficult to take pictures of items underneath the car.....Dan is way better at it than I am...although these pictures were taken by me...heh.

nonswap085 (35K)

nonswap086 (28K)
nonswap087 (51K)
nonswap088 (51K)

...and so the June visit ends with Shocky still on jack stands.....


....And the garage a disorganized mess of Shocky parts.  You know, funny thing about organizing the various boxes of parts.  No matter what you do, you always end up needing to find something that requires tearing through each box of nicely organized parts...all the while in a hurry...resulting in such messes as those below.....


I had high hopes of getting to start Shocky on this visit so I had eagerly purchased some oil and such for that purpose...in the end, several cases of oil would be gone through after having to drain it several times after filling it...(the turbo oil drain line had to be modified a couple of times etc.)


PREVIOUS
INDEX
NEXT


June Wiring Progress

SHOCKY JR.'S RESTORATION AND UPGRADE ADVENTURE CHRONICLES


July Swap Related Progress


No navigation frame to your left?  Click Here: